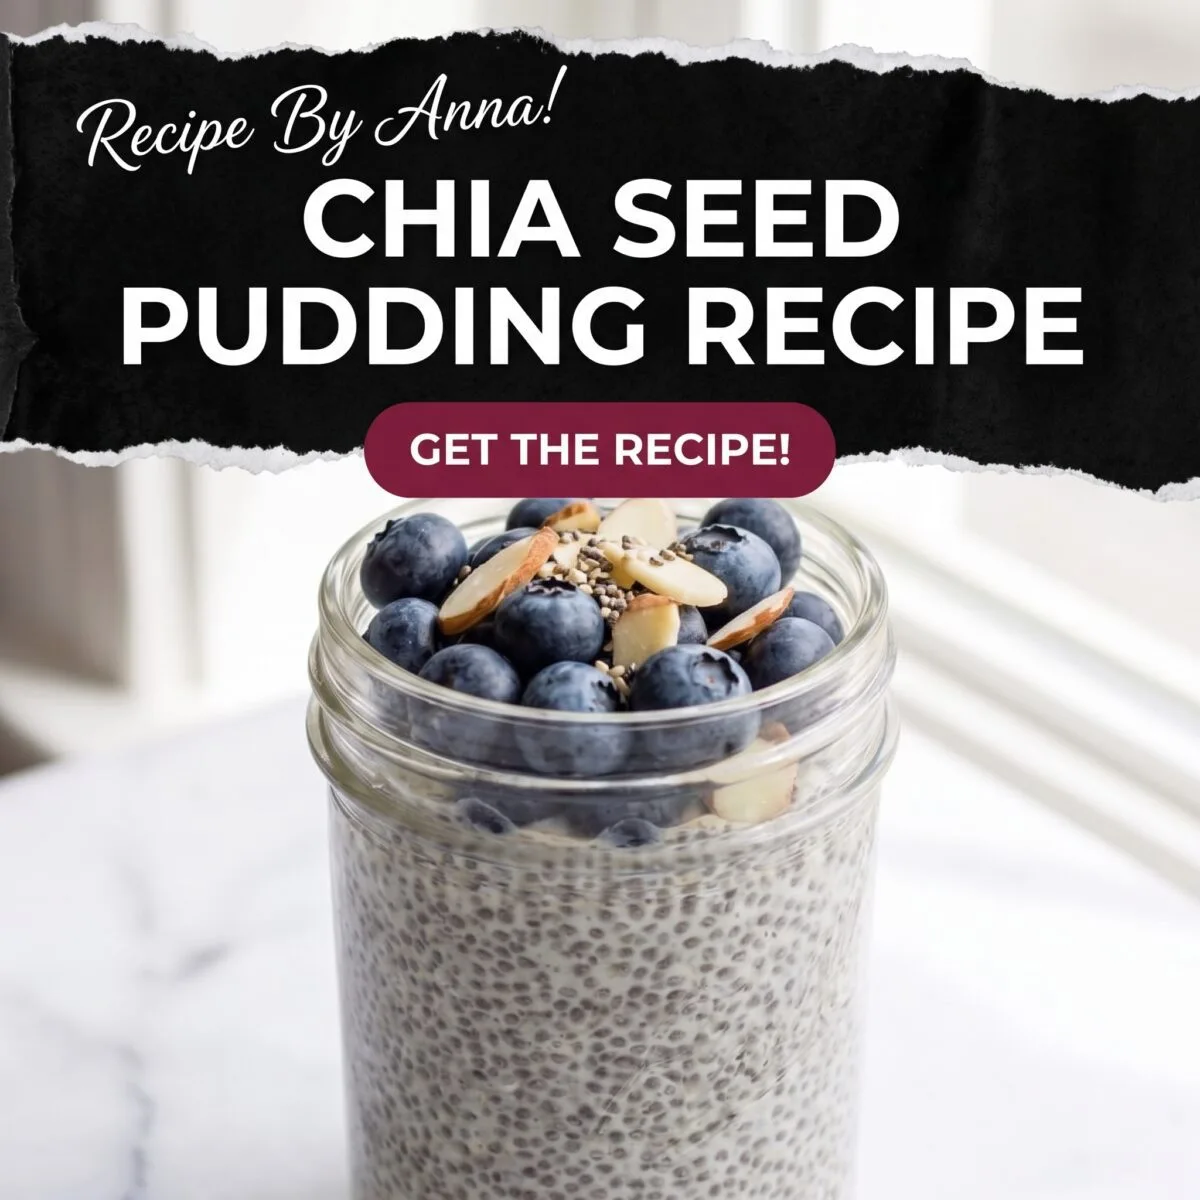
Chia Seed Pudding Recipe — The Only One You’ll Ever Need
This Chia Seed Pudding Recipe is the one that finally makes sense of why everyone talks about chia pudding — thick, creamy, and genuinely satisfying in a way that chia pudding made from the wrong ratio or the wrong liquid simply isn’t, with a smooth, gel-like texture that is nothing like the watery, gloopy version that puts people off this breakfast for life if they make it incorrectly the first time.
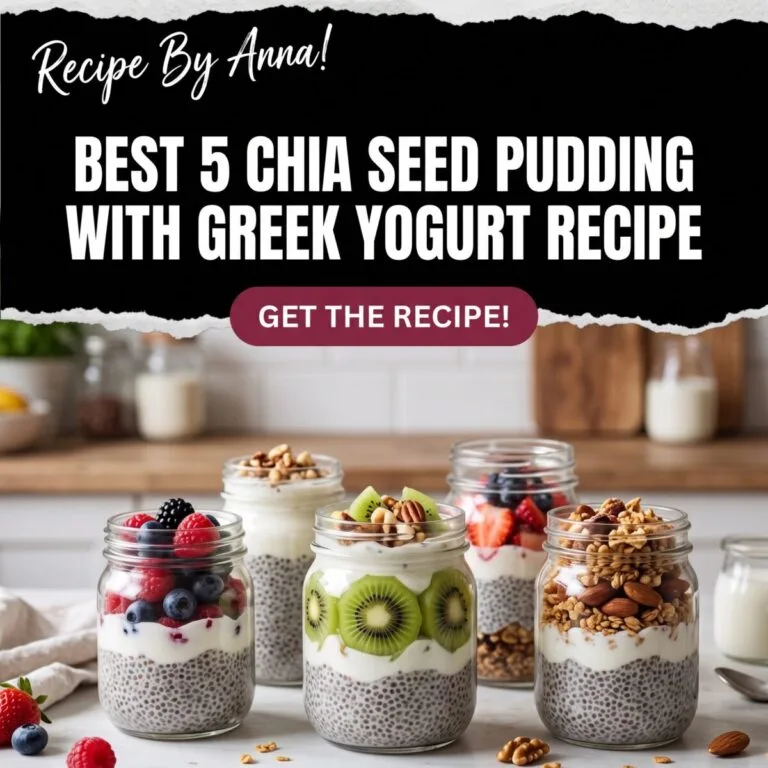
The overnight chia seed pudding method is the approach that works best for texture, convenience, and flavour — four to six hours of soaking minimum, overnight preferred, which gives the chia seeds time to fully hydrate and swell into the thick, tapioca-like consistency that turns a glass of seeds and milk into something worth eating. This is simultaneously one of the best make-ahead breakfast meal preps available — five jars assembled on Sunday that are ready to grab and go from the fridge through Thursday morning with no further preparation required.
At roughly 250 calories per jar with 8 to 10 grams of protein from the base recipe alone — and significantly more with a Greek yogurt layer — it is the chia seed pudding with yogurt variation that gets the most reach in our house for good reason: it tastes like dessert while covering breakfast macros that carry you through to lunch without a mid-morning crash.
Why Chia Pudding Breakfast Works Better Than Most Make-Ahead Options
The texture improves with time rather than deteriorating — unlike overnight oats, which can become mushy and waterlogged after two to three days, chia pudding holds its gel structure for up to five days in the fridge without any change in quality. It also gets better between day one and day two as the chia seeds fully hydrate and the flavours deepen.
It requires zero cooking, zero heat, and approximately three minutes of active preparation — stir, pour, refrigerate, done. The entire strategy of high protein chia seed pudding meal prep is built on this three-minute assembly time multiplied by five jars simultaneously.
- Prep Time: 5 minutes
- Chill Time: 4 hours minimum, overnight preferred
- Total Time: 5 minutes active, 4 to 8 hours total
- Yield: 2 servings (scale as needed for meal prep)
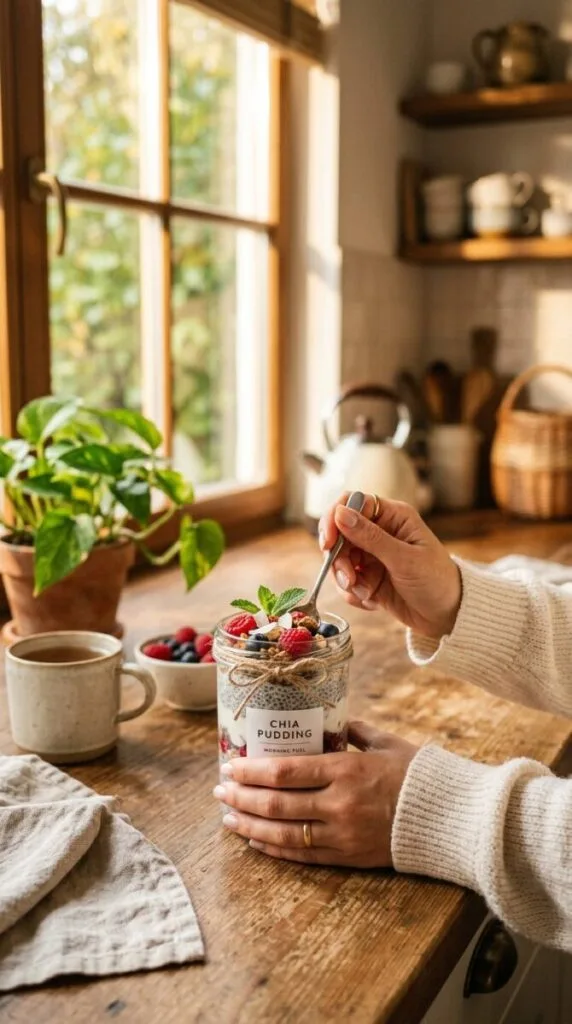
The Master Base Recipe
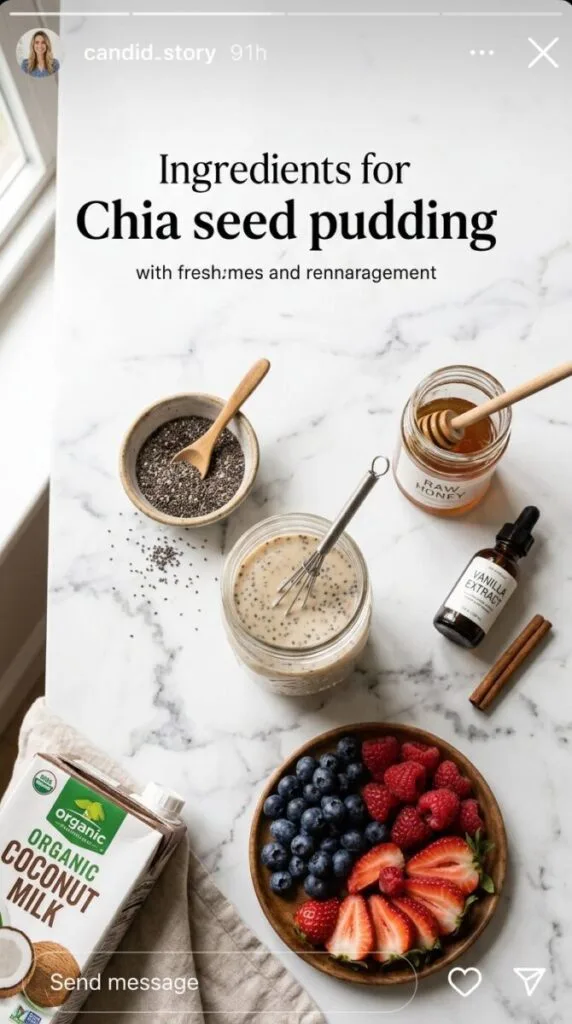
- Chia seeds: 1/4 cup (40g)
- Milk of your choice: 1 cup (240ml) — see the milk guide below for what each option produces
- Maple syrup, honey, or other sweetener: 1 to 2 teaspoons, to taste
- Pure vanilla extract: 1/2 teaspoon
- Fine sea salt: a tiny pinch — this is not optional, it rounds the sweetness and deepens the flavour without making the pudding taste salty
The golden ratio: 1 part chia seeds to 4 parts liquid. This produces a thick, spoonable pudding. For a thinner, more drinkable consistency, use 1 part chia to 5 parts liquid. For an extra-thick pudding that holds its shape when unmolded from a jar, use 1 part chia to 3 parts liquid.
How to Make Overnight Chia Seed Pudding
- Combine the chia seeds, milk, sweetener, vanilla extract, and salt in a jar or container with a lid and stir well — every chia seed should be submerged rather than floating on the surface.
- Stir again after 5 minutes — this second stir breaks up any clumps that formed as the chia seeds began to gel immediately on contact with the liquid and prevents them from setting into an uneven texture. This step is what separates smooth, evenly textured chia pudding from one with dense clumps surrounded by thin liquid.
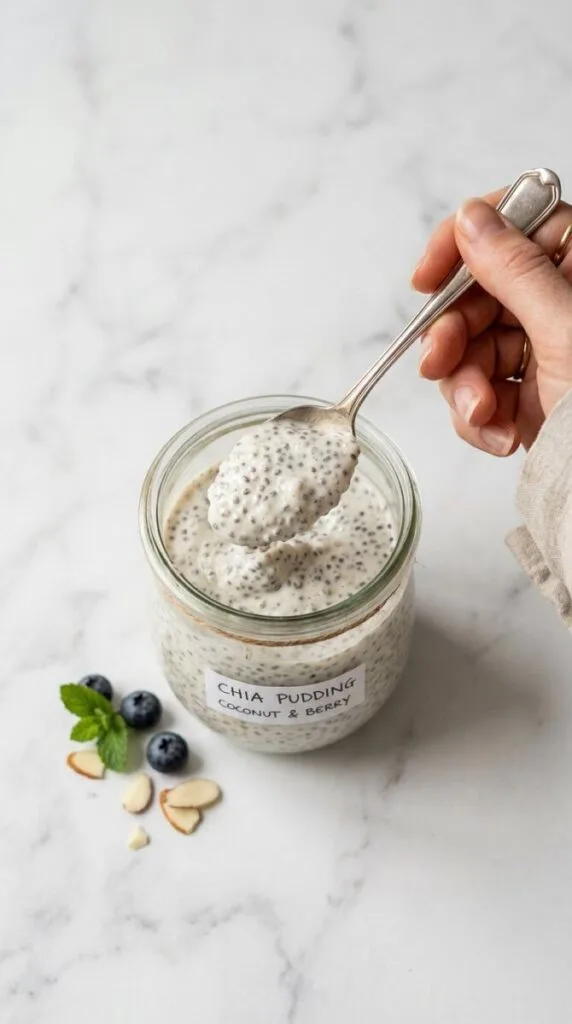
- Seal and refrigerate for at least 4 hours, or overnight — 8 to 12 hours produces the thickest, most fully hydrated result.
- Before serving, stir once more to reincorporate any liquid that has settled at the surface, then add toppings and serve.
Chia pudding is the make-ahead breakfast with the most natural synergy to a weekend brunch spread. Our Sourdough Discard Cinnamon Rolls are the warm, indulgent companion on the same brunch table — the cinnamon rolls cover the celebratory, share-worthy brunch item while the chia pudding covers the grab-and-go weekday option that uses the same batch of meal prep logic.
The Milk Guide — What Each Option Produces
Full-fat coconut milk (canned) produces the richest, creamiest chia seed pudding with a subtle tropical flavour and thick, almost custardy texture — the highest fat content produces the smoothest gel. This is coconut chia seed pudding at its best and the version most likely to convert someone who thinks they don’t like chia pudding. Use the canned coconut milk, not the carton.
Oat milk produces a slightly sweet, neutral-flavoured pudding with a naturally creamy texture from the oat base — the most versatile option that works with every flavour direction from chocolate to fruit.
Whole dairy milk produces a clean, milky flavour and a lighter texture than coconut milk — the protein and fat work together to create a satisfying result that is lower in calories than the coconut milk version.
Almond milk produces a thinner pudding with a mild, slightly nutty background flavour — requires either extra chia seeds or a longer soaking time to achieve the same thickness as whole milk or oat milk.
For high protein chia seed pudding: Replace half the milk with plain full-fat Greek yogurt before stirring — the yogurt provides 8 to 10 additional grams of protein per serving, thickens the pudding significantly, and adds a pleasant dairy tang that makes the finished jar taste more like a cheesecake or a parfait than a straightforward breakfast.
Six Flavour Variations Worth Making
Chocolate chia seed pudding: Add 2 tablespoons of unsweetened cocoa powder and an extra teaspoon of maple syrup to the base before mixing. Top with sliced banana and a pinch of flaky salt. This is the variation that tastes most genuinely like dessert while remaining entirely nutritious.
Strawberry chia seed pudding: Blend 1/2 cup of fresh or frozen strawberries with 2 tablespoons of the milk until smooth and stir into the base mixture before refrigerating — the strawberry puree turns the pudding a natural pink and infuses every bite with real berry flavour rather than extract.
Blueberry chia seed pudding: Simmer 1/2 cup of blueberries with 1 teaspoon of lemon juice and 1 teaspoon of maple syrup for 5 minutes until jammy, cool completely, and swirl through the finished pudding before serving for a concentrated fruit layer on top of or through the base.
Coconut chia seed pudding: Use canned full-fat coconut milk as the liquid, add 2 tablespoons of toasted unsweetened coconut flakes to the base, and top with mango, pineapple, and an extra scatter of toasted coconut. This is the tropical direction that photographs best and tastes most like a restaurant-quality dessert.
Pumpkin chia seed pudding: Add 3 tablespoons of pure pumpkin puree, 1/4 teaspoon of cinnamon, a pinch of ginger, and a pinch of nutmeg to the base for an autumn version that tastes like pumpkin pie in a jar — specifically the filling, which is the best part of pumpkin pie.
Raspberry chia seed pudding: Layer the plain base with a quick raspberry coulis — simmer 1/2 cup of raspberries with 1 teaspoon of sugar until broken down, cool, and spoon over the set pudding just before serving. The tart raspberry against the creamy base is the flavour contrast that makes this the most requested variation.
If you love the high-protein direction and want another breakfast with comparable macros, our High-Protein Blueberry Cottage Cheese Breakfast Bake covers the warm, baked version of the same breakfast philosophy — high protein, real fruit, naturally sweetened, and made ahead.
Recommended Kitchen Tools for the Best Chia Seed Pudding
6 essential tools that make it easy to get a smooth, creamy texture and perfect meal-prep portions every time.Chia seed pudding is simple to prepare, but having the right tools makes it easier to get a smooth, creamy texture and convenient meal-prep portions. From portion-controlled jars to the small tools that prevent clumps, these are the essentials I recommend for consistently great chia seed pudding.

Glass Meal Prep Jars with Lids
Perfect for preparing individual portions of chia pudding. You can mix, refrigerate, and serve the pudding in the same container.

Small Whisk
Helps distribute the chia seeds evenly through the milk and prevents them from clumping together.

Measuring Cups
Accurate liquid measurements help you achieve the right chia-to-milk ratio and the ideal pudding consistency.

Measuring Spoons
Useful for measuring chia seeds, sweeteners, vanilla, cocoa powder, and other flavorings consistently.

Silicone Spatula
A flexible spatula makes it easy to stir the mixture and scrape every bit from the bowl or jar.

Digital Kitchen Scale
Great for measuring chia seeds by weight, giving you consistent results and the same creamy texture every time.
As an Amazon Associate we earn from qualifying purchases.
How to Make Chia Seed Pudding Properly Set
The second stir at the 5-minute mark is the step that most recipes mention as optional and that absolutely isn’t — chia seeds begin gelling on contact with liquid and will clump together in the first few minutes if not disturbed. These clumps set into dense pods of seeds surrounded by thin, under-gelled liquid that never evens out regardless of how long the pudding chills. Stirring at the 5-minute mark breaks up the forming clumps and redistributes the seeds into a uniform suspension that gels evenly throughout.
The ratio matters more than anything else — too few chia seeds produces a thin, almost drinkable consistency that doesn’t satisfy; too many produces something closer to a solid pudding that is difficult to spoon cleanly. The 1:4 ratio (1 tablespoon of chia seeds per 4 tablespoons of liquid) is the most tested and most consistently recommended balance across food scientists and nutritionists who have specifically looked at chia seed hydration. According to The Kitchn, chia seeds can absorb up to ten times their weight in liquid, which is why the exact ratio of seed to liquid determines not just thickness but whether the pudding has a smooth, uniform texture or a seedy, uneven one — too little liquid and the seeds compete for moisture rather than each hydrating fully.
Topping Ideas That Elevate Every Bowl
The toppings are where chia pudding moves from functional to genuinely enjoyable — a jar of plain chia pudding with no toppings is nutritious but uninspiring, while the same jar with a proper topping combination tastes like a composed dessert.
The best combinations: fresh mango and toasted coconut — sliced banana and dark chocolate chips with a pinch of sea salt — mixed berries and a drizzle of raw honey — granola and sliced peach with a spoon of almond butter — pomegranate seeds and a swirl of tahini with honey.
Add toppings right before eating rather than the night before — fruit releases moisture and granola softens when stored in contact with the pudding overnight, and both are best added fresh.
Nutritional Information
| Nutrient | Amount Per Serving (base recipe, oat milk, 1 tsp maple syrup) |
|---|---|
| Calories | 210 kcal |
| Protein | 7 g |
| Carbohydrates | 22 g |
| Fats | 10 g |
Adding 1/4 cup of full-fat Greek yogurt to the base increases protein to approximately 14 grams per serving with a modest calorie increase of about 35 calories — the high protein chia seed pudding breakfast variation is the most nutritionally complete single-jar breakfast on this list for anyone prioritising protein at the first meal of the day.
Meal Prep Storage Guide
Chia pudding keeps in sealed jars in the fridge for up to 5 days — this is the full weekly meal prep window that makes Sunday preparation cover every weekday breakfast without any quality loss. The pudding is actually at its best between day two and day four when the chia seeds are fully hydrated and the flavours have melded completely.
Store in individual portion-sized mason jars or any airtight container — the individual jar format makes grab-and-go mornings genuinely grab-and-go rather than requiring portioning. Add the toppings from a separate small container in the fridge each morning for the best texture across the full week.
Chia pudding does not freeze well — the gel structure breaks down on thawing and produces a separated, watery result that cannot be restored.
Why Your Chia Pudding Isn’t Thickening
If the pudding is still liquid after 4 hours, the most common causes are insufficient chia seeds for the amount of liquid used, seeds that are past their best (old chia seeds hydrate less efficiently than fresh), or a liquid with additives that interfere with gelling such as heavily processed plant milks. Add an extra tablespoon of chia seeds, stir well, and refrigerate for another 2 hours — this rescues most under-set puddings.
If the pudding is too thick, stir in milk one tablespoon at a time until the desired consistency is reached — chia pudding can always be thinned after setting but cannot be thickened after the fact without adding more seeds and more waiting time.
If there are clumps throughout despite proper stirring, the second stir was skipped or too long was left between the first stir and the second — the clumps cannot be fully broken up once set, which is why the 5-minute second stir is non-negotiable rather than optional.
Thick & Creamy
Chia Seed Pudding
Thick, satisfying, and endlessly customizable! This easy overnight chia pudding takes 5 minutes to prep and makes the perfect healthy breakfast or make-ahead snack.
Ingredients
Instructions
Add the chia seeds, milk of your choice, sweetener, vanilla, and salt to a mason jar or container with a tight-fitting lid. Stir very well until all the chia seeds are submerged in the liquid.
Let the mixture sit undisturbed on the counter for exactly 5 minutes, then stir again thoroughly. (This prevents the chia seeds from clumping at the bottom and creates a smooth, evenly gelled pudding!)
Cover and refrigerate for at least 4 hours. For the thickest, creamiest texture, refrigerate overnight for 8–12 hours.
Kitchen Notes
Always stick to the 1:4 ratio (1 part chia seeds to 4 parts liquid) for a perfectly thick, spoonable consistency.
Stirring again after 5 minutes breaks up the seeds right as they begin to gel, preventing a giant, solid clump from forming at the bottom of your jar.
For the richest, dessert-like coconut version, choose full-fat canned coconut milk rather than the thin coconut milk sold in cartons.
If it’s too thin, add 1 tbsp chia seeds, stir, and chill for 2 more hours. If it’s too thick, simply stir in an extra splash of milk before eating!
Flavor Variations
Add 2 tbsp unsweetened cocoa powder and 1 extra tsp maple syrup to the base. Top with banana and a pinch of sea salt!
Blend ½ cup fresh strawberries with 2 tbsp milk and stir it right into the base before chilling.
Use full-fat canned coconut milk for the base. Top with toasted coconut flakes, fresh mango, and pineapple.
Whisk 3 tbsp pumpkin puree, ¼ tsp cinnamon, and a pinch each of ginger and nutmeg into the base.
Store chia pudding in airtight containers or individual mason jars in the refrigerator for up to 5 days.
For meal prep, prepare several jars at once but keep your toppings separate until serving so fruit doesn’t get mushy and granola stays crunchy!
Do not freeze chia pudding, as the beautiful gel texture can become watery and separated after thawing.