
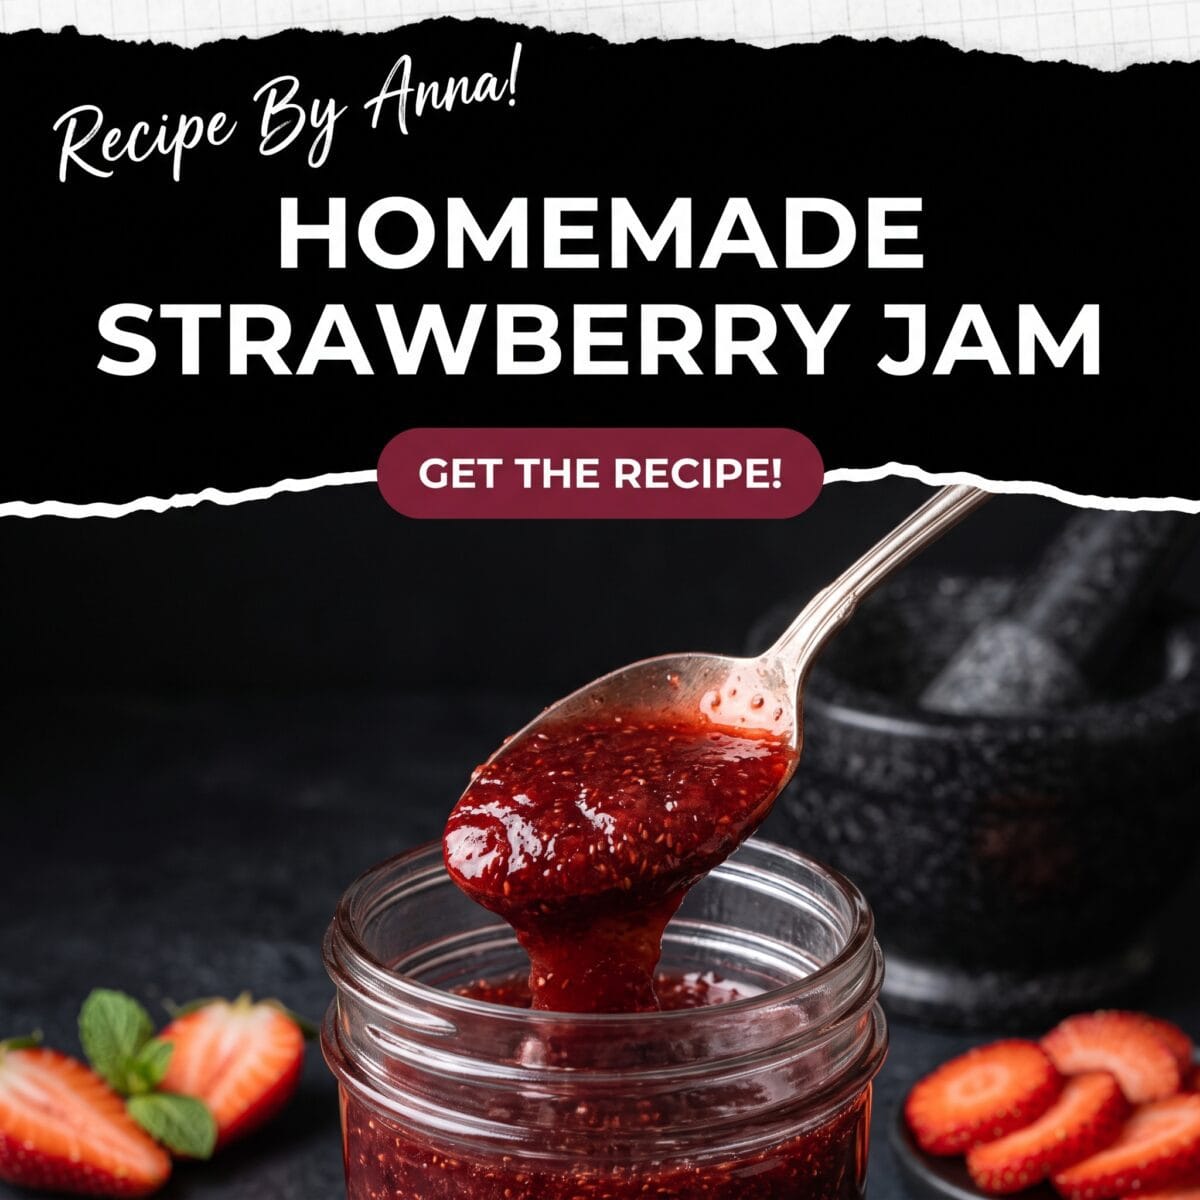
Homemade Strawberry Jam — The Classic Recipe That Never Fails
This Homemade Strawberry Jam is the classic recipe that consistently produces a deeply flavoured, glossy, properly set jam from fresh summer strawberries — not the commercial preserve that tastes of sugar and strawberry flavouring, but actual jam that tastes like concentrated strawberries at their best, spreadable from a jar you made yourself.
The recipe uses pectin-free traditional method — just strawberries, sugar, and lemon juice simmered until the jam reaches setting point. No pectin packet required, no special equipment beyond a heavy pot and a thermometer, and a result that is deeper in strawberry flavour than pectin-set jams because the longer cooking time concentrates the fruit rather than thickening it with a commercial gelling agent.
Pectin-free jam does require more active attention at the stove than a packet-pectin version — typically 35 to 45 minutes of cooking with regular stirring — but the flavour payoff is genuinely significant, and once you have made a batch this way you will find it difficult to go back to a product that sets in ten minutes and tastes primarily of sugar.
Why This Method Produces Better Jam Than the Pectin Version
Pectin causes jam to set very quickly, which means the cooking time is short and the strawberry flavour doesn’t have time to concentrate. The resulting jam tastes bright and fresh but shallow — it tastes like sweetened strawberries rather than strawberry jam. The longer cooking process in a pectin-free recipe drives off more water from the fruit, which concentrates the fruit sugars and creates the Maillard-adjacent browning reactions that give a properly cooked jam its deep, almost caramelised strawberry flavour.
The colour is also different — a properly cooked pectin-free jam is a deeper ruby rather than a bright red, which is a visual sign of the flavour concentration that has happened during the longer cook.
- Prep Time: 20 minutes (hulling and macerating the strawberries)
- Cook Time: 35 to 45 minutes
- Total Time: 55 minutes to 1 hour 5 minutes
- Yield: about 3 to 4 half-pint jars (3 to 4 cups of finished jam)
What You Need
- Fresh ripe strawberries, hulled: 2 lbs (900g) — about 6 cups of whole berries
- Granulated sugar: 1 1/2 cups (300g) — slightly less than the 1:1 ratio many recipes use, producing a jam that tastes more strongly of strawberry and less of sugar
- Fresh lemon juice: 2 tablespoons (about 1 lemon)
- Lemon zest: 1/2 teaspoon (optional, but adds brightness)
Equipment: A large, wide heavy-bottomed pot (wider = faster evaporation = shorter cook time), a candy or jam thermometer, sterilised jam jars with lids, and a wide-mouth funnel for filling if you have one.
How to Make It
Macerating the strawberries (do this first, it speeds up the cooking):
- Hull and roughly crush or halve the strawberries — larger berries should be quartered so they break down evenly during cooking. The texture of your finished jam depends on how much you crush them now: rough halves produce jam with visible fruit pieces, thoroughly crushed berries produce a smoother jam.
- Combine the hulled strawberries and sugar in the pot and stir together. Let the mixture sit at room temperature for 20 to 30 minutes, stirring once or twice — the sugar draws liquid out of the strawberries through osmosis, creating a natural syrup that helps the jam cook more evenly and reduces the risk of the sugar burning at the bottom of the pot before the fruit releases its moisture.
Sterilising the jars (do this while the strawberries macerate):
- Wash the jars and lids in hot soapy water and rinse thoroughly.
- Place the jars in a large pot of water, bring to a boil, and boil for 10 minutes. Keep them in the hot water until you’re ready to fill them — remove each jar just before filling using tongs.
- Place the lids in a small pot of simmering (not boiling) water for 5 minutes and remove when ready to use.
Cooking the jam:
- Add the lemon juice and zest to the macerated strawberry-sugar mixture and stir to combine.
- Bring the mixture to a boil over high heat, stirring constantly until the sugar has fully dissolved — you should no longer see or feel sugar granules when you stir across the bottom of the pot.
- Once boiling, reduce to a vigorous simmer over medium-high heat — vigorous enough that the jam is still actively bubbling across the surface but not so aggressive that it spits and spatters dangerously.
- Cook for 35 to 45 minutes, stirring every few minutes to prevent sticking on the bottom — in the first 20 minutes the mixture will produce a lot of foam that should be skimmed off with a spoon and discarded, since foam trapped in the finished jam creates air pockets that affect both appearance and texture.
- Begin testing for set after 30 minutes using the plate test or a thermometer — the jam is ready when it registers 220°F (104°C) on a candy thermometer. For the plate test, place a small plate in the freezer before you start cooking; drop a teaspoon of jam onto the cold plate and let it sit for 30 seconds — if it wrinkles when pushed with a finger rather than running like liquid, it is set.
- Once set, remove from heat immediately — jam continues to cook from residual heat in the pot and will over-set if left in the hot pan after the temperature is reached.
Filling the jars:
- Remove a sterilised jar from the hot water using tongs and place it on a clean towel.
- Ladle the hot jam into the jar, leaving 1/4 inch of headspace at the top — the headspace is important for the vacuum seal that forms as the jar cools.
- Wipe the rim clean with a damp cloth, then press a sterilised lid on and screw the band on fingertip-tight — tight enough to stay on but not so tight it prevents air from escaping during sealing.
- Repeat with remaining jars and return to the canning pot to process in boiling water for 10 minutes if you want shelf-stable, properly canned jam.
- Remove from the canning water and let rest undisturbed on a towel for 12 to 24 hours — you will hear the satisfying pop of each lid sealing as the jars cool.
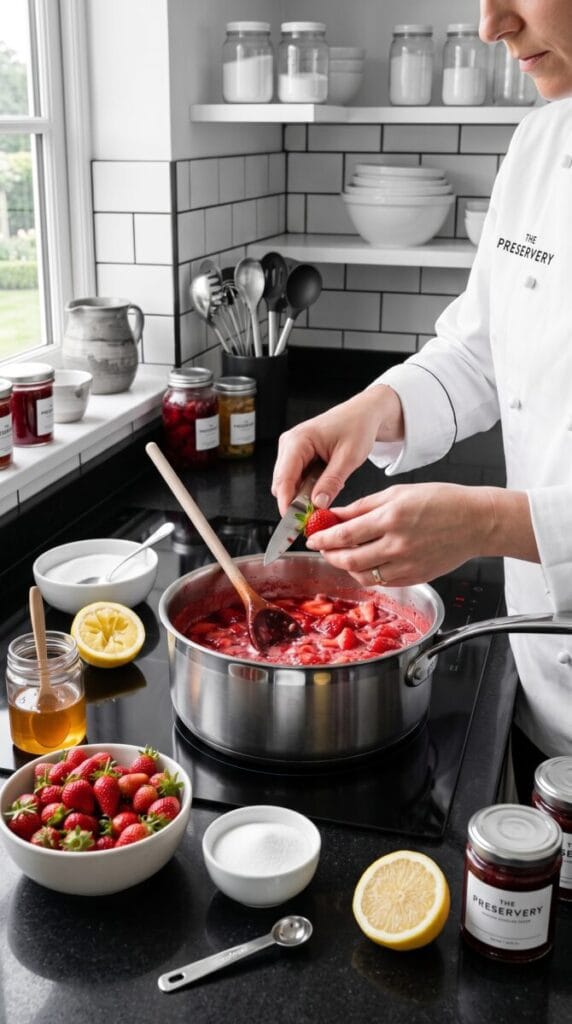
This strawberry jam pairs beautifully with our Fluffy Easy Banana Pancakes — a warm stack of banana pancakes with a spoonful of fresh strawberry jam is one of those genuinely simple combinations that tastes like more effort than it is.
Understanding the Setting Point and Why It Matters
The setting point for jam — 220°F (104°C) at sea level — is the temperature at which the natural pectin in the fruit, the sugar, and the acid from the lemon interact to create the gel structure that produces a spreadable jam rather than a pourable syrup. Below this temperature, the jam won’t set regardless of how long it cooks. Above it, the jam will set so firmly it becomes stiff and difficult to spread.
Altitude affects the setting point — at higher elevations, water boils at a lower temperature, which means the setting point is also lower. If you are above 1,000 feet in elevation, subtract approximately 2°F from the 220°F target for every 1,000 feet above sea level you are located.
The plate test is more reliable than a thermometer alone because it tests the actual gel behaviour of your specific batch rather than assuming the temperature conversion holds exactly — every batch of strawberries has slightly different natural pectin content, which can shift the actual setting temperature by a few degrees. Use both methods and trust the plate test when they disagree. According to King Arthur Baking, the wrinkle test on a cold plate is the most definitive single indicator of jam set because it directly tests the gel network that has formed rather than measuring temperature as a proxy for it.
What to Do With a Jar of Homemade Strawberry Jam
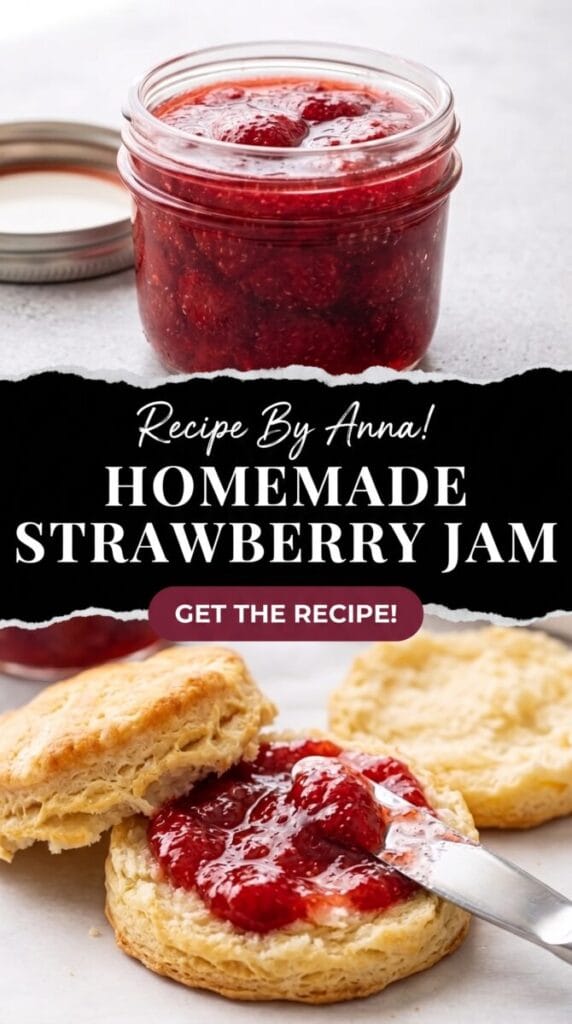
The obvious answer is toast, but the less obvious applications are where a good homemade jam earns its place — swirled into Greek yogurt, spread across the bottom of a pastry shell before the filling goes in, folded into a cream cheese filling, or used as the filling in a rolled sponge cake.
A tablespoon of this jam stirred into the cream base of our Easy Coffee Cheesecake Dessert before filling the cups adds a strawberry-coffee layer that sounds unexpected but works beautifully — the jam’s acidity cuts through the espresso richness and adds a fruity brightness to a dessert that otherwise leans entirely on dark flavours.
For a full breakfast spread where the jam is the centrepiece, serve it alongside our High-Protein Blueberry Cottage Cheese Breakfast Bake — the warm, protein-rich bake with a spoonful of fresh strawberry jam on the side is a breakfast combination that feels genuinely indulgent while being nutritionally complete.
Variations and What You Can Change
Add 1 teaspoon of pure vanilla extract to the jam in the last 5 minutes of cooking for a strawberry-vanilla version that is richer and more complex — vanilla and strawberry is a natural pairing that deepens the overall flavour without masking the fruit.
Add a 2-inch sprig of fresh rosemary to the pot for the last 15 minutes of cooking and remove before jarring for an herbaceous, slightly savoury strawberry jam that is exceptional on cheese boards alongside sharp aged cheeses — unexpected and genuinely sophisticated.
Stir in 1 tablespoon of balsamic vinegar in the final 5 minutes for a strawberry-balsamic jam with more depth and a slightly darker flavour that pairs beautifully with soft cheeses and charcuterie boards in a way that standard strawberry jam doesn’t.
Nutritional Information
| Nutrient | Amount Per Tablespoon |
|---|---|
| Calories | 40 kcal |
| Protein | 0 g |
| Carbohydrates | 10 g |
| Fats | 0 g |
These values are estimates based on the full recipe yield of approximately 48 tablespoons (3 cups). The reduced sugar ratio in this recipe (less than 1:1 fruit to sugar) produces a jam with slightly fewer calories per tablespoon than commercial jam while delivering a more concentrated strawberry flavour per serving.
Storage — Canned vs. Refrigerator Jam
Properly water-bath-canned jars of this jam keep on a shelf in a cool, dark place for up to 1 year — check that each lid is concave (pushed down in the center) before storing, which confirms the vacuum seal formed correctly. Any jar where the lid is convex or moves when pressed is not sealed and should be refrigerated and used within 3 weeks.
If you skip the canning step entirely and simply ladle the hot jam into clean jars and refrigerate rather than processing, the jam keeps in the fridge for up to 3 weeks and in the freezer for up to 1 year. Refrigerator jam skips the sterilisation and water bath steps but is not shelf-stable at room temperature. For a first batch or a small quantity you plan to use quickly, the refrigerator method is perfectly reasonable and saves significant time.
Where This Recipe Can Go Wrong
Not skimming the foam during cooking produces a jar of jam with visible air bubbles trapped through the set — the jam is safe and tastes fine but looks cloudy and slightly unprofessional. Skim the foam regularly during the first 20 minutes when it is most active, using a wide spoon dragged across the surface.
Pulling the jam off the heat before it has fully reached the setting point produces a syrup rather than a jam — it will taste excellent but won’t spread from a spoon, it will pour. If this happens, return the jam to the pot and continue cooking, checking the plate test every 5 minutes until it sets correctly.
Over-cooking past the setting point produces jam that sets too firmly and becomes difficult to spread from a cold jar — this is frustrating but fixable. Return the over-set jam to the pot, add 2 to 3 tablespoons of water, and bring back to a simmer to re-dissolve some of the gel structure, then test again and re-jar at the right set point.
Homemade Strawberry Jam
A classic pectin-free recipe slow-cooked until naturally thick and glossy. Delivers an intense, vibrant fruit flavor that makes store-bought preserves pale in comparison.
Ingredients
Instructions
Wash and hull the strawberries. Roughly crush or halve them, cutting larger berries into quarters. (Leave some large pieces for chunky jam, or crush thoroughly for a smoother spread).
Place the prepared strawberries and sugar in a large, wide heavy-bottomed pot. Stir well and let sit at room temperature for 20–30 minutes to draw moisture from the berries and create a natural syrup.
Add the fresh lemon juice and optional lemon zest to the strawberry mixture. Place the pot over high heat and bring to a boil, stirring frequently until the sugar dissolves.
Reduce the heat to medium-high and maintain a vigorous simmer. Cook for approximately 35–45 minutes, stirring regularly to prevent sticking. Skim off and discard any foam that forms during the first 20 minutes.
Begin checking the jam after about 30 minutes. It should reach approximately 220°F (104°C) on a candy thermometer. To confirm, use the cold-plate test: Spoon a dab onto a plate that has been in the freezer. Let cool for 30 seconds. Push it with your finger—if the surface wrinkles, it is ready.
Using a wide-mouth funnel, ladle the hot jam into the hot, sterilized jars, leaving ¼ inch of headspace at the top. Wipe the rims clean with a damp cloth, place the lids, and screw the bands on fingertip-tight.
If you want the jam to be shelf-stable at room temp, process the filled jars in a boiling-water canner for 10 minutes following altitude guidelines. Let them cool undisturbed for 12–24 hours, then check seals before storing.
Kitchen Notes
A wide pot works much better than a narrow pot for jam-making because the larger area allows the water to evaporate much faster!
Lemon isn’t just for flavor! The acidity helps balance the sweetness and contributes to the setting process by working with the fruit’s natural pectin and sugar.
At sea level, the setting temperature is 220°F (104°C). If you live at a higher elevation, the boiling point of water is lower, so your target temperature will be lower too. Always use the cold plate test to confirm!
Remember that the jam will become noticeably thicker as it cools in the jars. If it looks perfectly thick in the boiling pot, you’ve overcooked it and it will turn into a gummy candy.
Flavor Variations
Stir in 1 teaspoon of pure vanilla extract or the scrapings of one vanilla bean during the final 5 minutes of cooking.
Stir in 1 tablespoon of high-quality balsamic vinegar during the final 5 minutes of cooking for a deeper, slightly tangy adult flavor.
Add a 2-inch sprig of fresh rosemary during the last 15 minutes of cooking. Remove the sprig before ladling into jars.
Increase the lemon zest slightly for a brighter, more citrus-forward preserve that cuts through the sugar.
Reaching the exact 220°F (104°C) setting point is the most important step in jam making! A digital thermometer takes the guesswork out of the process and ensures you don’t end up with runny syrup or rock-hard jelly.
*A wide-mouth canning funnel is also highly recommended to keep your jar rims clean!