
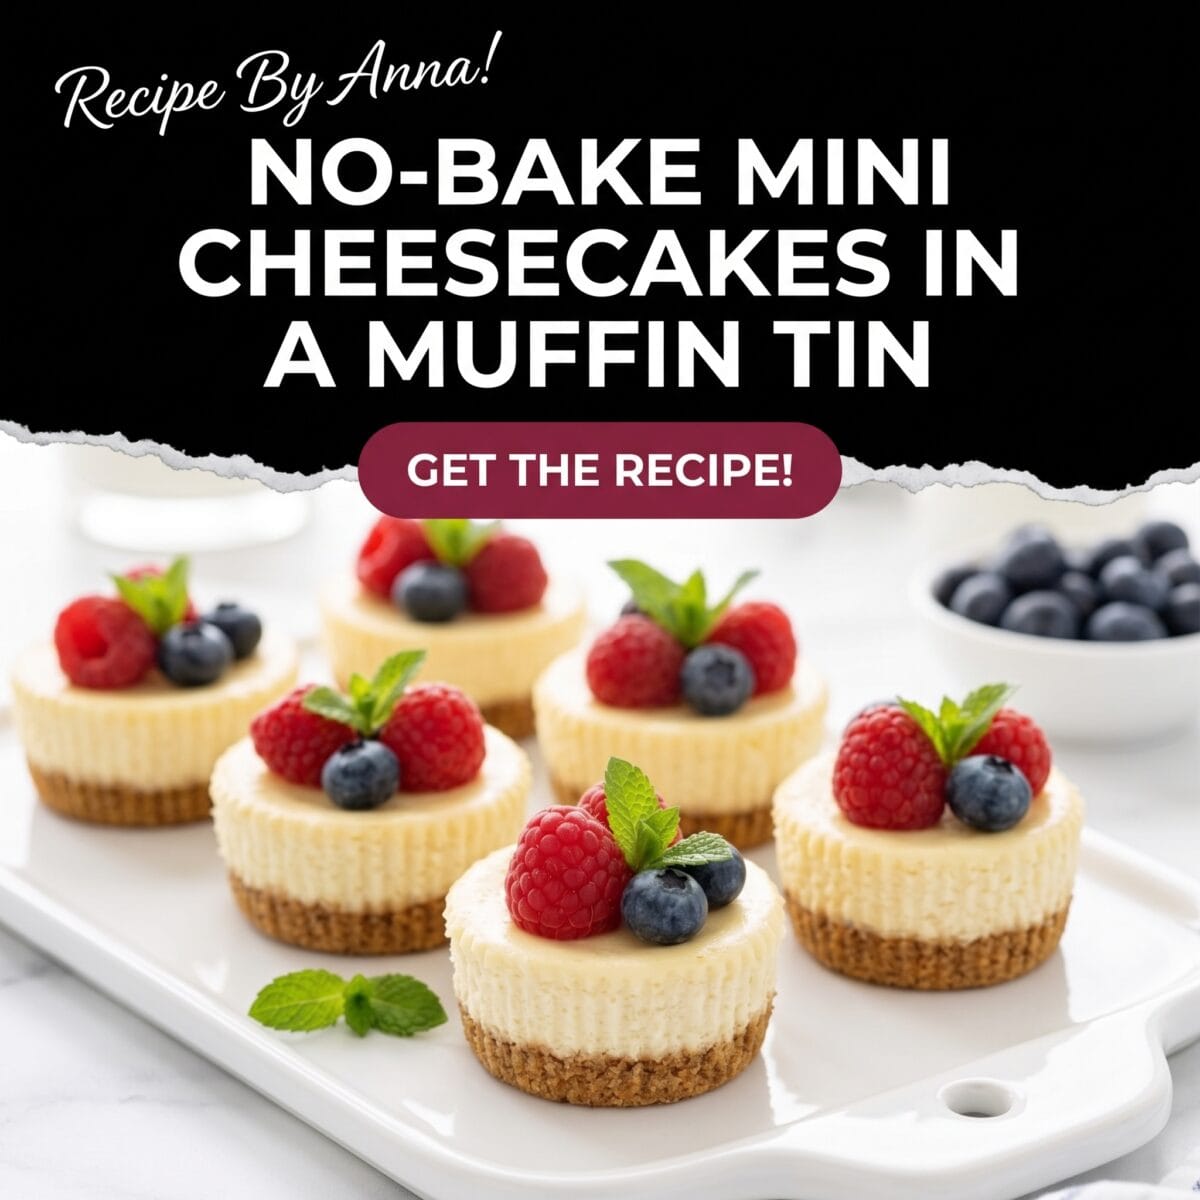
No-Bake Mini Cheesecakes in a Muffin Tin
If you love cheesecake but don’t want to turn on the oven, these No-Bake Mini Cheesecakes in a Muffin Tin are about to become a favorite.
They’re creamy, smooth, and just the right size for individual servings. The best part? You don’t need a springform pan or any special cheesecake equipment. A regular muffin tin does the job beautifully.
The buttery cookie crust gives each little cheesecake a nice crunch, while the filling is soft, rich, and creamy. Add fresh berries, lemon zest, chocolate, or your favorite topping, and you have an easy dessert that looks much more impressive than the effort it takes.
And because they’re made ahead and chilled in the refrigerator, they’re perfect for parties, birthdays, holidays, or those days when you simply want something sweet waiting for you in the fridge.
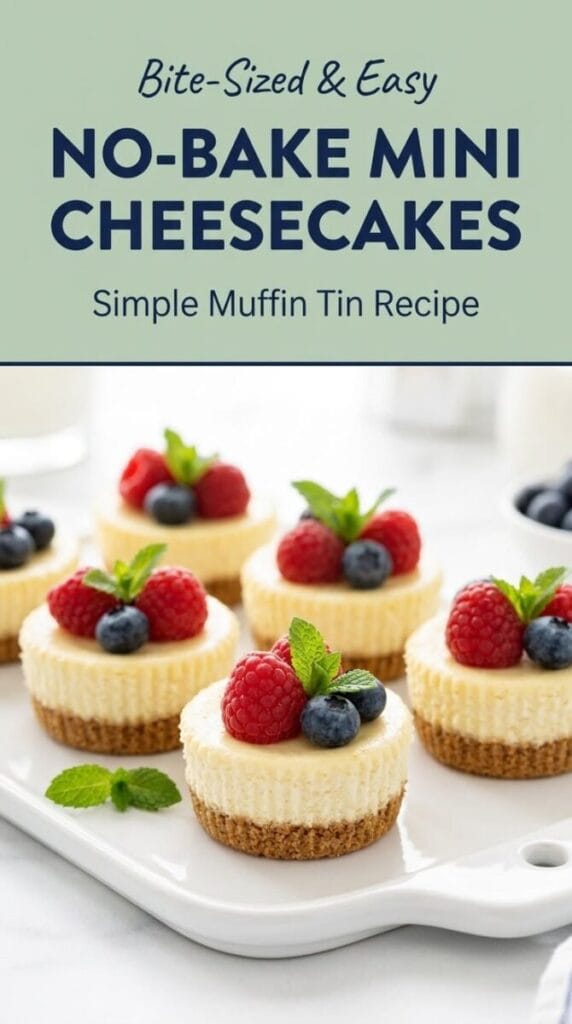
Why You’ll Love These Mini Cheesecakes
There are plenty of reasons to keep this recipe in your back pocket.
- No oven required.
- Made in a regular muffin tin.
- Easy to make ahead.
- Perfect individual portions.
- Creamy without being too heavy.
- Easy to customize with different toppings.
- Great for parties and gatherings.
If you enjoy simple no-bake desserts, you may also want to try my Easy Coffee Cheesecake Dessert. It has the same creamy cheesecake idea but with a delicious coffee twist.
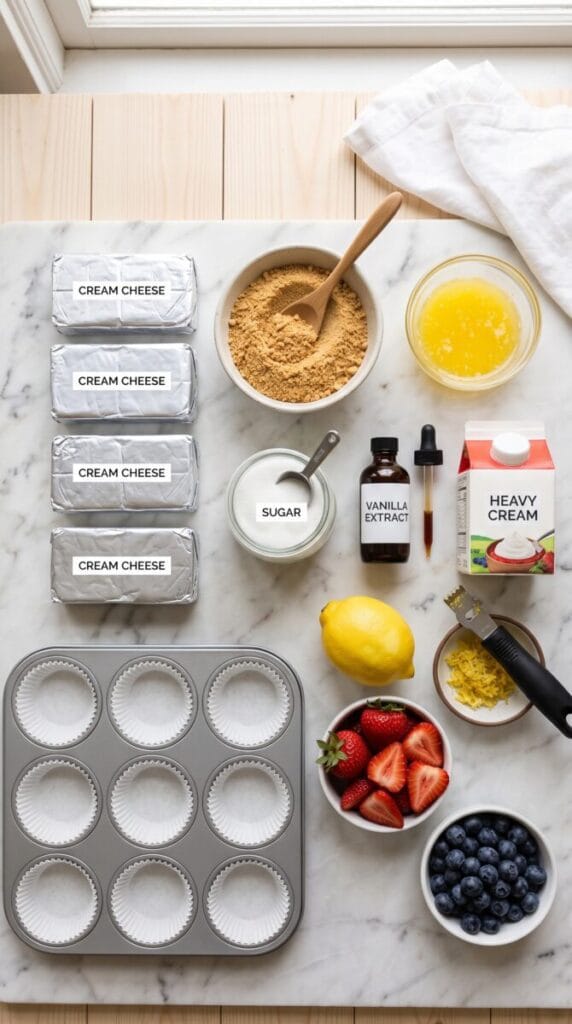
Ingredients You’ll Need
For the Crust
- Graham crackers or digestive biscuits
- Melted unsalted butter
- A little granulated sugar
- A small pinch of salt
For the Cheesecake Filling
- Full-fat cream cheese, softened
- Powdered sugar
- Heavy whipping cream
- Vanilla extract
- Fresh lemon juice
- Lemon zest, optional
For Topping
You can keep these simple or have fun with them.
Try:
- Fresh strawberries
- Blueberries
- Raspberries
- Lemon zest
- Whipped cream
- Chocolate shavings
- Caramel sauce
- Berry sauce
How to Make No-Bake Mini Cheesecakes
1. Prepare the Muffin Tin
Line a standard 12-cup muffin tin with paper cupcake liners.
I recommend using liners because they make removing the mini cheesecakes much easier later.
2. Make the Cookie Crust
Crush the graham crackers into fine crumbs.
Mix the crumbs with melted butter, sugar, and a small pinch of salt. The mixture should look like wet sand and hold together when pressed.
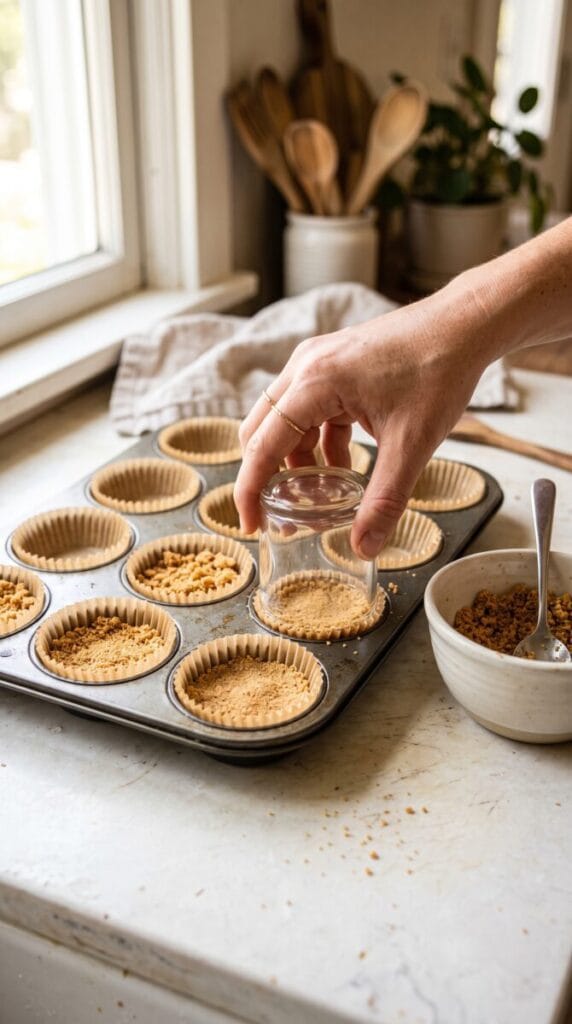
Divide the crust mixture between the muffin cups.
Use the bottom of a small glass, measuring cup, or spoon to press the crumbs down firmly.
Don’t skip this step. A firmly packed crust gives the cheesecakes a nice base and helps them hold together when you remove them from the liners.
Place the muffin tin in the refrigerator while you prepare the filling.
3. Make the Creamy Cheesecake Filling
Make sure your cream cheese is softened before you start. This is one of the easiest ways to avoid little lumps in your filling.
Beat the cream cheese and powdered sugar until smooth and creamy.
Add the vanilla, lemon juice, and lemon zest if using. Mix until everything is well combined.
In a separate bowl, whip the cold heavy cream until stiff peaks form.
Gently fold the whipped cream into the cream cheese mixture.
Try not to overmix at this point. You want to keep the filling light and fluffy.
4. Fill the Muffin Cups
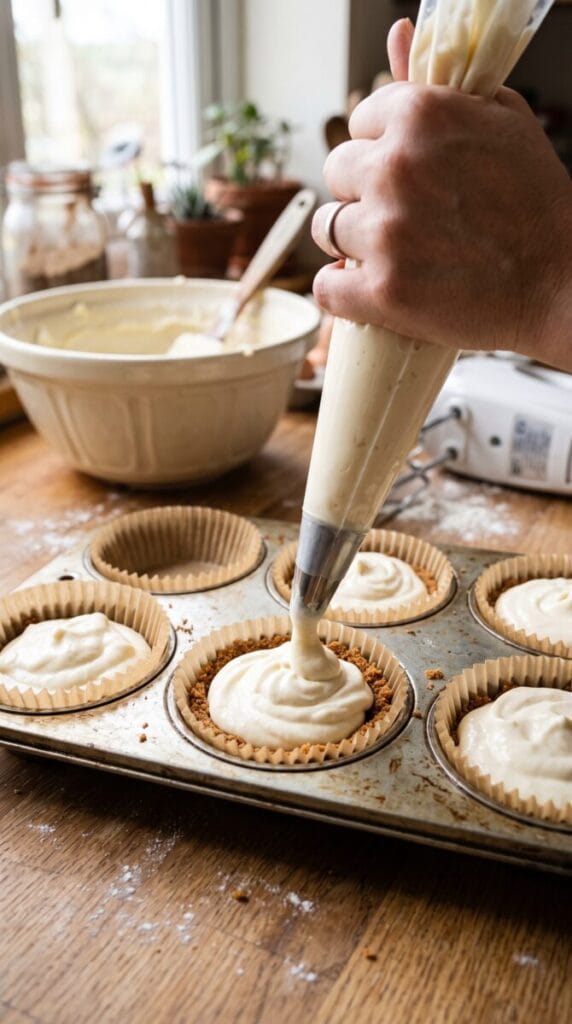
Spoon the cheesecake filling over the chilled crusts.
You can use a spoon, small cookie scoop, or piping bag to make this easier and keep the portions even.
Smooth the tops with the back of a spoon or a small spatula.
If you want to add toppings inside the cheesecake, you can also swirl in a little berry sauce or chocolate before chilling.
5. Chill Until Firm
Cover the muffin tin and refrigerate the mini cheesecakes for at least 4 hours.
For the best texture, I prefer chilling them overnight.
This gives the filling plenty of time to firm up and makes the mini cheesecakes much easier to remove from the liners.
The Secret to Creamy No-Bake Cheesecake
The most important thing is the cream cheese.
Use full-fat cream cheese and let it come to room temperature before mixing. Cold cream cheese can leave small lumps in the filling, and nobody wants lumpy cheesecake.
The heavy cream also matters. Whip it until it forms firm peaks, but don’t keep beating it once it gets there.
Then fold it gently into the cream cheese mixture.
That whipped cream is what gives these little cheesecakes their soft, creamy texture.
How to Remove Mini Cheesecakes From the Muffin Tin
Once the cheesecakes are completely chilled, gently lift them out using the paper liners.
If they’re sticking, don’t try to force them out immediately.
Let them sit at room temperature for a few minutes, then gently peel away the liner.
For especially neat mini cheesecakes, you can also use removable-bottom silicone muffin cups.
Easy Topping Ideas
This is where you can make the recipe your own.
Fresh Berries
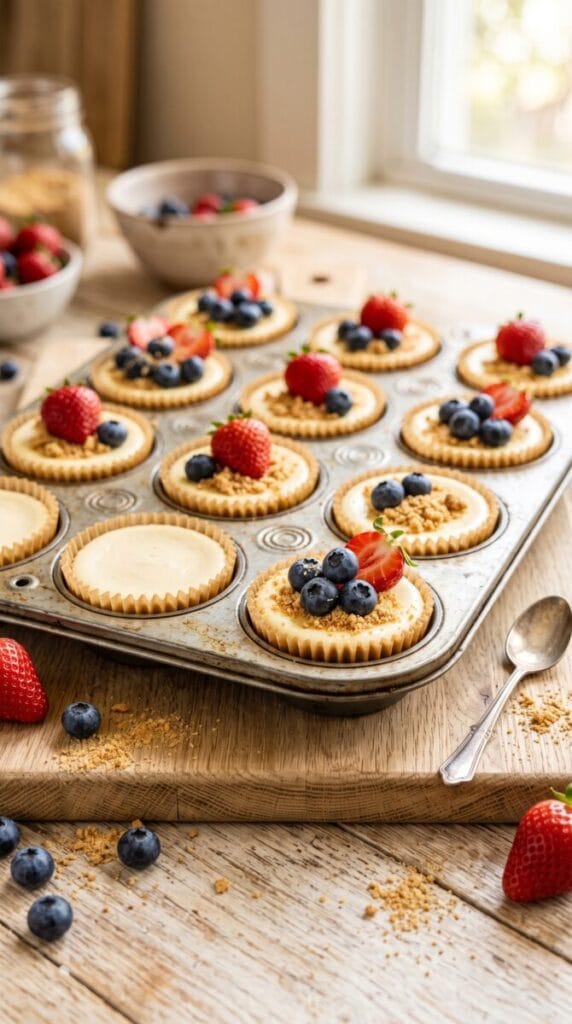
Add strawberries, raspberries, or blueberries just before serving.
A little fresh fruit makes the creamy cheesecake feel lighter and adds a beautiful pop of color.
Lemon
For a fresh summer version, add lemon zest and a small spoonful of lemon curd to each cheesecake.
If you’re a fan of lemon desserts, my Flourless Lemon Yogurt Cake is another easy dessert worth trying.
Chocolate
Drizzle the mini cheesecakes with melted chocolate and add a few chocolate curls on top.
You could also use crushed chocolate cookies instead of graham crackers for the crust.
Caramel
A small drizzle of caramel sauce adds a rich, buttery sweetness that works especially well with the creamy cheesecake filling.
Recommended Kitchen Tools for the Best No-Bake Mini Cheesecakes
6 essential tools for neat portions, a smooth creamy filling, and a firm crust without turning on the oven.These mini cheesecakes are easy to make without turning on the oven, but the right tools help you create neat individual portions, a smooth creamy filling, and a firm crust that holds together beautifully.

12-Cup Muffin Tin
A standard muffin tin creates perfectly portioned mini cheesecakes and gives each one a neat, uniform shape.

Paper or Silicone Muffin Liners
Liners make removing the chilled cheesecakes easier, keep the tin clean, and help protect the delicate crusts.
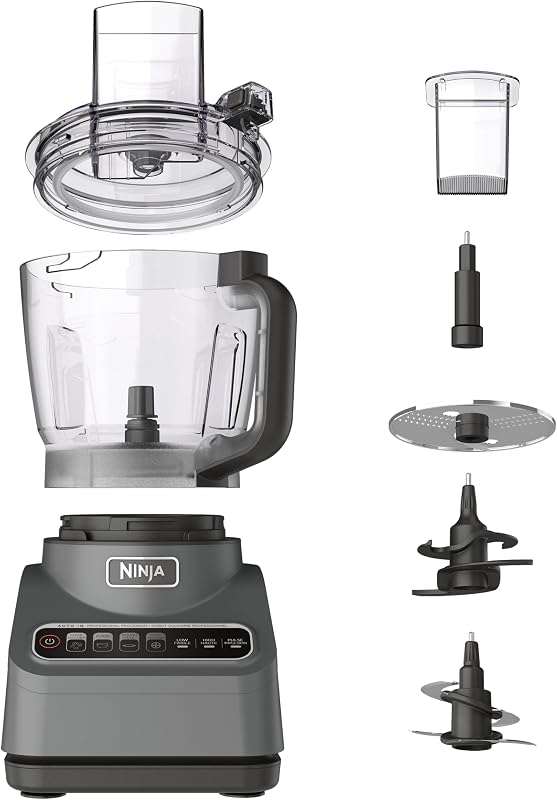
Food Processor
A food processor quickly turns graham crackers or cookies into fine crumbs and can help create a smooth cheesecake filling.

Electric Hand Mixer
A hand mixer beats the cream cheese until smooth and whips the filling into a light, fluffy texture.

Cookie Scoop
A small cookie scoop portions the crust and cheesecake filling evenly so every mini dessert is consistent.

Silicone Spatula
A flexible silicone spatula helps mix and fold the filling while scraping every bit of cheesecake mixture from the bowl.
As an Amazon Associate we earn from qualifying purchases.
Can I Make These Ahead?
Absolutely.
That’s one of the reasons I love this recipe.
You can make the mini cheesecakes the day before you need them and keep them covered in the refrigerator.
In fact, making them ahead often makes them even easier to serve because the filling has more time to firm up.
For a party, prepare the cheesecakes the night before and add your toppings shortly before serving.
How to Store Mini Cheesecakes
Keep the mini cheesecakes covered in the refrigerator.
They are best enjoyed within 3–4 days.
If you’re adding fresh fruit, I recommend adding it shortly before serving. Berries can release liquid as they sit, which can make the tops of the cheesecakes a little messy.
Can You Freeze No-Bake Mini Cheesecakes?
Yes.
Place the chilled mini cheesecakes in an airtight freezer-safe container and freeze them without fresh fruit toppings.
They can be frozen for about 1 month for the best quality.
When you’re ready to eat them, transfer them to the refrigerator and let them thaw slowly.
Add fresh berries, whipped cream, chocolate, or other toppings after thawing.
Easy Variations
Once you have the basic recipe, there are so many ways to change it.
Strawberry Cheesecake
Add fresh strawberries on top and a little strawberry sauce.
Blueberry Cheesecake
Top each cheesecake with blueberry sauce and a few fresh blueberries.
Chocolate Cheesecake
Use chocolate cookie crumbs for the crust and add melted chocolate to the filling.
Lemon Cheesecake
Add extra lemon zest and a little more lemon juice for a bright, fresh flavor.
Oreo Mini Cheesecakes
Replace the graham crackers with crushed Oreo cookies for an easy chocolate-cookie version.
If you’re craving another quick chocolate dessert, you can also try my easy chocolate mug cake.
Common Mistakes to Avoid
Using Cold Cream Cheese
Cold cream cheese doesn’t blend as smoothly.
Let it soften at room temperature before making the filling.
Not Chilling Long Enough
The cheesecakes need time to set.
Four hours is the minimum I’d recommend, but overnight is even better.
Overmixing the Whipped Cream
Once the whipped cream reaches stiff peaks, stop mixing.
Overmixing can make the cream grainy and affect the final texture.
Not Packing the Crust
A loose crust can crumble when you remove the cheesecakes.
Press the crumbs firmly into the muffin liners.
Adding Wet Toppings Too Early
Fresh fruit and sauces are best added shortly before serving so the tops stay neat.
What to Serve With Mini Cheesecakes
These little cheesecakes are delicious on their own, but they’re also great as part of a dessert spread.
Serve them with:
- Fresh berries
- Coffee
- Tea
- Lemon curd
- Chocolate sauce
- Caramel sauce
- Whipped cream
If you want something lighter alongside a rich dessert, my Easy Greek Yogurt Fruit Dip is a simple option to serve with fresh fruit.
Final Thoughts
These No-Bake Mini Cheesecakes in a Muffin Tin are proof that you don’t need a complicated recipe to make a really good dessert.
They’re creamy, easy, make-ahead friendly, and completely customizable. Plus, the individual portions make them perfect when you’re serving a crowd.
Make the crust, whip up the filling, chill everything, and add your favorite toppings. That’s really all there is to it.
Once you make them once, don’t be surprised if they start showing up at every party and family gathering.
More Easy Desserts to Try
If you enjoyed these mini cheesecakes, here are a few more KitchenAg desserts you may like:
- Easy Coffee Cheesecake Dessert — a creamy no-bake cheesecake with rich coffee flavor.
- Flourless Lemon Yogurt Cake — a simple lemon dessert with a fresh, tangy flavor.
- Chocolate Mug Cake — a quick single-serving dessert when you want chocolate without making a whole cake.
- Easy Greek Yogurt Fruit Dip — a light and creamy option for serving with fresh fruit.
No-Bake Mini
Cheesecakes
Creamy, smooth, and portion-perfect! These mini cheesecakes are made in a regular muffin tin with a crunchy graham cracker crust and a fluffy, decadent white chocolate filling. No oven required!
Ingredients
Instructions
Combine graham crumbs, butter, sugar, and salt. Divide between 12 muffin liners and press firmly with a glass. Freeze for 20 minutes.
Cook 1 cup blueberries, 2 tbsp water, and 3 tbsp sugar until berries release juices. Whisk 1 tbsp cornstarch with 1 tbsp water (slurry), stir into the berries, and simmer until glossy. Cool completely.
Beat the cold heavy cream until medium peaks form. Keep chilled.
Beat the softened cream cheese with powdered sugar, vanilla, and lemon juice until smooth. Fold in melted white chocolate.
Fold in the ½ cup blueberry sauce, then gently fold in the whipped cream.
Pipe or spoon filling into the muffin cups over the crust. Chill for at least 4–6 hours (overnight is best).
Top with the chunky blueberry sauce, whipped cream, and fresh mint!
Kitchen Notes
Softened cream cheese is non-negotiable! If it’s cold, you will get little white lumps in your otherwise smooth filling.
These really need a long time to set. Overnight is the gold standard for perfectly firm mini cheesecakes.
Use paper cupcake liners. They make removing the delicate cheesecakes from the metal muffin tin effortless without breaking the crust.
When folding in the whipped cream, use wide, sweeping motions. You want to keep all that air trapped inside for a fluffy, light texture.
Flavor Variations
Swap the graham crackers for crushed Oreo cookies to make a chocolate-berry cheesecake.
Add extra lemon zest to the filling and serve with a dollop of lemon curd on top for a super-zesty treat.
Simply replace the blueberries in both the sauce and the topping with fresh strawberries.
Skip the fruit topping for one batch and drizzle with melted dark chocolate and shavings instead.
Store in an airtight container for up to 4–5 days. Add fresh fruit toppings right before serving so they don’t get soggy.
Freeze (without fruit toppings) for up to 1 month. Thaw overnight in the fridge and garnish when ready to eat.