
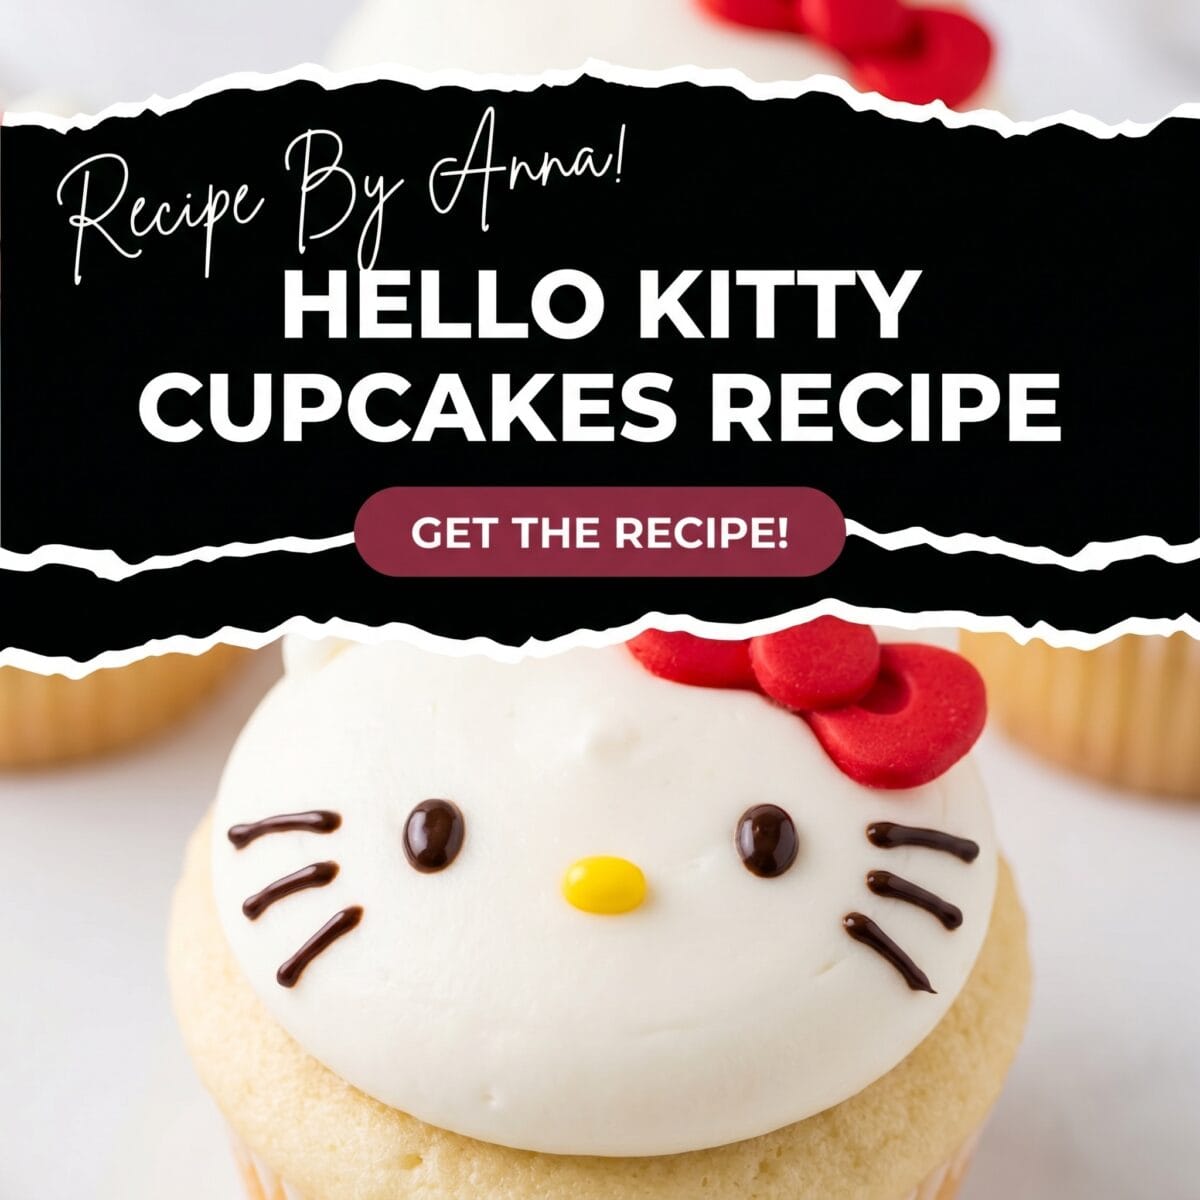
Hello Kitty Cupcakes Recipe
These Hello Kitty Cupcakes are the kind of bake that makes a whole birthday table stop and stare — a fluffy vanilla cupcake base topped with smooth white buttercream and a fondant face decorated with the signature bow, whiskers, and rounded ears that make the look instantly recognizable.
They look like they belong in a bakery window, but the decorating method here breaks it down into simple, repeatable steps that even a first-time fondant user can pull off without frustration.
Plan about an hour for decorating once the cupcakes are baked and fully cooled — rushing the decoration onto warm cupcakes is where most batches go sideways.
Jump to RecipeWhy These Are Worth Every Minute of Effort
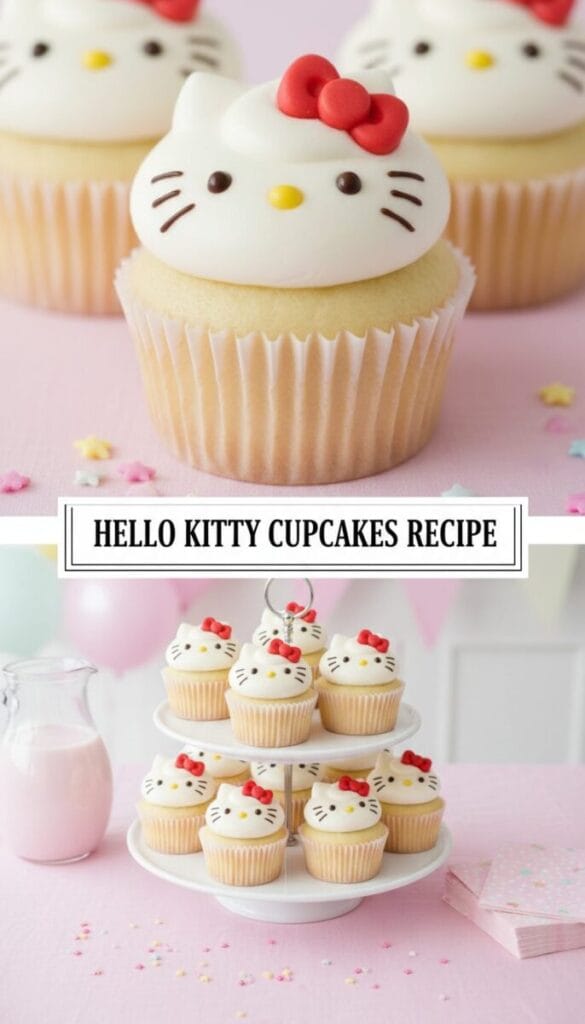
They’re genuinely show-stopping for a children’s birthday party, a school celebration, or any occasion where the dessert table needs a centerpiece moment.
And unlike tiered cakes with elaborate decorations, individual cupcakes mean no slicing, no serving, no mess — guests just grab one and go.
- Prep Time: 25 minutes
- Bake Time: 18 to 20 minutes
- Decorating Time: 45 to 60 minutes
- Total Time: about 1 hour 45 minutes
- Yield: 12 cupcakes
Everything You’ll Need — Cupcakes, Frosting, and Decorations
For the vanilla cupcakes:
- All-purpose flour: 1 1/2 cups (190g)
- Baking powder: 1 1/2 teaspoons
- Fine sea salt: 1/4 teaspoon
- Unsalted butter, softened: 1/2 cup (113g)
- Granulated sugar: 3/4 cup (150g)
- Large eggs: 2
- Pure vanilla extract: 2 teaspoons
- Whole milk: 1/2 cup (120ml)
- Sour cream: 1/4 cup (60g)
For the white buttercream:
- Unsalted butter, softened: 1 cup (226g)
- Powdered sugar, sifted: 3 1/2 cups (420g)
- Heavy cream or whole milk: 3 to 4 tablespoons
- Pure vanilla extract: 1 teaspoon
- Clear vanilla extract (optional, for a whiter frosting): 1/2 teaspoon
- Fine sea salt: a small pinch
For the Hello Kitty decorations:
- White fondant: 200g
- Pink fondant: 50g
- Black fondant or black food-safe edible marker: a small amount
- Yellow fondant (for the nose): a small amount
- Round cookie cutter or circle template, 2 to 2.5 inches: 1
- Small round piping tip or drinking straw (for ear shapes): 1
- Cornstarch or powdered sugar: for dusting the work surface
- Edible glue or a small amount of water: for attaching fondant pieces
From Batter to Finished Cupcake, Step by Step
Baking the cupcakes:
- Preheat the oven to 350°F (175°C) and line a 12-cup muffin tin with white or pink paper liners.
- Whisk the flour, baking powder, and salt together in a medium bowl and set aside.
- Beat the softened butter and sugar in a large bowl with a hand or stand mixer on medium-high speed for 3 to 4 minutes until pale, light, and fluffy.
- Add the eggs one at a time, beating well after each addition, then mix in the vanilla extract.
- Alternate adding the flour mixture and the milk in three additions, starting and ending with the flour, mixing on low speed just until combined after each addition.
- Fold in the sour cream with a spatula until the batter is smooth and evenly combined.
- Divide the batter evenly among the 12 liners, filling each about two-thirds full.
- Bake for 18 to 20 minutes until a toothpick inserted into the center comes out clean.
- Cool the cupcakes in the pan for 5 minutes, then transfer to a wire rack and cool completely before frosting or decorating.
Making the buttercream:
- Beat the softened butter on medium-high speed for 3 full minutes until it is very pale and creamy.
- Add the sifted powdered sugar one cup at a time on low speed until incorporated, then add the vanilla, salt, and cream one tablespoon at a time.
- Increase to medium-high speed and beat for 2 minutes until the buttercream is light, fluffy, and spreadable.
- Spread a smooth, domed layer of buttercream on each cooled cupcake using an offset spatula.
Making the fondant faces:
- Dust your work surface lightly with cornstarch and roll the white fondant to about 1/8 inch thick.
- Cut out 12 circles using the round cutter for the main face pieces.
- For each face, cut two small rounded ear shapes from the same white fondant using a slightly smaller circle cutter or the rim of a piping tip, and trim the bottom edge flat.
- Press the two ear pieces onto the top edge of each face circle using a tiny dab of edible glue or water to adhere them.
- Roll a tiny piece of yellow fondant into a small oval for the nose and attach it slightly left of center on the face.
- Roll thin ropes of black fondant or use an edible marker to draw three whiskers on each side of the nose.
- Roll a small bow shape from pink fondant by making two small teardrop pieces pinched together in the center, and a tiny square for the bow center, then assemble and attach to the right ear.
- Place a finished fondant face onto each frosted cupcake, pressing gently so it adheres to the buttercream.
Love baking for a crowd? Our Easy Apple Cinnamon Muffins use the same one-bowl vanilla base logic and are a great back-pocket recipe to have ready when you need something delicious without the decorating time commitment.
Decorating Tips That Save the Batch
The single most important rule is making sure the cupcakes are completely cool before you frost them — even slightly warm cupcakes will melt the buttercream and cause the fondant face to slide or sink into the frosting rather than sitting flat on top of it.
Work with fondant in small pieces and keep the rest tightly wrapped in plastic while you’re not using it — fondant dries out and cracks quickly when exposed to air, and a cracked fondant face is very hard to smooth back out once it happens.
Use clear vanilla extract in the buttercream if you want the frosting to stay as white as possible — regular vanilla extract turns the frosting slightly ivory, which still looks fine but less stark against the white fondant face. King Arthur Baking has a solid breakdown of how to achieve the whitest possible buttercream if that detail matters for your presentation.
Make the fondant decorations at least an hour before you’re ready to assemble — freshly made fondant pieces are too soft to handle cleanly and the bow details especially benefit from 30 to 60 minutes of air drying to firm up.
Fun Variations for Different Occasions
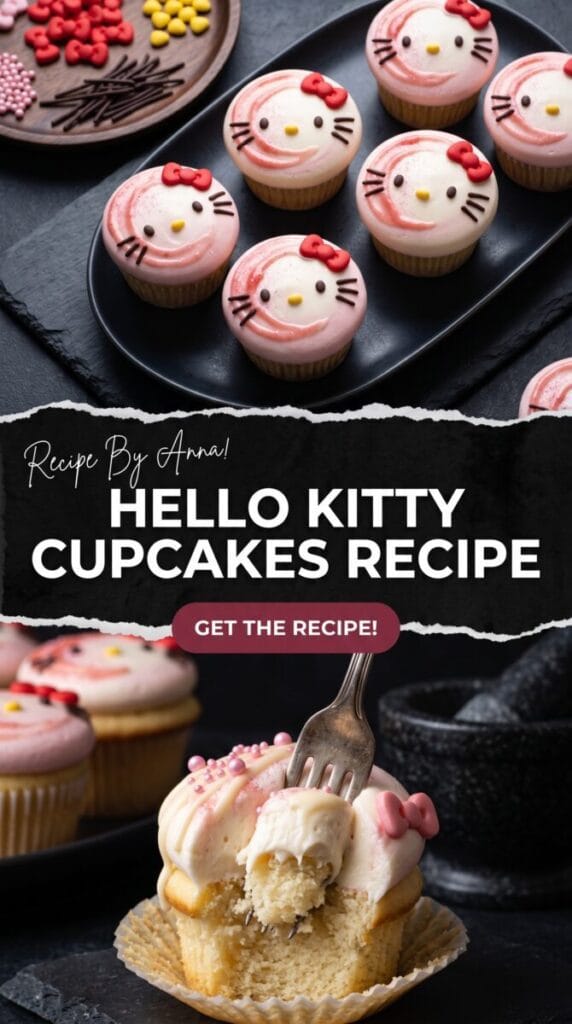
Swap the vanilla cupcake base for a chocolate one if you’re baking for a crowd that skews toward chocolate — the white fondant face looks equally striking against dark chocolate frosting as it does on white buttercream.
Use strawberry buttercream instead of white and place the fondant face directly on the pink frosting for a version that leans even further into the color palette.
For a full party dessert table that matches the same fun, crowd-pleasing energy, our Easy Box Mix Turtle Cake is a great second dessert to set alongside these — minimal effort, maximum crowd reaction.
Nutritional Information
| Nutrient | Amount Per Cupcake (with frosting, without fondant) |
|---|---|
| Calories | 420 kcal |
| Protein | 4 g |
| Carbohydrates | 56 g |
| Fats | 21 g |
These are estimates based on the cupcake and buttercream only. The fondant decoration adds approximately 40 to 60 kcal per cupcake depending on how much fondant is used per face.
Storing These Without Ruining the Decoration
Store decorated cupcakes in a single layer in an airtight container at room temperature for up to 2 days. Do not stack them — the fondant faces will stick to the underside of whatever is placed on top and lift right off when you open the container.
Refrigerating fondant-decorated cupcakes is not recommended if you can avoid it — the fridge introduces moisture that makes fondant sweat and become sticky, which can cause the fine details like whiskers and the bow to blur or dissolve.
The unfrosted cupcakes can be baked up to 2 days ahead and kept in an airtight container at room temperature, or frozen for up to a month. Make the frosting and fondant decorations fresh on the day you plan to serve them for the best result.
For another party-worthy bake that actually holds up well for a day or two ahead, our Homemade Carrot Cake stores beautifully and feeds a crowd from a single pan without any individual decorating work.
What Goes Wrong and How to Avoid It
Fondant that cracks while rolling is almost always fondant that has dried out or been overworked — knead it for a full minute before rolling to warm it up, and if it’s still cracking, add a tiny smear of vegetable shortening and knead again.
Buttercream that is too soft to hold the fondant face up on the cupcake usually means the butter was too warm when you started — the buttercream should be spreadable but hold a peak, not sag. Chill it in the fridge for 10 minutes and re-beat briefly if it’s too loose.
Ears that fall off the fondant face usually didn’t have enough edible glue or were placed before the glue had a moment to become tacky — apply a small amount of glue to the flat base of the ear, wait 10 seconds, then press and hold for another 10 seconds before letting go.
Hello Kitty Cupcakes Recipe
Course: DessertCuisine: AmericanDifficulty: Easy12
servings25
minutes20
minutes420
kcalIngredients
6 to 8 heads baby bok choy, halved lengthwise
5 large garlic cloves, thinly sliced
2 tablespoons avocado oil or vegetable oil
2 tablespoons low-sodium soy sauce
1 tablespoon oyster sauce
1 teaspoon sesame oil
1 teaspoon rice vinegar
1/2 teaspoon granulated sugar
1 teaspoon cornstarch
3 tablespoons water
1/4 teaspoon red pepper flakes (optional)
Toasted sesame seeds, for garnish
Sliced green onions, for garnish
Directions
- In a small bowl, whisk together the soy sauce, oyster sauce, sesame oil, rice vinegar, sugar, cornstarch, and water until smooth. Set aside.
- Rinse the bok choy thoroughly and pat completely dry with paper towels.
- Heat the oil in a wok or large skillet over high heat until shimmering.
- Add the sliced garlic and cook for 30 to 45 seconds, stirring constantly, until fragrant and lightly golden.
- Add the bok choy cut-side down in a single layer.
- Cook undisturbed for about 90 seconds until lightly charred and golden.
- Flip or toss the bok choy and cook for another 1 to 2 minutes until the leaves begin to wilt.
- Pour the prepared sauce over the bok choy.
- Toss continuously for about 1 minute until the sauce thickens and coats the vegetables.
- Transfer to a serving platter.
- Garnish with toasted sesame seeds and sliced green onions before serving
Notes
- Dry the bok choy well before cooking to prevent steaming.
Use the highest heat possible for the best stir-fry texture.
Avoid overcrowding the pan; cook in batches if necessary.
Add 1 teaspoon freshly grated ginger with the garlic for extra flavor.
For a vegan version, replace oyster sauce with vegan oyster sauce or an extra tablespoon of soy sauce


