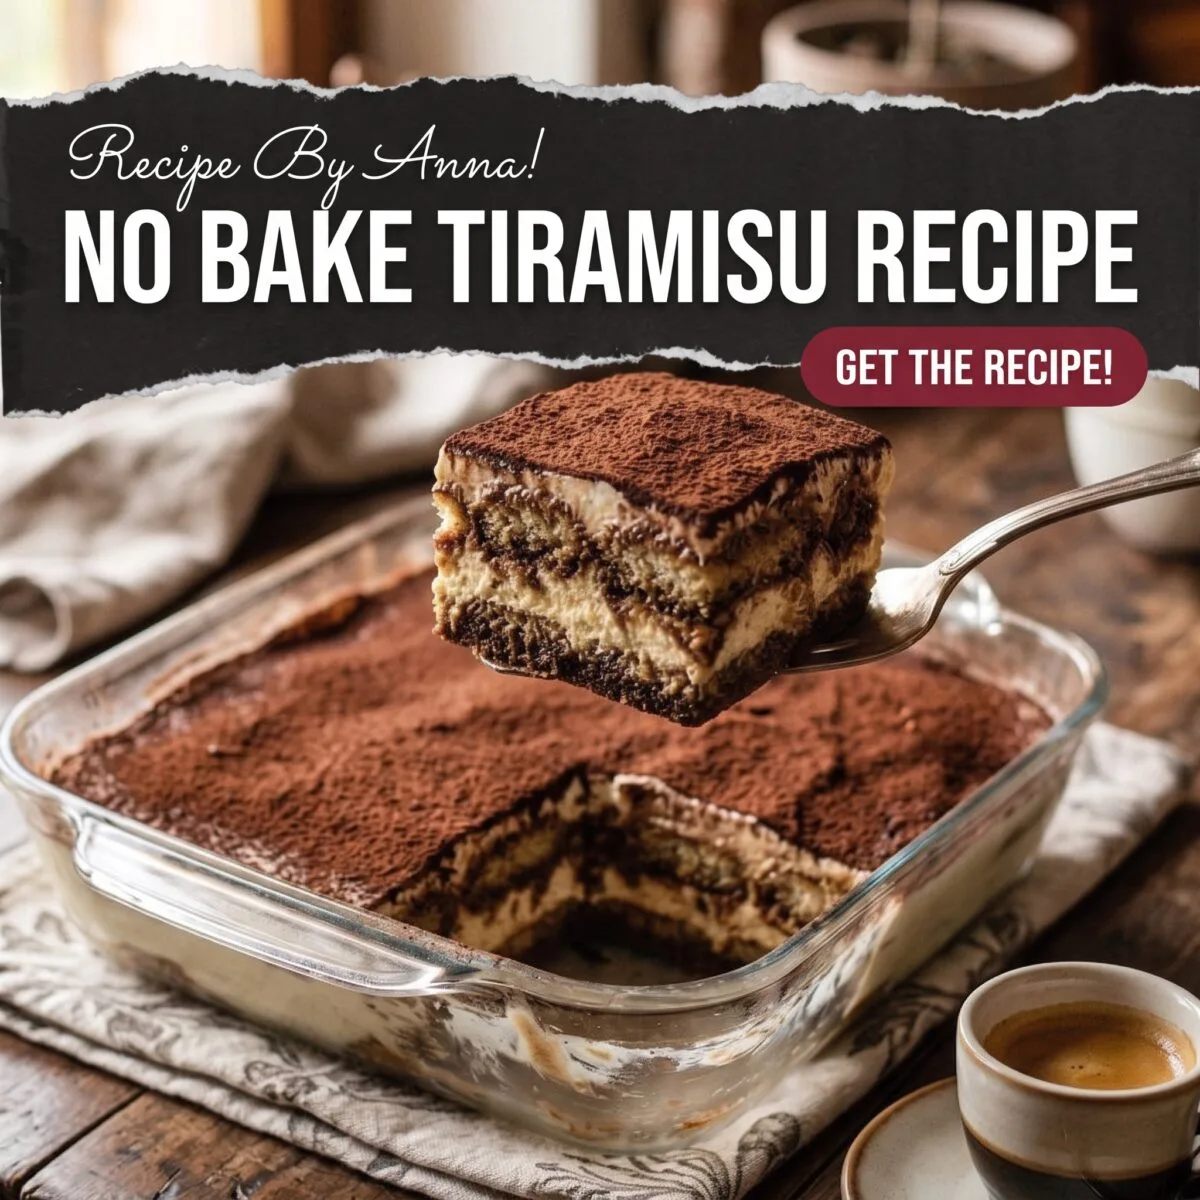
No Bake Tiramisu Recipe — Easy, Eggless and Absolutely Perfect
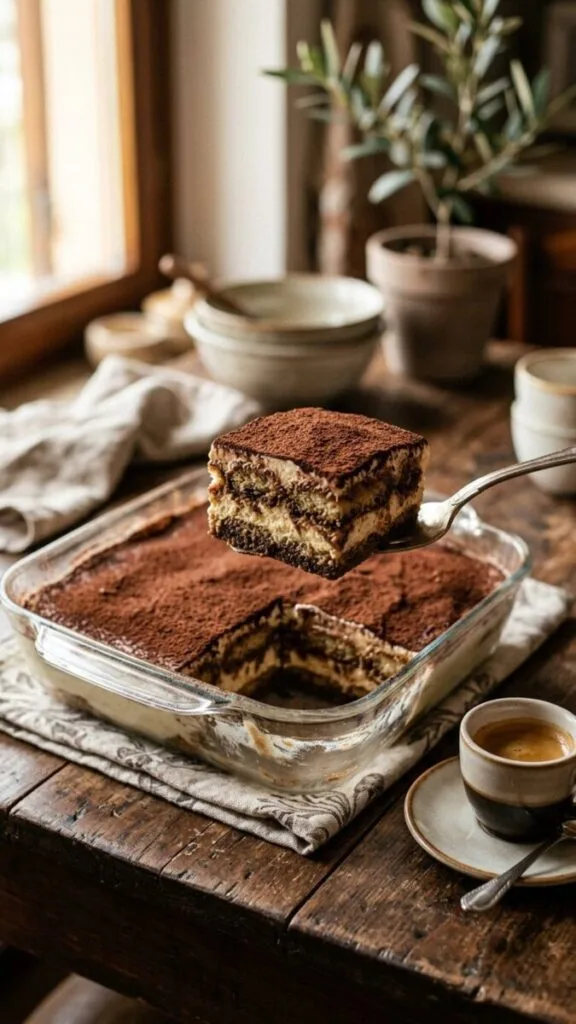
This No Bake Tiramisu is the easy tiramisu recipe that produces the deeply layered, coffee-soaked, cloud-soft dessert that every tiramisu should be — mascarpone cream that is thick and billowy, ladyfingers dipped to the exact right level of espresso saturation (moist but not collapsing), and a generous dusting of dark cocoa powder that pulls every element together in the Italian way — and does it without raw eggs, without a double boiler, and without anything that requires a thermometer or an anxiety-inducing tempering step.
Traditional tiramisu uses raw egg yolks beaten with sugar over a double boiler to create a zabaione base — a method that produces an exceptional result but introduces a raw egg component that not everyone is comfortable with and a technical step that trips up many home cooks on their first attempt. This eggless tiramisu recipe replaces that component with whipped heavy cream folded into the mascarpone, producing a mousse-like, airy mascarpone layer that is arguably more texturally pleasant than the traditional version and is accessible to anyone regardless of cooking experience or food safety concerns.
With 400,000 monthly searches, tiramisu recipe is one of the most searched dessert terms on Pinterest — and this version earns its place as the best tiramisu recipe for home bakers who want an exceptional result without the technique barriers of the traditional method.
Why No-Bake and Eggless Still Produces the Best Tiramisu
The tiramisu’s soul is in the mascarpone cream and the coffee — not the egg. A properly made mascarpone cream, whether built on zabaione or on whipped heavy cream, produces the same cloud-soft, richly flavoured layer that makes tiramisu what it is. The whipped cream approach in this recipe aerates the mascarpone more than a zabaione-based method would, which produces a slightly lighter, more mousse-like texture that many people prefer to the denser, eggier traditional version.
The cold rest overnight is the step that does the real work regardless of the base method — it is time, not eggs, that transforms tiramisu from assembled layers into a unified, set dessert with the characteristic texture that holds a clean spoonful when served.
- Prep Time: 25 minutes
- Chill Time: 6 hours minimum, overnight preferred
- Total Time: 25 minutes active, 6 to 12 hours total
- Yield: one 9×13 inch tiramisu, serves 12 to 15
What You Need
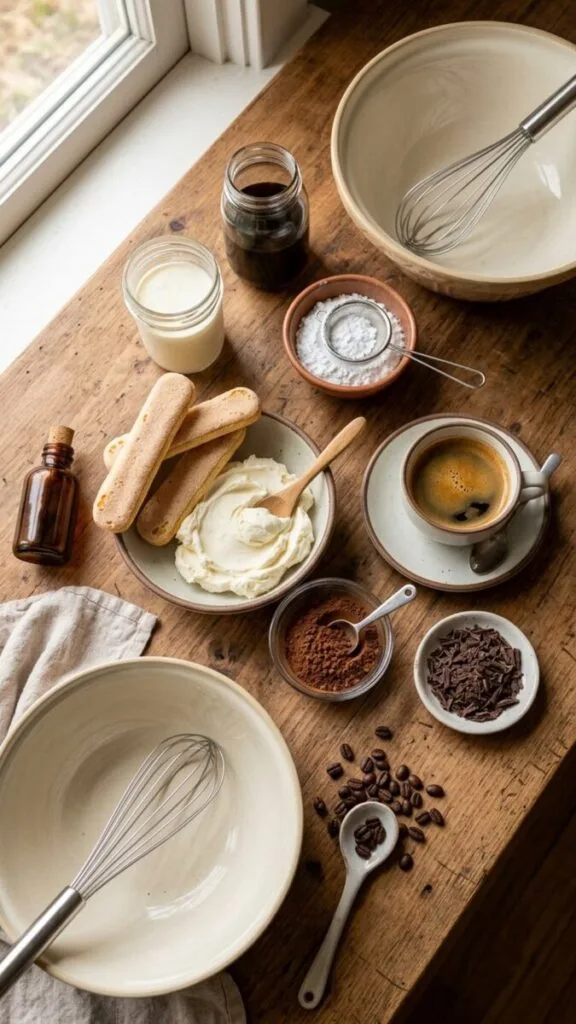
For the mascarpone cream:
- Full-fat mascarpone cheese, cold: 16 oz (450g / 2 containers)
- Heavy whipping cream, cold: 1 1/2 cups (360ml)
- Powdered sugar, sifted: 3/4 cup (90g)
- Pure vanilla extract: 2 teaspoons
- Fine sea salt: a pinch
For the espresso dip:
- Strong brewed espresso or very strong coffee, cooled to room temperature: 1 1/2 cups (360ml) — approximately 4 double shots of espresso, or 1 1/2 cups of very strong French press or moka pot coffee
- Coffee liqueur (Kahlúa or Tia Maria), optional: 3 tablespoons — adds depth and a slight adult bitterness; omit for a fully alcohol-free version
- Granulated sugar: 1 tablespoon, stirred into the warm espresso to dissolve
For the layers:
- Savoiardi (Italian ladyfinger biscuits): about 36 to 40 biscuits (two 7 oz packages)
- Unsweetened Dutch-process cocoa powder: 3 to 4 tablespoons, for finishing
How to Make It
Making the mascarpone cream:
- Beat the cold mascarpone and sifted powdered sugar together in a large bowl using a hand mixer on medium speed for 60 seconds until smooth and the sugar is fully incorporated. Do not overmix the mascarpone at this stage — overworked mascarpone can become grainy as the fat separates. Stop as soon as the mixture is smooth.
- Add the vanilla and pinch of salt and mix briefly to combine.
- In a separate cold bowl with cold beaters, whip the cold heavy cream to stiff peaks — the cream should hold a firm peak when the beater is lifted and not slump. This takes 3 to 4 minutes on medium-high speed.
- Add one large spoonful of the whipped cream to the mascarpone mixture and stir vigorously to lighten it — this first addition is a tempering step that makes folding the rest of the cream in without deflating it much easier.
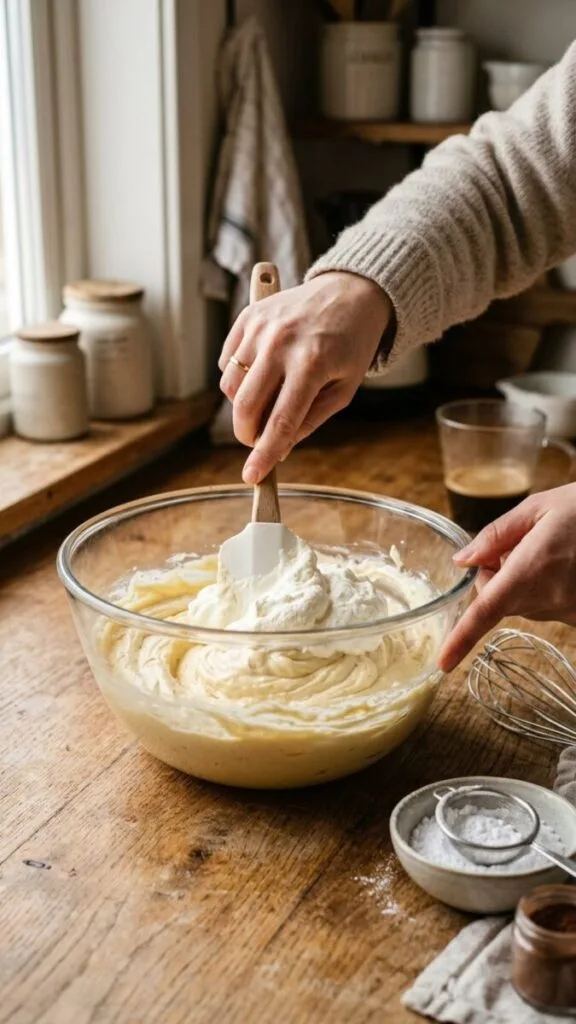
- Add the remaining whipped cream in two additions and fold gently with a spatula using large, sweeping strokes from the bottom of the bowl upward — stop folding the moment the cream is fully incorporated with no white streaks remaining. Overmixing at this stage deflates the cream and produces a denser, less airy mascarpone layer than the recipe should produce.
Building the tiramisu:
- Stir the cooled espresso, coffee liqueur if using, and sugar together in a shallow bowl wide enough to dip the ladyfingers into.
- Spread a very thin layer of the mascarpone cream across the bottom of a 9×13 inch dish — this prevents the bottom ladyfingers from sliding when the dish is served.
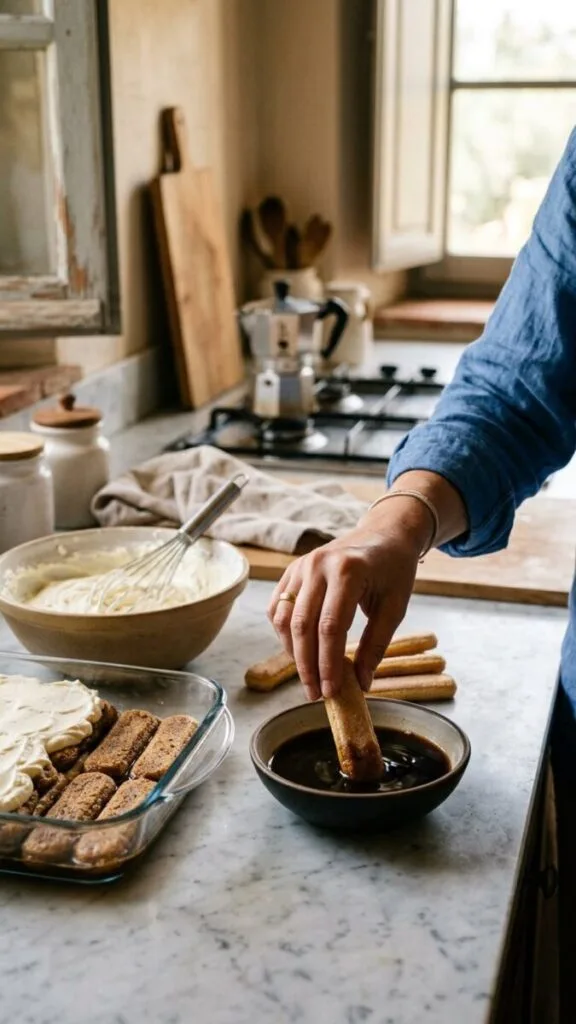
- Dip each ladyfinger in the espresso for exactly 1 to 2 seconds per side — in and out quickly. The ladyfinger should absorb enough espresso to be moist and coffee-flavoured throughout but should still hold its shape rather than becoming a saturated, collapsing biscuit. A soaked-through ladyfinger that turns to mush when you pick it up has been dipped too long.
- Arrange the dipped ladyfingers in a single layer across the bottom of the dish, breaking pieces to fill the gaps at the edges — the first layer should cover the entire base with no cream visible underneath.
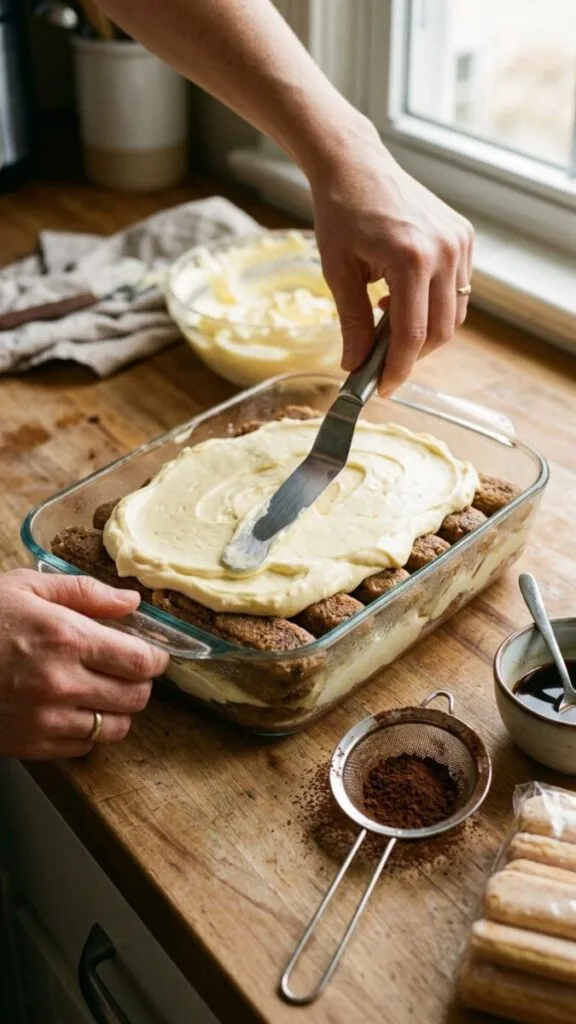
- Spread exactly half the mascarpone cream over the ladyfinger layer in an even, generous coat — use an offset spatula for the smoothest result and work from the center outward.
- Repeat the dipping process with the remaining ladyfingers and arrange a second layer over the mascarpone cream.
- Spread the remaining mascarpone cream over the second ladyfinger layer and smooth to an even surface.
- Dust the entire surface generously and evenly with the cocoa powder through a fine mesh sieve — this is the finishing layer that seals the top and is the first visual impression when the dish is brought to the table. A patchy or thin cocoa layer looks unfinished; a generous, even coat looks like a restaurant tiramisu.
- Cover with plastic wrap pressed gently against the cocoa surface and refrigerate for at least 6 hours — overnight is significantly better, as the mascarpone cream sets firmer, the espresso soaks more evenly through every ladyfinger, and the layers meld into a unified texture rather than distinct components that shift when spooned.
Tiramisu is the make-ahead dinner party dessert that makes hosting genuinely enjoyable — it is better made the day before, requires no day-of attention, and serves 12 to 15 people elegantly from the same single dish. Pair it with our Homemade Lasagna for the classic Italian dinner party menu that feeds a crowd, looks impressive, and can both be entirely prepared the day before with only reheating required on the night itself.
The Dipping Time and Coffee Strength Details That Define the Texture
The 1 to 2 second dip is the most important instruction in the entire recipe — over-dipped ladyfingers dissolve into the cream layer during the overnight rest and produce a tiramisu with an indistinct, mushy middle rather than identifiable layers when a spoon goes through it. Under-dipped ladyfingers remain dry and hard in the center and produce a tiramisu that crunches in the wrong places.
The correct dip produces a ladyfinger that is uniformly moist when pressed between your fingers immediately after dipping — moist but cohesive, not falling apart. The overnight rest then continues to draw the espresso through the ladyfinger by osmosis until the biscuit is fully saturated but still structurally present as a layer rather than dissolved into the cream.
The espresso must be genuinely strong — the quantity of cream and the sweetness of the powdered sugar in the mascarpone layer is calibrated against a strong, bitter espresso that provides contrast. Weak coffee produces a tiramisu where the coffee flavour is barely perceptible against the sweetness of the mascarpone layer, which is the most common flavour complaint about home tiramisu versus restaurant tiramisu. Use espresso, strong moka pot coffee, or instant espresso powder dissolved in hot water (2 teaspoons of espresso powder per cup of hot water) rather than regular drip coffee. According to Serious Eats, the bitter compounds in espresso — primarily chlorogenic acids and caffeine — are essential to the flavour balance of tiramisu because they provide the counterpoint to the mascarpone cream’s fat and the powdered sugar’s sweetness; a tiramisu made with weak coffee tastes only of sweet cream, which is pleasant but not tiramisu.
Six Tiramisu Variations From the Same Base Method
Lemon Tiramisu — replace the espresso dip with a mixture of strong chamomile tea, fresh lemon juice, and limoncello (or lemon simple syrup for a non-alcoholic version). Add 1 teaspoon of lemon zest to the mascarpone cream and dust the top with a mixture of powdered sugar and a small amount of lemon zest rather than cocoa powder. The lemon tiramisu is the most elegant summer variation and the one most likely to surprise guests who expect coffee.
Strawberry Tiramisu — replace the espresso dip with a mixture of strawberry juice (blended and strained fresh strawberries), a tablespoon of balsamic vinegar for depth, and a splash of vanilla. Layer macerated sliced strawberries between the ladyfinger and cream layers. Dust the top with powdered sugar rather than cocoa. The strawberry version is visually dramatic in a trifle dish where the layers are visible.
Pistachio Tiramisu — add 3 tablespoons of pistachio cream or pistachio paste to the mascarpone cream before folding in the whipped cream. The pistachio turns the cream a pale sage green and adds a distinctly nutty sweetness that pairs beautifully with the espresso dip. Top with crushed pistachios and a dusting of cocoa powder for a colour and texture combination that reads as sophisticated and interesting.
Matcha Tiramisu — replace the espresso dip with a mixture of strong brewed matcha (2 teaspoons of ceremonial grade matcha whisked into 1.5 cups of hot water and cooled) and a tablespoon of simple syrup. Add 1 teaspoon of matcha powder to the mascarpone cream. Dust the top with matcha powder instead of cocoa. The matcha version is the most visually distinctive variation — an entirely green-and-white presentation that photographs exceptionally well.
Mango Tiramisu — replace the espresso dip with a mixture of mango nectar, lime juice, and a splash of rum or coconut extract. Fold 1/2 cup of mango purée into the mascarpone cream before the whipped cream goes in. Layer thin slices of fresh mango between the cream and ladyfinger layers for a tropical tiramisu that is genuinely excellent for summer entertaining.
Eggless Tiramisu in Individual Cups — the base recipe is already eggless; the variation here is the format. Assemble in individual serving glasses or mason jars using broken ladyfinger pieces rather than full biscuits, layering cream and biscuit and finishing with cocoa dust. Individual cups are easier to serve, require no cutting, and allow each person to receive a portion with perfectly intact layers from the side of the glass.
Nutritional Information
| Nutrient | Amount Per Serving (based on 12 servings) |
|---|---|
| Calories | 395 kcal |
| Protein | 5 g |
| Carbohydrates | 32 g |
| Fats | 27 g |
These values are estimates based on the full recipe without alcohol, divided by 12 servings. The fat content comes primarily from the mascarpone and heavy cream — tiramisu is a genuinely indulgent dessert and the values reflect that honestly. Serving in smaller portions (15 per dish) reduces this to approximately 315 calories per serving for a dessert that still feels substantial.
Storing and How Long Tiramisu Keeps
Tiramisu keeps covered in the fridge for up to 3 days — the texture actually improves between the first serving day and the second as the layers continue to meld. By day three the ladyfingers will be fully saturated and the layers less distinct, which some people prefer as a softer, pudding-like texture and others find less appealing than the crisper initial version.
Tiramisu does not freeze well — the mascarpone cream separates on thawing and the ladyfingers become waterlogged and collapse completely. Make only as much as will be eaten within three days.
Cover the surface with plastic wrap pressed directly against the cocoa powder surface to prevent a skin from forming on the mascarpone cream during storage — cocoa powder exposed to air in the fridge draws moisture and turns darker and slightly damp-looking rather than dry and evenly dusty. Re-dust with a little fresh cocoa powder before serving if the surface looks uneven after storage.
Where This Goes Wrong
Over-dipping the ladyfingers past the 1 to 2 second mark produces a tiramisu where the middle layer disappears into the cream overnight — the fully saturated biscuits dissolve during the rest period and leave behind a single undifferentiated creamy layer rather than distinct cream and biscuit layers. The overnight rest is designed to bring a briefly-dipped biscuit to perfect saturation; a fully-dipped biscuit becomes oversaturated during that same rest.
Overmixing the mascarpone after adding the whipped cream deflates the air that was incorporated into the cream and produces a dense, heavy mascarpone layer rather than a light, mousse-like one — fold gently and stop the moment the white streaks disappear. A finished mascarpone cream that has been folded correctly should look voluminous and almost cloud-like rather than smooth and shiny.
Not giving the tiramisu the full overnight rest and serving after only 2 to 3 hours produces a dessert where the layers are still distinct and firm rather than gently melded — the espresso has not had time to redistribute evenly through the ladyfinger layers, the cream has not fully set, and the flavours have not had time to integrate. The overnight rest is not a waiting step; it is the final stage of making the dessert.
Easy Eggless No-Bake Tiramisu
Cloud-soft mascarpone cream, bold espresso-soaked ladyfingers, and a generous cocoa finish—an exceptional make-ahead tiramisu with no double boiler or raw eggs.
Ingredients
Instructions
Beat cold mascarpone and sifted powdered sugar for about 60 seconds, just until smooth. Do not overmix or the mascarpone can become grainy.
Mix in vanilla and a pinch of salt briefly, just until combined.
In a separate cold bowl, whip cold heavy cream to stiff peaks. The cream should hold its shape firmly when the beaters are lifted.
Stir one large spoonful of whipped cream into mascarpone to lighten it. Fold in the remaining cream in two additions, stopping when no white streaks remain.
Stir cooled espresso, coffee liqueur if using, and sugar together in a shallow bowl wide enough to dip the ladyfingers.
Spread a very thin layer of mascarpone cream in a 9×13-inch dish. Dip each ladyfinger in espresso for only 1–2 seconds per side, then arrange in a single layer.
Spread half the mascarpone cream evenly over the ladyfingers, smoothing from the center outward.
Dip and arrange a second layer of ladyfingers, then cover with the remaining mascarpone cream and smooth the top.
Use a fine-mesh sieve to dust the top generously and evenly with cocoa powder.
Cover and refrigerate for at least 6 hours; overnight is best. This allows the espresso, cream, and biscuits to set into a unified tiramisu texture.
Kitchen Notes
Espresso or very strong coffee provides the bitterness needed to balance the sweet, rich mascarpone cream.
Ladyfingers continue absorbing coffee overnight. Over-soaking them now creates a mushy, indistinct middle layer later.
Once whipped cream is added, fold only until combined so the mascarpone layer stays airy and mousse-like.
The cold rest is the final cooking stage of tiramisu. It sets the cream, hydrates the biscuits, and melds all flavors.
Easy Variations
Use chamomile tea, lemon juice, and limoncello or lemon syrup for dipping, then add lemon zest to the mascarpone cream.
Use strained strawberry juice with vanilla as the dip and layer macerated strawberries between the cream layers.
Add pistachio cream to mascarpone before folding in whipped cream, then finish with crushed pistachios and cocoa.
Replace espresso with strong matcha tea and dust the top with matcha powder for a bold green-and-white version.
Use mango nectar and lime juice for dipping, fold mango purée into the cream, and layer in fresh mango slices.
Assemble broken ladyfingers, espresso, mascarpone cream, and cocoa in individual glasses for simple, elegant portions.
Keep tiramisu covered in the refrigerator for up to 3 days. The texture improves most between the first and second day.
If the cocoa top becomes damp-looking after storage, sift on a light fresh layer right before serving.
Freezing is not recommended: mascarpone cream can separate during thawing and the ladyfingers may become waterlogged.