
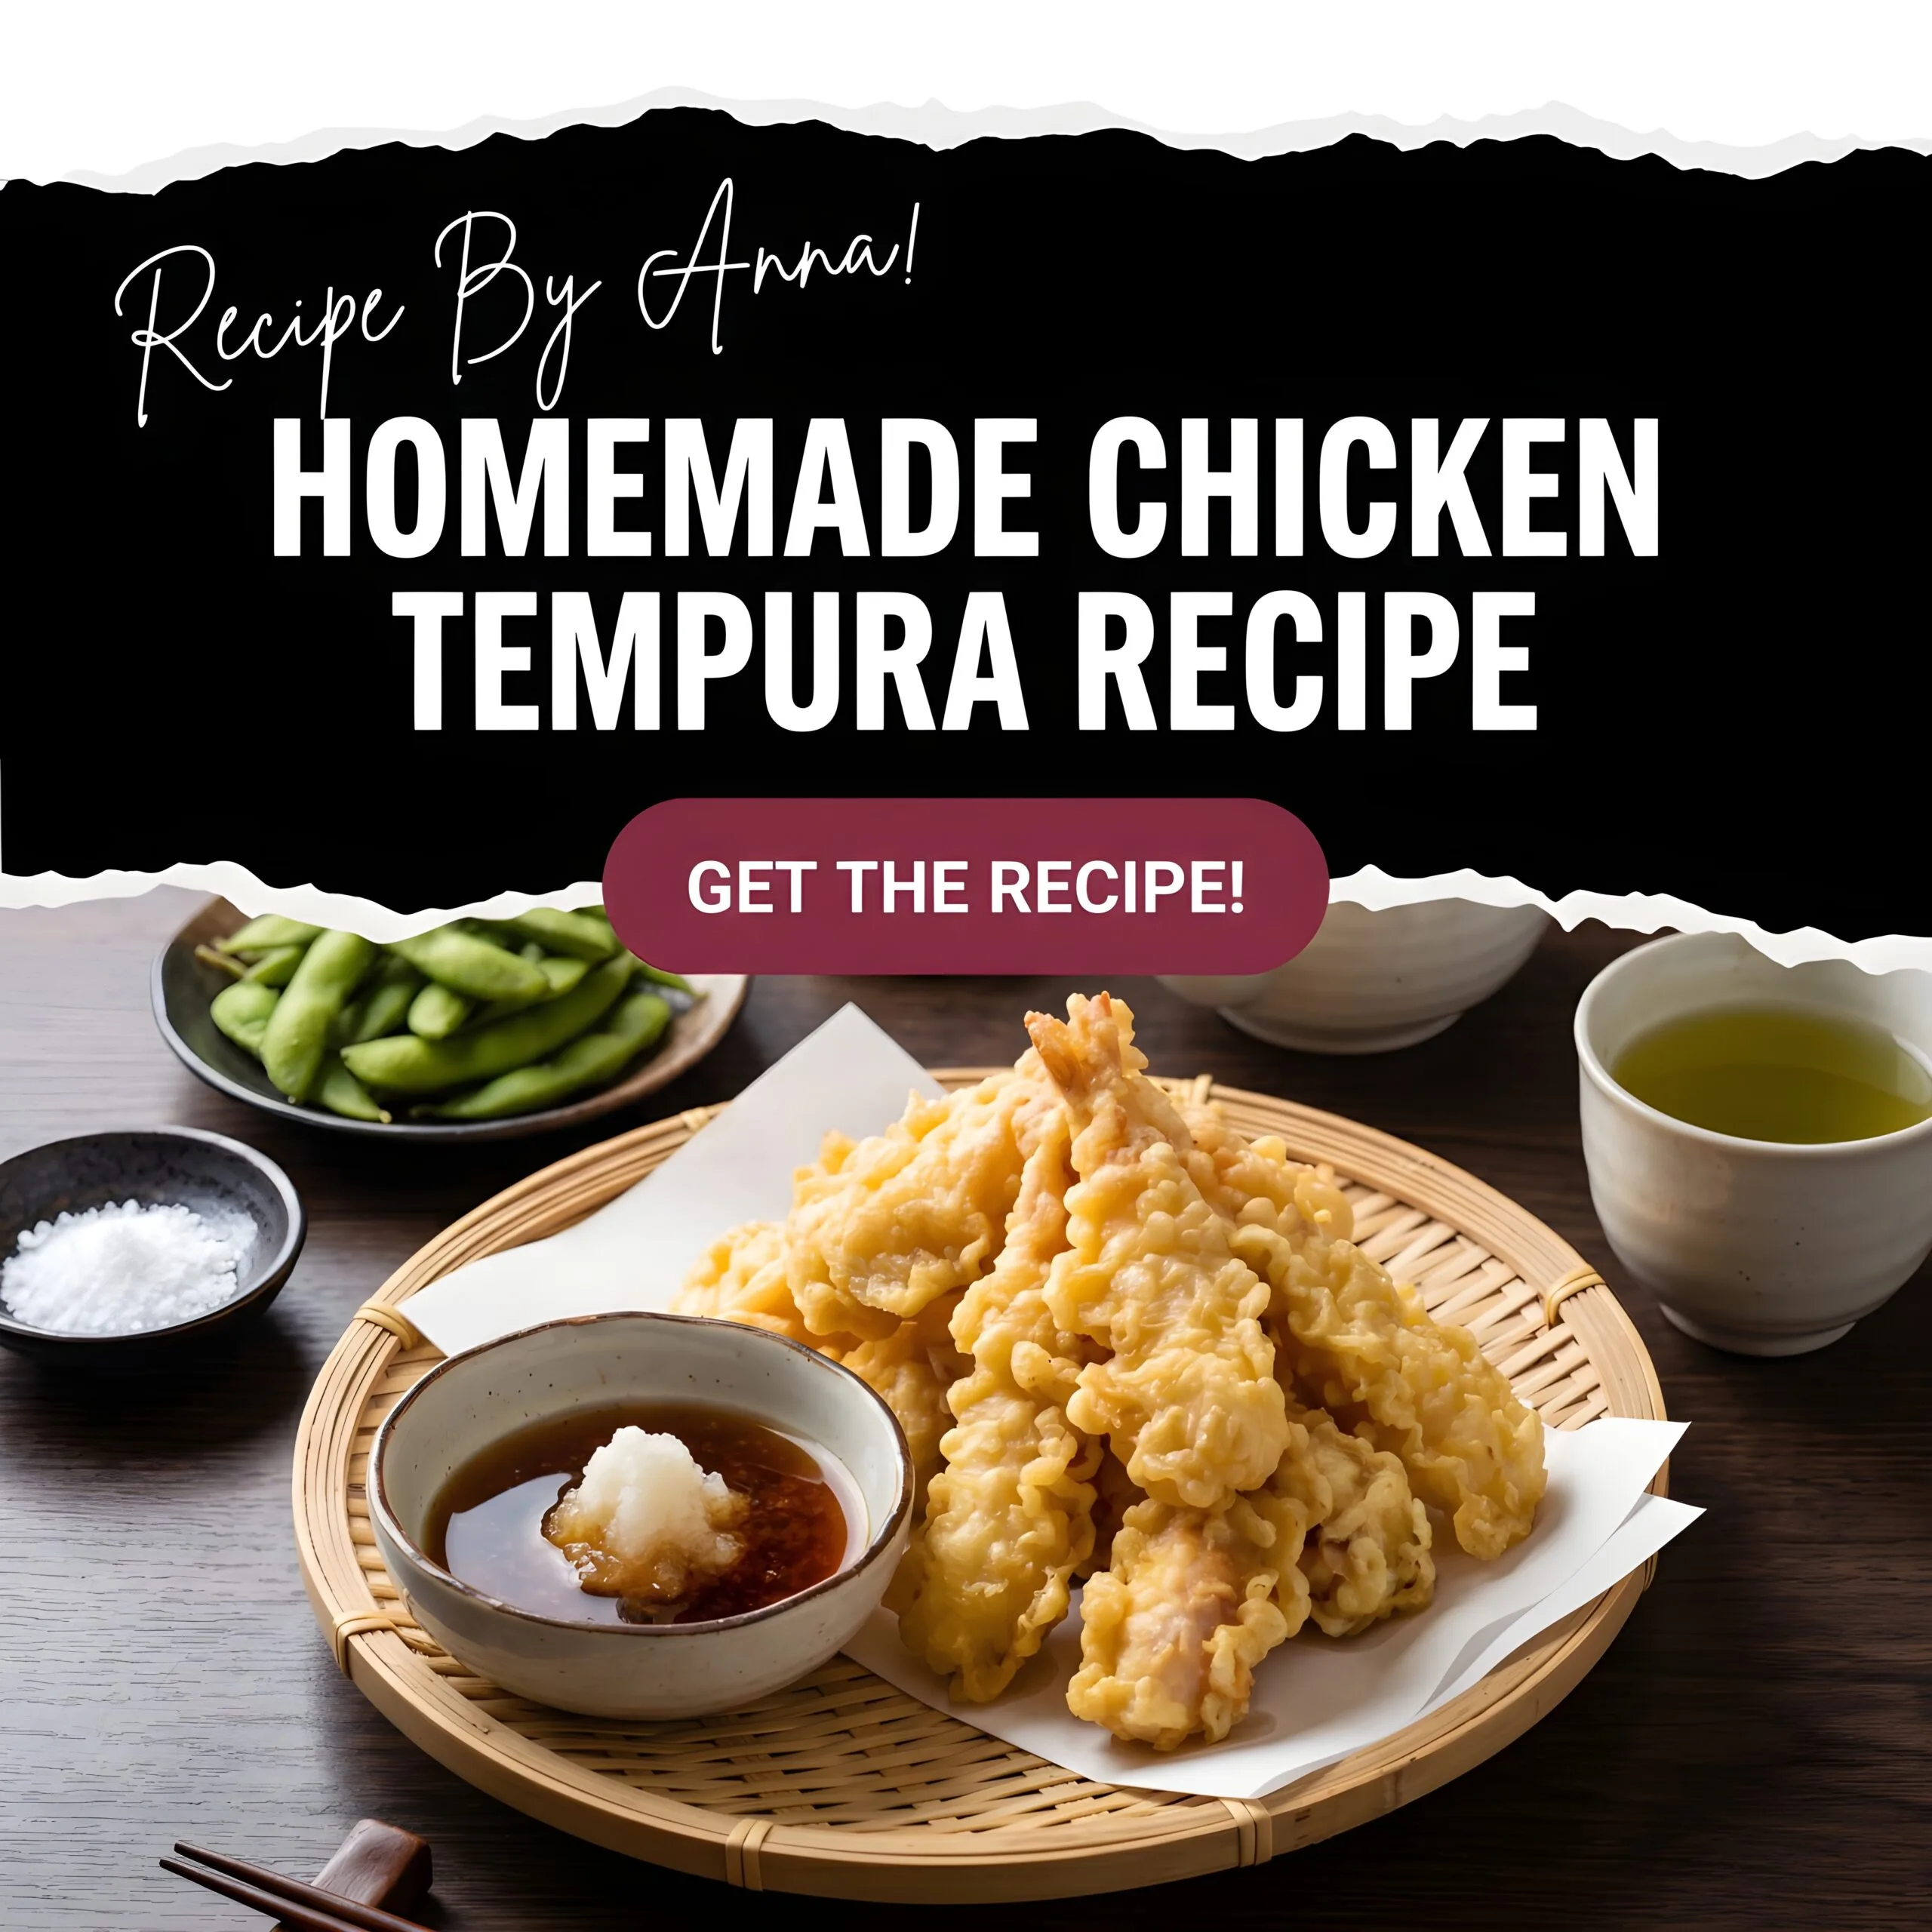
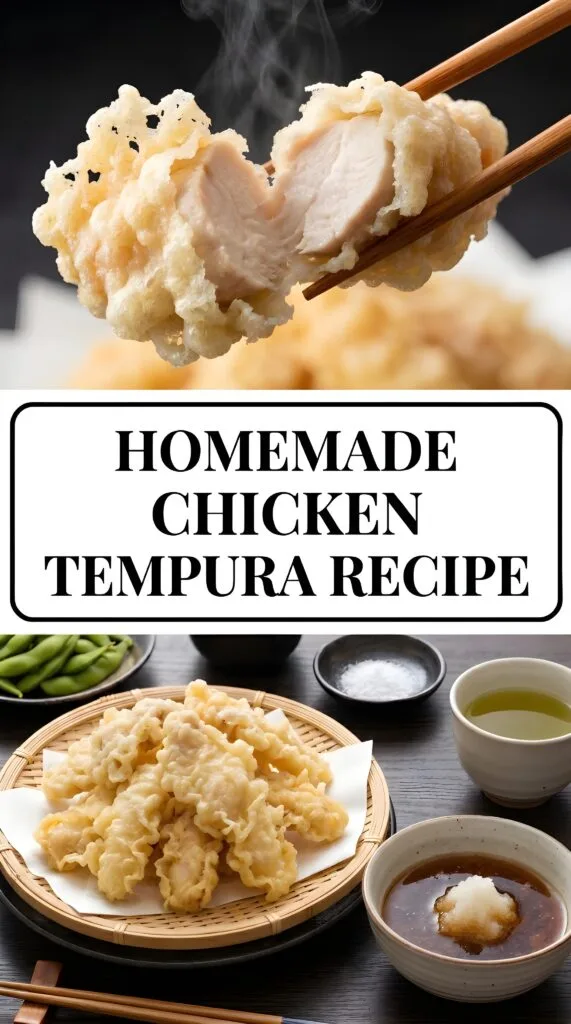
Homemade Chicken Tempura Recipe
Let’s be entirely honest with ourselves for a brief moment. There is a deeply rooted, primal human joy that only triggers when you bite into something so phenomenally crunchy that the person sitting across the room can hear it. It is the holy grail of cooking textures.
But all too often, our kitchen attempts at deep-fried glory end in a heartbreaking display of soggy, oil-logged coatings that slide right off the meat. You wanted a shatteringly crisp Japanese delicacy, but you ended up with something resembling a sad, lukewarm cafeteria nugget.
The struggle is real, but your days of soggy batter are officially over.
Welcome to the ultimate guide to homemade chicken tempura. This isn’t just a recipe; it’s a masterclass in culinary physics. We are going to strip away the mystery of that impossibly light, airy, golden-brown coating you get at high-end sushi spots and replicate it perfectly in your own kitchen. Grab your chopsticks, check your oil thermometers, and let’s get into the science of the crunch.
✨ Why You Are Going to Obsess Over This Dish
If you’re tired of heavy, breadcrumb-laden fried chicken that feels like a lead weight in your stomach, you are in the right place. This version is the complete opposite. It’s airy, delicate, and won’t leave you feeling like you need a three-hour nap immediately after eating.
One of the best things about this preparation is how incredibly fast it comes together. While traditional southern fried chicken requires hours of marinating in buttermilk, this method is all about speed and temperature. You can go from “I’m hungry” to “crunchy perfection” in about twenty minutes flat.
Also, let’s talk about versatility. While we are focusing on poultry today, the techniques you’ll learn here can be applied to almost anything in your crisper drawer. Once you master the batter, you’ll be tempura-frying broccoli, sweet potatoes, and maybe even your left shoe (okay, maybe not the shoe, but you get the point).
The Secret Is in the Science (But I’ll Keep It Simple)
The key difference between this and your standard chicken finger is the gluten—or rather, the lack of it. We want to discourage gluten from forming because gluten is what makes bread chewy and fried food tough. By using specific ingredients and a “messy” mixing technique, we ensure the batter stays light and shatters upon impact with your teeth. It’s basically edible architecture.
🛒 Everything You’ll Need to Get Started
Before we heat up the oil, let’s make sure your pantry is locked and loaded. You don’t need a long list of exotic ingredients, but the quality and temperature of what you use will make or break your results.
- Chicken Breast or Thighs: About one pound, sliced into thin, bite-sized strips or medallions. Thighs are juicier, but breasts work perfectly if you don’t overcook them.
- All-Purpose Flour: This forms the base of our batter. Some people swear by cake flour for less protein, which is a great hack if you have it!
- Cornstarch or Potato Starch: This is the secret weapon for that extra “shatter” factor. It keeps the coating light and crisp.
- Ice-Cold Water: This is non-negotiable. I’m talking “straight from the arctic” cold. Use ice cubes if you have to.
- Egg Yolk: Just one large yolk adds richness and helps with the golden color without making the batter too heavy.
- Baking Powder: A tiny pinch helps create those little air bubbles that make the coating so airy.
- Neutral Oil: You’ll need enough for deep frying. Vegetable, canola, or grapeseed oil are perfect because they have high smoke points.
- Salt and White Pepper: For seasoning the meat before it takes its flour bath.
👩🍳 Step-by-Step: The Path to Crispy Greatness
Follow these steps closely, and you’ll have a plate of golden goodness that would make a pro chef nod in approval. Remember, speed and temperature are your best friends here.
- Prep the Protein: Slice your chicken into thin strips, roughly half an inch thick. Season them lightly with salt and white pepper. Set them aside while you prep the batter.
- The “Dry Run”: Lightly dust your chicken pieces in a small bowl of plain flour or cornstarch. This acts like a primer, helping the wet batter stick to the meat instead of sliding off in the hot oil.
- Mix the Cold Components: In a medium bowl, whisk your ice-cold water and egg yolk together. Don’t worry about making it perfectly smooth; a few streaks are fine.
- The “Messy” Batter: Sift the flour, starch, and baking powder into the water mixture. Now, here is the crucial part: do not overmix! Use chopsticks or a fork to gently fold the ingredients until just combined. Lumps are your friends here; they create texture.
- Heat the Oil: Pour your oil into a heavy-bottomed pot or a deep fryer. Heat it to 340°F – 350°F (170°C – 180°C). If you don’t have a thermometer, drop a tiny bit of batter in—if it sizzles and floats immediately, you’re ready.
- Dip and Drop: Take a floured piece of chicken, dip it into the cold batter, and carefully lower it into the hot oil. Don’t crowd the pot! If you put too many pieces in at once, the oil temperature will drop, and you’ll end up with greasy, sad chicken.
- The Golden Fry: Fry for about 3 to 4 minutes, turning once, until the coating is a very pale golden brown. Tempura isn’t supposed to be dark brown; it should look like a golden summer sunset.
- Drain and Rest: Remove the pieces with a slotted spoon or tongs and place them on a wire rack. Avoid using paper towels if possible, as they can trap steam and make the bottom of your chicken soggy.
🔄 Substitution Suggestions
- The Liquid: If you don’t have sparkling water, standard ice water works, but add a 1/4 teaspoon of baking powder to the dry mix to recover that lost aeration.
- Gluten-Free Version: Swap the cake flour completely for a 50/50 mix of white rice flour and potato starch. It actually turns out incredibly light and crunchy.
- The Protein: This exact technique applies beautifully to shrimp, sweet potatoes, broccoli, or mushrooms. Just ensure the vegetables are completely dry before dipping.
🍽️ What to Pair
Tempura deserves to be treated like royalty. Pair your hot batch with these traditional accompaniments:
- Tentsuyu Dipping Sauce: A classic blend of dashi broth, soy sauce, and mirin, simmered together and served warm.
- Grated Daikon Radish: Stir a tablespoon of finely grated daikon into your dipping sauce. The enzymes help cut through the richness of the fried oil.
- Steamed Jasmine Rice: Build a Tendon (tempura rice bowl) by layering your chicken strips over hot rice and drizzling them with a sweetened soy reduction.
Looking for more recipes? Check out our – Best Strawberry Spinach Salad with Feta
📊 Nutritional Information
Per Serving (Approximate estimation for 1/4 of the recipe batch):
- Calories: 340 kcal
- Protein: 24g
- Carbohydrates: 28g
- Fat: 16g
💡 Pro Tips for the Perfect Crunch
- Keep It Chill: Place your batter bowl inside a larger bowl filled with ice water while you work. Keeping the batter freezing cold slows down gluten development to a grinding halt.
- Skim the Oil: Between batches, use a fine mesh strainer to clear out all the loose, burnt bits of batter floating in the oil. Leftover crumbs will stick to your next batch and taste bitter.
- Watch the Crowding: Adding too many pieces of cold chicken at once will cause your oil temperature to plummet. Fry in small, controlled waves.
✨ Easy Variations to Try
- Spicy Shichimi Tempura: Dust the finished chicken immediately with Shichimi Togarashi (Japanese seven-spice blend) for a citrusy, fiery kick.
- Nori Wrapped: Wrap a tiny strip of dried nori seaweed around the center of each chicken piece before battering for a beautiful visual design and ocean umami notes.
- Matcha Salt Dip: Skip the wet sauce entirely and serve the hot chicken with a tiny bowl of sea salt mixed with premium matcha green tea powder.
🧊 How to Store & Reheat
- To Store: Let the pieces cool completely to room temperature on a wire rack. Place them in a shallow container lined with parchment paper, keeping them in a single layer. Store in the fridge for up to 2 days.
- To Reheat: Never, under any earthly circumstances, use a microwave. You will end up with a rubbery disaster. Instead, lay them out on a baking sheet and bake in an oven or air fryer at 375°F (190°C) for 4–5 minutes until the oil starts sizzling again.

⚠️ Common Mistakes to Avoid
The Paper Towel Trap: Setting freshly fried tempura directly onto paper towels traps steam beneath the food, instantly destroying the crisp bottom layer you worked so hard to build.
Using Warm Water: If your water is room temperature, the starches won’t crisp up correctly, and the batter will absorb double the oil.
Over-frying: Tempura is supposed to be a beautiful, pale cream or very light blonde color—not deep, dark brown like southern fried chicken. Take it out earlier than you think!
❓ Frequently Asked Questions (Troubleshooting)
Why is my batter falling off the chicken?
This usually happens because the chicken was too damp. Make sure to pat the meat dry with paper towels before dredging it in the initial flour coating. That dry layer of flour acts like glue for the wet batter.
Can I make the batter ahead of time?
Actually, no! You want to make the batter right before you intend to use it. If it sits too long, the flour will hydrate too much, and the chemical reaction from the baking powder will fizzle out, leading to a heavy, doughy crust.
Is there a gluten-free option?
Absolutely! You can replace the all-purpose flour with a high-quality gluten-free flour blend or simply use 100% cornstarch or potato starch. In fact, many people prefer the all-starch version because it’s even crispier!
🥢 Final Thoughts on This Crispy Classic
Cooking at home should be an adventure, and there is nothing quite as rewarding as mastering a technique like this. Yes, deep frying can be a little intimidating (and a bit messy), but the payoff is a meal that tastes better than takeout and costs a fraction of the price.
Don’t be afraid of those lumps in the batter, and don’t worry if your first few pieces aren’t “Instagram perfect.” The flavor will still be incredible. Once you hear that first crunch, you’ll know all the effort was worth it.
So, grab your apron, chill your water, and get ready to impress your friends, your family, or just your very lucky self. Happy frying!