

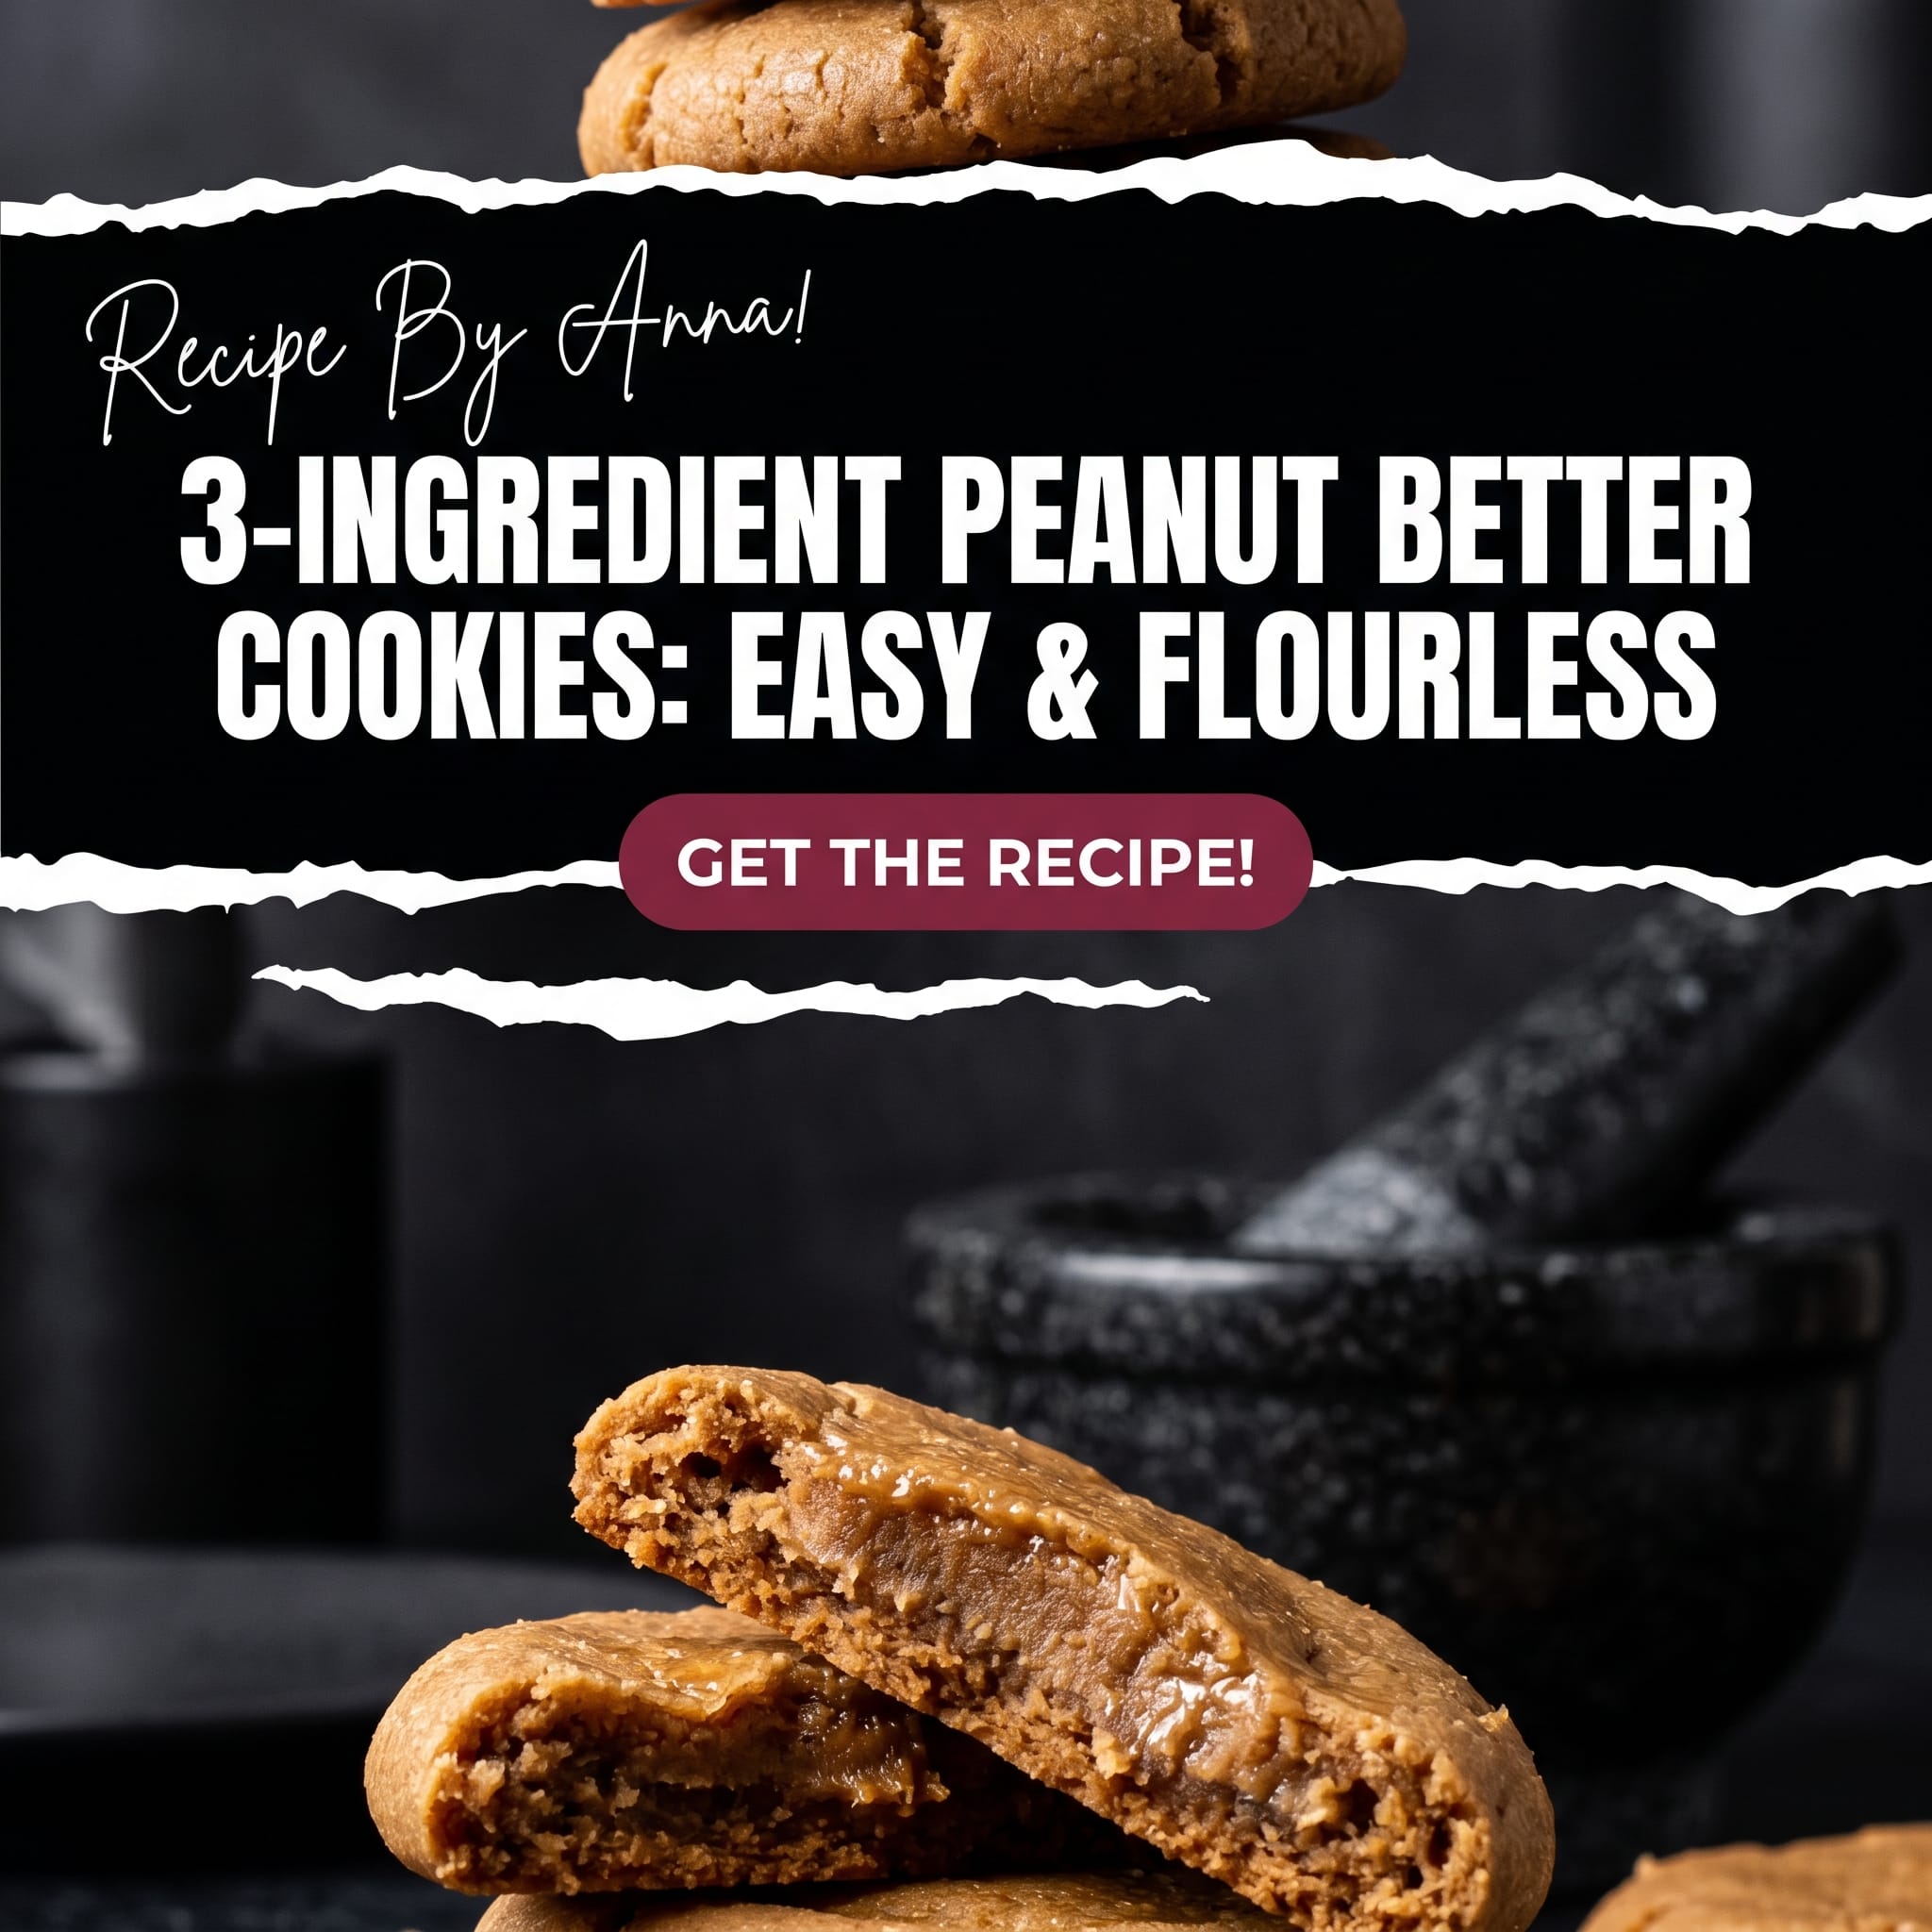
Simple and Delicious 3-Ingredient Peanut Butter Cookies Recipe
Meta Description: Looking for a quick treat? These 3-ingredient peanut butter cookies are soft, chewy, and naturally gluten-free. Learn how to make this easy peanut butter cookies recipe in under 20 minutes!
We have all been there. It is 9:00 PM on a Tuesday, you are halfway through your favorite Netflix binge, and suddenly, the craving hits. You need a cookie. Not just any cookie—a warm, salty-sweet, melt-in-your-mouth peanut butter cookie. But then you check the pantry. You are out of flour. You are out of butter. Your baking motivation is hovering somewhere near zero. Before you resign yourself to a spoonful of plain jam, let me introduce you to the holy grail of lazy-day baking: the 3-ingredient peanut butter cookies.
This recipe is practically magic. It defies the laws of culinary physics. How can something with no flour and no butter taste this good? I used to be a skeptic too. I thought, “Surely this will just be a hot mess of melted oil.” Oh, how wrong I was. These cookies are sturdy, chewy, and pack more peanut flavor than their complicated, flour-filled cousins. Plus, they are naturally gluten-free, which makes you a hero at the next office potluck without even trying. Let’s dive into why this flourless peanut butter cookies recipe is about to become your new best friend.
😍 Why You’ll Obsess Over This Recipe
There are a million cookie recipes out there, but this one holds a special place in my heart (and my stomach). First off, the simplicity is unmatched. When a recipe only has three steps and three items, the margin for error is incredibly slim. Even if you consider yourself a “kitchen disaster,” you can handle this. It is the ultimate easy peanut butter cookies hack for busy parents, college students, or anyone who just wants a snack now.
Secondly, the texture is surprisingly gourmet. Because there is no flour to toughen up the dough, these cookies remain incredibly tender. They have that slightly crisp edge and a soft, fudge-like center that lingers on the palate. And let’s be honest, cleaning up one bowl and one spoon is a spiritual experience. No flour dust all over the counters, no heavy stand mixer to lug around—just pure, unadulterated peanut bliss. It is the kind of recipe that makes you feel like a pro baker while you are still wearing your pajamas.
🛒 Ingredients You’ll Need
To make these gluten-free dessert masterpieces, you only need to look as far as your pantry. Here is the lineup:
- 1 Cup Peanut Butter: You can use creamy or crunchy. If you like a bit of texture and a “surprise” nut piece in every bite, crunchy is the way to go. Standard commercial brands (like Jif or Skippy) tend to work best for the structure, but natural versions can work too with a little tweaking.
- 1 Cup Granulated Sugar: This provides the sweetness and helps create those lovely crisp edges. You can also use brown sugar if you want a deeper, more caramel-like flavor.
- 1 Large Egg: This is the glue. The egg provides the protein and moisture needed to bind the sugar and peanut butter together into a cohesive dough.
🥣 Step-by-Step Instructions
Ready to bake? Follow these simple steps and you will have cookies in the time it takes to boil a pot of pasta.
Step 1: Prep Your Space
Preheat your oven to 350°F (175°C). Line a large baking sheet with parchment paper or a silicone baking mat. This is crucial because these cookies are delicate when they first come out of the oven, and you don’t want them sticking to the pan like they are trying to claim squatter’s rights.
Step 2: Mix the Magic
In a medium-sized mixing bowl, combine the peanut butter, sugar, and egg. Use a sturdy spatula or a wooden spoon to mix everything together. At first, it might look a little oily or separated, but keep stirring! After about 30 seconds, it will magically transform into a thick, shiny dough that pulls away from the sides of the bowl.
Step 3: Scoop and Roll
Scoop out about one tablespoon of dough at a time and roll it into a ball (roughly the size of a golf ball, or a very large marble). Place the balls on your prepared baking sheet, leaving about two inches of space between them. They don’t spread a ton, but they do need some breathing room.
Step 4: The Iconic Criss-Cross
Take a fork and press it gently into the top of each dough ball to flatten it. Then, rotate the fork 90 degrees and press again to create that classic waffle/criss-cross pattern. This isn’t just for aesthetics; it helps the flourless dough bake evenly through the center.
Step 5: Bake and Cool
Slide the tray into the oven and bake for 8 to 10 minutes. The edges should be just slightly golden, and the tops should look set. Important: Let them cool on the baking sheet for at least 5-10 minutes before moving them. They are very soft when warm and need that time to firm up into their final, delicious form.

🔄 Substitution Suggestions
Don’t have exactly what is on the list? Don’t panic. Here are a few ways to pivot:
- The Sugar: If you are watching your sugar intake, you can use a 1:1 sugar substitute like erythritol or monk fruit sweetener. For a richer flavor, swap the white sugar for coconut sugar.
- The Nut Butter: Not a fan of peanuts? Almond butter or cashew butter works beautifully here. If you have a nut allergy, sunflower seed butter (SunButter) is a fantastic alternative, though it might turn the cookies a slightly greenish tint due to a reaction with the baking soda (if you add any) or just the seeds themselves—don’t worry, it’s still safe and tasty!
- The Egg: For a vegan version, you can try a “flax egg” (1 tablespoon ground flaxseed meal mixed with 3 tablespoons water). Note that the texture will be a bit more crumbly, but the flavor will still be spot on.
🥛 What to Pair
How you eat these is just as important as how you bake them. Of course, a tall, ice-cold glass of milk (dairy or oat) is the gold standard. The creaminess of the milk cuts through the rich, salty fat of the peanut butter in a way that feels like a warm hug for your taste buds.
If you want to get fancy, try making a PB&J Cookie Sandwich. Spread a little raspberry or grape jam on the bottom of one cookie and press another one on top. It is nostalgic, messy, and absolutely brilliant. These also pair excellently with a hot cup of black coffee or a scoop of vanilla bean ice cream for a “deconstructed” sundae vibe.
🔗 Similar recipes here: Mini Funfetti Yogurt Muffins | Soft, Fluffy & Easy Recipe
📊 Nutritional Information
While these are definitely a treat, they do offer some benefits compared to your average store-bought cookie. Because they are 3-ingredient peanut butter cookies, they are high in protein and healthy fats thanks to the nuts. One cookie typically contains about 100-120 calories, depending on the brand of peanut butter used. They are also naturally low-carb (if you use a sugar substitute) and contain zero refined flour. Just remember, they are still cookies—so maybe don’t eat the whole batch in one sitting… unless you really want to. I won’t judge.
💡 Pro Tips for the Perfect Batch
Want to level up your baking game? Here are a few secrets from my kitchen to yours:
- Use Room Temperature Eggs: A room-temp egg incorporates much more smoothly into the peanut butter than a cold one, resulting in a more uniform dough.
- The “Natural” PB Trick: If you use natural peanut butter (the kind you have to stir), make sure it is very well-mixed. If the dough feels too oily, add an extra tablespoon of sugar or a pinch of salt to help bind the oils.
- Don’t Overbake: These cookies will look underdone when you pull them out. That is okay! They continue to cook on the hot tray. If you wait until they look “hard,” they will turn into peanut butter bricks once they cool.
- Salt is Your Friend: Most peanut butters are already salted, but if yours isn’t, add a pinch of sea salt to the dough to make the flavors pop.
✨ Easy Variations to Try
Once you’ve mastered the base recipe, it’s time to play “Mad Scientist” in the kitchen. Here are some fun add-ins:
- Chocolate Chips: Stir in 1/2 cup of semi-sweet or dark chocolate chips. Chocolate and peanut butter are the ultimate power couple.
- Sea Salt Flakes: Sprinkle a tiny bit of flaky sea salt on top immediately after taking them out of the oven for a sophisticated, sweet-and-salty finish.
- Vanilla Extract: Add 1/2 teaspoon of pure vanilla extract to the dough for a more “bakery-style” aroma.
- Cocoa Powder: Replace 2 tablespoons of sugar with 2 tablespoons of unsweetened cocoa powder for a double-chocolate peanut butter experience.
📦 How to Store & Reheat
If you actually have leftovers (a rare occurrence in my house), these cookies store remarkably well. Keep them in an airtight container at room temperature for up to 5 days. They actually get a little softer and more “fudgy” on day two.
You can also freeze the baked cookies for up to 3 months. Just thaw one out whenever the craving hits. If you like that “just-out-of-the-oven” experience, pop a room-temperature cookie in the microwave for 10 seconds. It will soften right up and the peanut butter oils will warm through perfectly.
⚠️ Common Mistakes to Avoid
Even a 3-ingredient recipe has its pitfalls! Avoid these to ensure cookie perfection:
- Using “Old” Peanut Butter: If your peanut butter is at the bottom of the jar and looks dry and crumbly, your cookies will be dry and crumbly. Use a fresh, creamy jar for the best results.
- Skipping the Parchment: As mentioned, these are flourless. They like to cling to the pan. Use parchment paper or you might end up eating the cookies in “shrapnel” form with a spoon.
- Measuring the Sugar Incorrectly: Use a dry measuring cup for the sugar. If you eyeball it and add too much, the cookies will spread into a giant pancake.

❓ FAQ
Q: Can I make these without eggs?
A: Yes, as mentioned in the substitutions, a flax egg or a commercial egg replacer works. The texture will be slightly different, but still tasty!
Q: My cookies are too crumbly. What happened?
A: You likely overbaked them or used a peanut butter that was too dry. Next time, try baking for a minute less or adding a teaspoon of water to the dough if it feels stiff.
Q: Why do I have to do the fork pattern?
A: Without flour, the dough is very dense. Flattening them with a fork ensures the heat reaches the center of the cookie quickly so they bake evenly without burning the edges.
✅ Explore more meals: Family favorite recipe
🏁 Final Thoughts
The 3-ingredient peanut butter cookies are proof that you don’t need a pantry full of expensive ingredients to create something delicious. They are a testament to the power of simplicity. Whether you are baking with kids, looking for a gluten-free treat, or just need a sugar fix in a hurry, this recipe never fails.
So, what are you waiting for? Go check your pantry, grab that jar of peanut butter, and get to mixing. Your future self—the one sitting on the couch with a warm cookie in five minutes—will definitely thank you. Happy baking!


")