

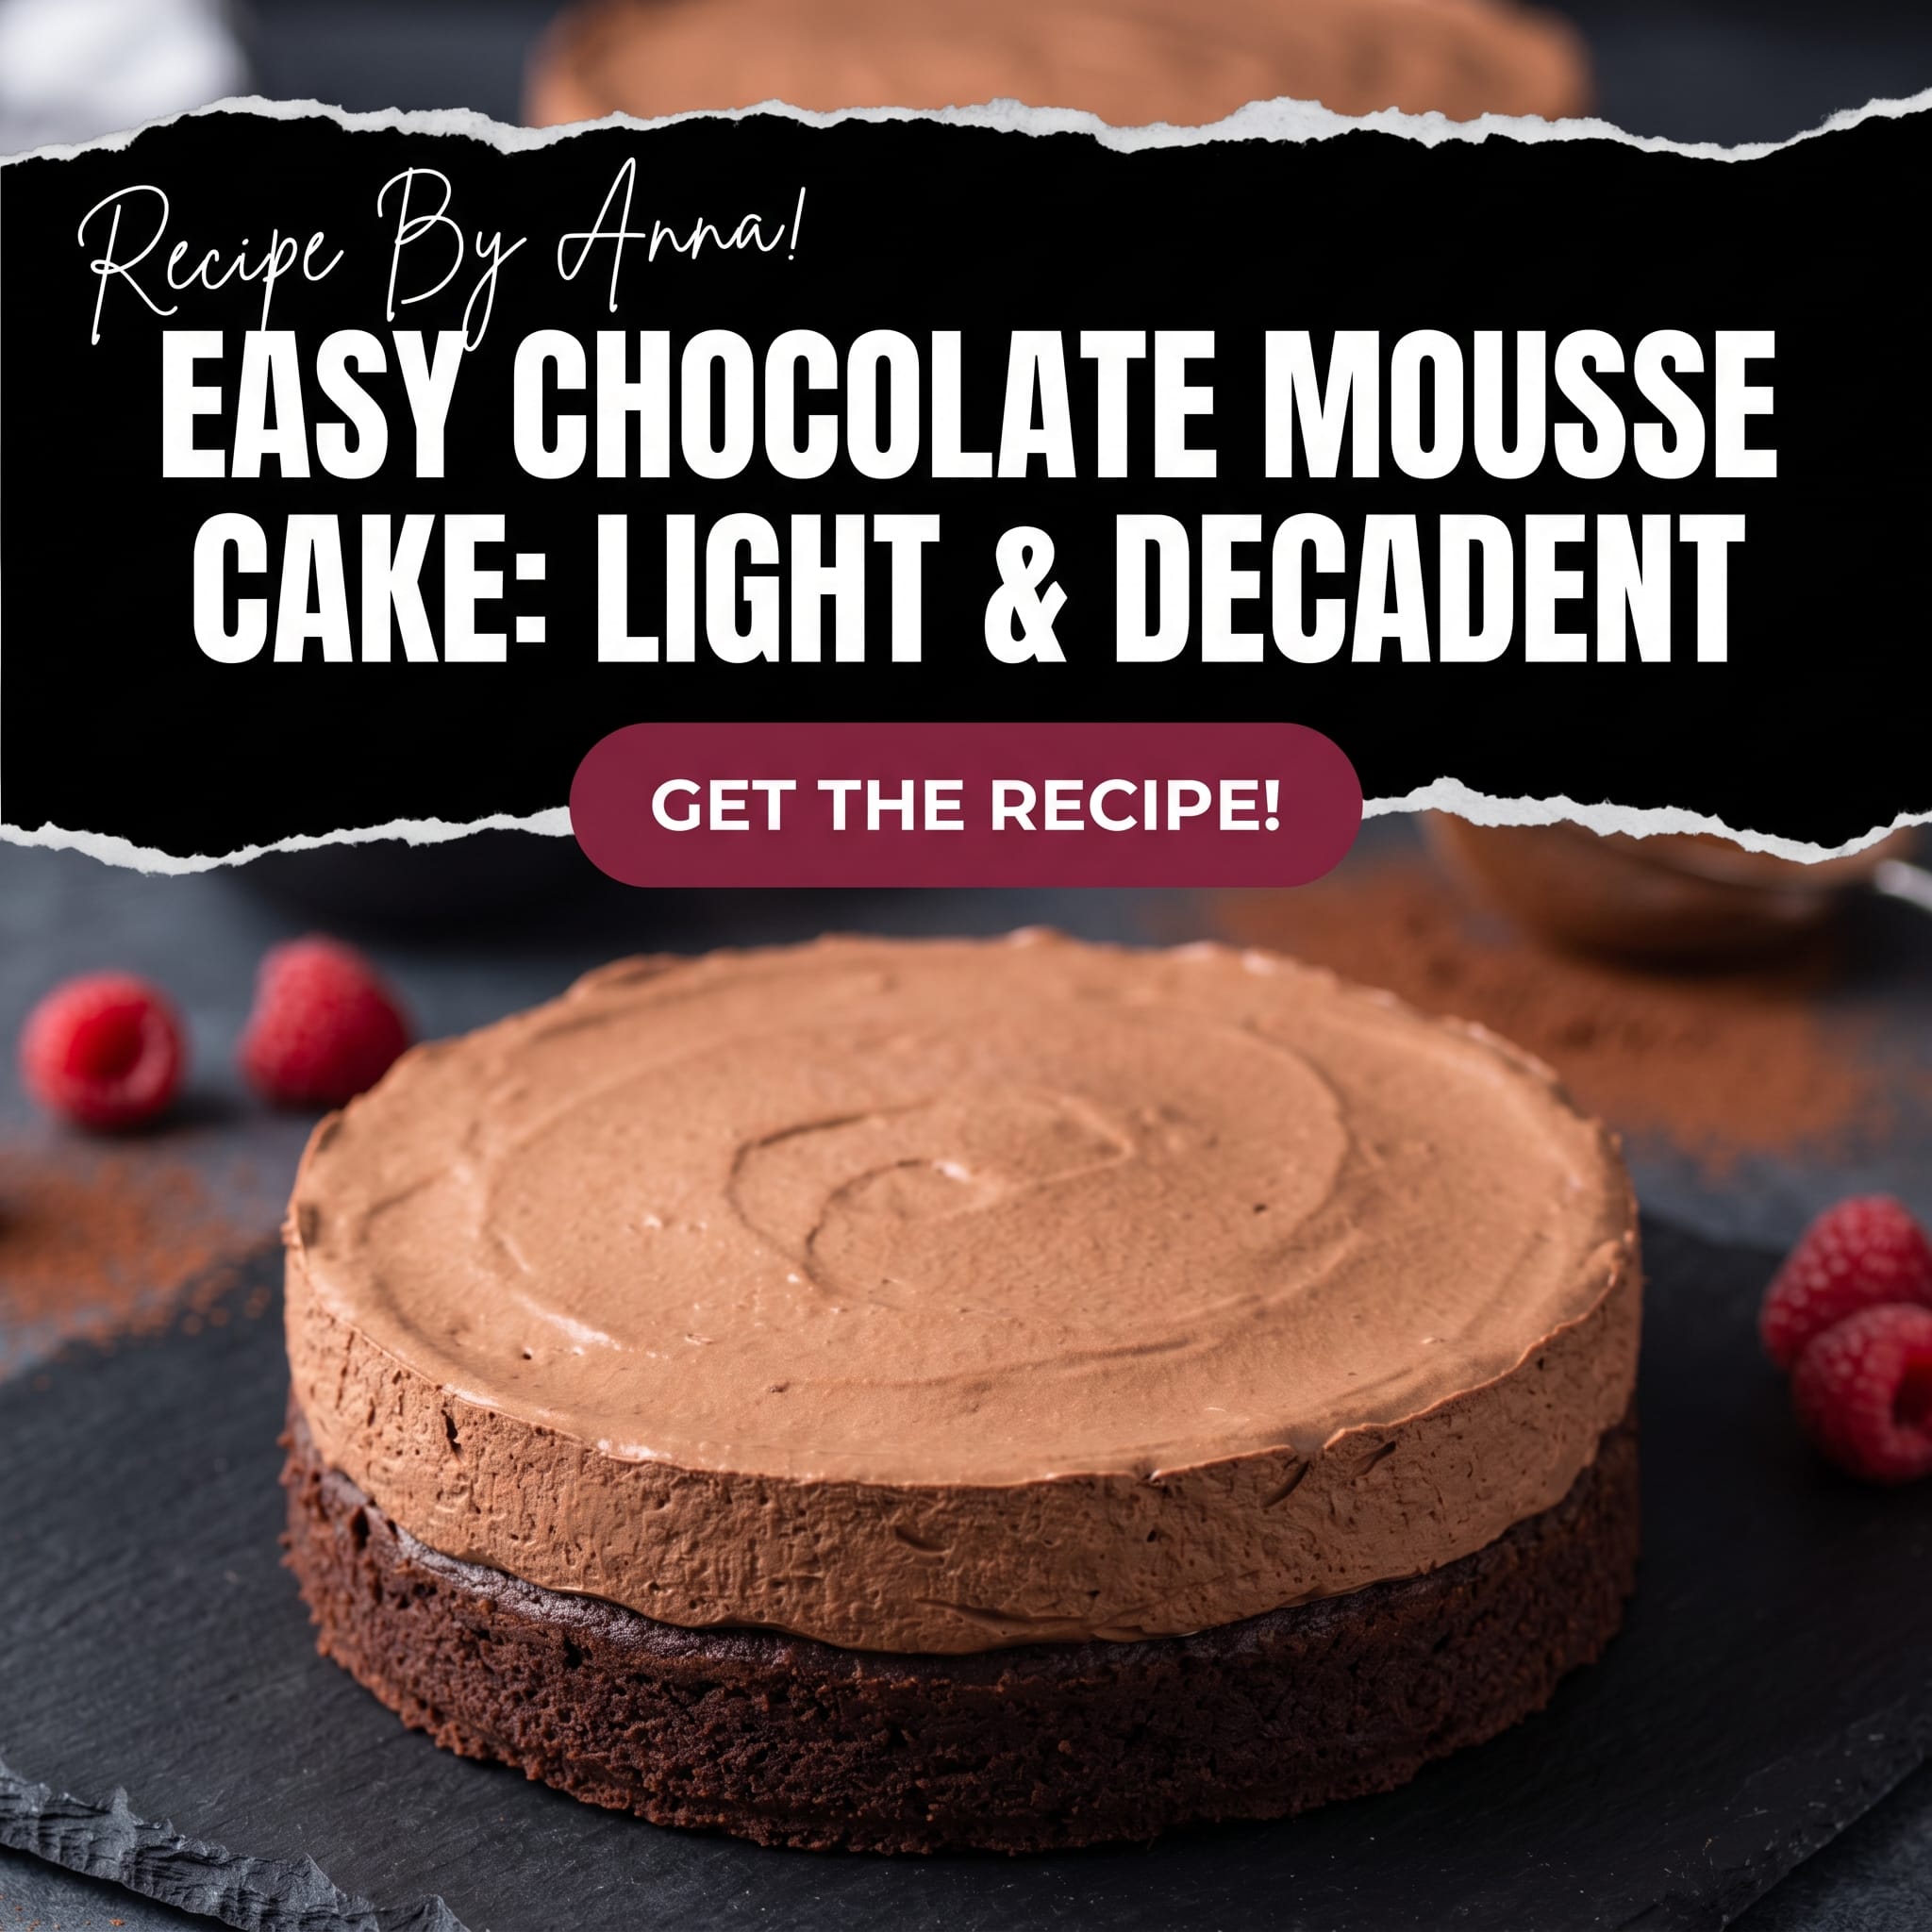
Tasty & Easy Chocolate Mousse Cake: Light & Decadent
Let’s be honest for a second: life is better with chocolate. Whether you’ve had a long day at the office or you’re just celebrating the fact that it’s a Tuesday, there is nothing quite like a rich, velvety dessert to make everything feel right in the world. But here is the problem—most fancy cakes require a chemistry degree and the patience of a saint to pull off. That is where this easy chocolate mousse cake recipe comes in to save your sanity and your sweet tooth.
This cake is the ultimate crowd-pleaser. It looks like it came straight out of a high-end French patisserie, but the secret is that it’s actually incredibly simple to put together. We are talking about a dense, fudgy chocolate base topped with a cloud-like layer of homemade chocolate mousse. It’s light, it’s decadent, and it’s about to become your new personality trait. Grab your whisk and let’s get into the chocolatey goodness!
🤩 Why You’ll Obsess Over This Recipe
If you are looking for decadent dessert ideas that don’t involve twelve hours of labor, you have hit the jackpot. The first reason you will fall in love with this cake is the texture contrast. You get that solid, brownie-like foundation paired with a mousse that is so airy it might actually float away if you don’t eat it fast enough. (But let’s be real, it won’t last long enough to find out.)
Another reason to obsess? It is a “make-ahead” dream. This cake actually benefits from sitting in the fridge, which means you can prep it a day before your big dinner party and spend your actual hosting time drinking wine instead of hovering over an oven. Plus, it uses basic pantry staples. No need to go hunting for rare Madagascar vanilla beans harvested during a full moon—regular ingredients will do just fine!
Finally, it is just plain impressive. When you pull this out of a springform pan and those perfect layers are revealed, people will think you’ve been taking secret baking classes. You can just nod knowingly and accept the compliments while licking the spatula in private. We won’t tell.
🛒 Ingredients You’ll Need
To create this masterpiece, we’ll split our shopping list into two parts: the chocolate base and the fluffy mousse topping. Keeping the ingredients high-quality will really make a difference here, so go for the good cocoa powder if you can!
The Chocolate Base
- All-Purpose Flour: 1 cup (sifted for extra lightness).
- Granulated Sugar: 1 cup (to balance that cocoa bitterness).
- Unsweetened Cocoa Powder: 1/2 cup (the darker, the better!).
- Baking Powder & Soda: 1/2 teaspoon each.
- Large Egg: 1 (at room temperature).
- Whole Milk: 1/2 cup.
- Vegetable Oil: 1/4 cup (keeps it moist!).
- Boiling Water: 1/2 cup (this “blooms” the cocoa for maximum flavor).
The Heavenly Mousse
- Semi-Sweet Chocolate Chips: 1.5 cups (or chopped high-quality chocolate bars).
- Heavy Whipping Cream: 2 cups (must be very cold).
- Powdered Sugar: 1/4 cup (adjust to your sweetness preference).
- Vanilla Extract: 1 teaspoon.
- Gelatin Powder: 1 teaspoon dissolved in 2 tablespoons of water (this helps the mousse hold its shape).
👩🍳 Step-by-Step Instructions
Follow these steps closely, and you’ll have a light and fluffy cake that looks like a million bucks. Don’t rush the cooling process; patience is the most important ingredient here!
Step 1: Bake the Base
Preheat your oven to 350°F (175°C) and grease a 9-inch springform pan. In a large bowl, whisk together the flour, sugar, cocoa, baking powder, and soda. Add the egg, milk, and oil, and mix until combined. Slowly pour in the boiling water and whisk gently—the batter will be thin, but that’s exactly what you want! Pour it into the pan and bake for 25-30 minutes. Let it cool completely before moving to the next step.
Step 2: Melt the Chocolate
While the cake cools, melt your chocolate chips. You can do this in a microwave in 30-second bursts or using a double boiler. Once melted and smooth, stir in the dissolved gelatin (if using) and let the mixture sit until it reaches room temperature. If you add hot chocolate to cold cream, you’ll end up with a chunky mess, and nobody wants that.
Step 3: Whip the Cream
In a separate chilled bowl, beat the heavy whipping cream, powdered sugar, and vanilla extract until stiff peaks form. Stiff peaks mean that when you lift the whisk, the cream stands up straight like it’s saluting you. Be careful not to over-beat, or you’ll end up making sweetened butter.
Step 4: The Great Fold
Gently fold about a third of the whipped cream into the cooled melted chocolate to lighten it up. Then, fold in the remaining cream using a spatula. Use a “cut and fold” motion—don’t stir vigorously, or you’ll knock out all that beautiful air we just whipped in.
Step 5: Assemble and Chill
Pour the mousse over the cooled cake base inside the springform pan. Smooth the top with a spatula. Pop it into the fridge for at least 4 hours, though overnight is even better. This allows the mousse to set into a sliceable, velvety dream.

🔄 Substitution Suggestions
Baking is a science, but we can still play around with the formula a bit! Here are a few ways to swap things out if you’re missing an ingredient or have dietary preferences:
- Flour Swap: You can use a 1:1 gluten-free flour blend for the base. Since the mousse is naturally gluten-free (just check your chocolate labels), this makes a fantastic GF dessert.
- Sugar Options: Coconut sugar works well in the base for a slightly more caramel-like flavor, though it will make the cake a bit denser.
- Dairy-Free: Use a high-fat coconut cream (chilled) instead of heavy cream and dairy-free chocolate chips. It won’t be exactly the same, but it’ll still be delicious!
- Oil: If you don’t like vegetable oil, melted coconut oil or even applesauce (for a lower-fat version) can work in the cake base.
☕ What to Pair
This cake is a star on its own, but the right pairing can take it to a whole new level. Since this is a decadent dessert idea, let’s lean into the luxury!
Beverages: A strong, dark roast coffee or a double shot of espresso is the perfect bitter contrast to the sweet mousse. If you’re feeling fancy, a glass of Raspberry Lambic or a sweet Port wine complements the deep chocolate notes beautifully.
Toppings: Fresh raspberries or strawberries add a tart pop of color and flavor. You could also add a dollop of extra whipped cream or a drizzle of salted caramel if you’re feeling particularly rebellious against your diet.
🔗 You may also like: Ultimate Moist Chocolate Pound Cake | Rich & Fudgy Frosting
📊 Nutritional Information
While we usually don’t count calories when chocolate is involved (it’s better for the soul), here is a general estimate per slice based on 12 servings:
- Calories: 380 kcal
- Total Fat: 24g
- Carbohydrates: 38g
- Protein: 4g
- Sugar: 28g
Remember, these are estimates. If you add an extra inch of whipped cream on top (which I highly recommend), please adjust your math accordingly!
💡 Pro Tips for the Perfect Batch
Want to make sure your cake looks like it belongs on a magazine cover? Here are some insider tips:
- Temperature Control: Ensure your chocolate isn’t hot when you fold it into the cream. If it’s too warm, it will melt the air bubbles in the cream, and your mousse will be flat and sad.
- The Knife Trick: To get those clean, perfect slices, dip your knife in hot water and wipe it dry between every single cut. It’s a bit of extra work, but the “wow” factor is worth it.
- Quality Matters: Since the mousse is the star, use the best chocolate you can afford. Look for chocolate with at least 60% cocoa for a rich flavor that isn’t cloyingly sweet.
- Sift the Cocoa: Cocoa powder loves to clump up. Sifting it into your dry ingredients ensures your cake base doesn’t have any hidden “flour bombs.”
🎨 Easy Variations to Try
Once you’ve mastered the classic easy chocolate mousse cake recipe, why not spice things up? Here are some fun twists:
- Mocha Madness: Add a tablespoon of instant espresso powder to the cake batter and the mousse to enhance the chocolate flavor.
- Minty Fresh: Add 1/2 teaspoon of peppermint extract to the mousse and top with crushed candy canes or mint leaves.
- Peanut Butter Swirl: Gently swirl some warmed peanut butter into the mousse layer before chilling. It’s a match made in heaven.
- White Chocolate Layer: Make a half-batch of dark mousse and a half-batch of white chocolate mousse for a stunning “tuxedo” look.
❄️ How to Store & Reheat
Storage: This cake must be stored in the refrigerator. Because of the heavy cream and gelatin, it will lose its structure if left out on the counter for too long. Keep it in an airtight container or tightly wrapped in plastic wrap for up to 4 days.
Reheating: Okay, here is the deal—do not reheat the mousse! If you put this cake in the microwave, the mousse will turn into a puddle of chocolate soup. If you prefer the cake base to be a bit softer, simply let your slice sit at room temperature for about 15-20 minutes before eating. The mousse will stay stable, but the base will regain that fudgy, melt-in-your-mouth feel.
⚠️ Common Mistakes to Avoid
Even the best bakers run into trouble sometimes. Avoid these pitfalls to ensure success:
- Using Room Temp Cream: If your heavy cream isn’t cold, it won’t whip. Put your bowl and whisk in the freezer for 10 minutes before starting for the best results.
- Skipping the Chill Time: I know, it smells amazing and you want to eat it NOW. But if you cut it too early, the mousse will ooze everywhere. Give it the full 4 hours!
- Over-Mixing the Mousse: Be gentle during the folding process. If you stir like you’re mixing cement, you’ll lose the light and fluffy cake texture we’re aiming for.
- Not Greasing the Pan: There is nothing more heartbreaking than a cake that refuses to leave the pan. Use parchment paper on the bottom for an extra safety net.
❓ FAQ
Can I make this without a springform pan?
Technically yes, but it will be hard to get out. You can use a deep 9-inch cake pan lined with plenty of parchment paper hanging over the edges to help you lift it out, but a springform pan is definitely the MVP here.
Can I freeze chocolate mousse cake?
Yes! This cake freezes surprisingly well. Wrap it tightly in plastic wrap and foil. Thaw it in the fridge overnight before serving. The texture might be slightly less airy, but it still tastes incredible.
Do I have to use gelatin?
The gelatin helps the cake hold its shape for cleaner slices and longer “counter time” during a party. If you skip it, the mousse will be softer and might slump a bit, but it will still be delicious. Just keep it very cold until the last second!
Family favorite recipe : Healthy Food and Drink Recipes
🍫 Final Thoughts
There you have it—a homemade chocolate mousse cake that is as easy as it is elegant. Whether you are celebrating a birthday, an anniversary, or just the fact that you survived a Monday, this cake is the answer. It proves that you don’t need to be a professional pastry chef to create something truly spectacular in your own kitchen.
So, what are you waiting for? Go get your ingredients, put on your favorite playlist, and get to baking. Just remember to save a slice for yourself before the rest of the family discovers it’s in the fridge. Happy baking, and may your mousse always be fluffy and your chocolate always be dark!


