
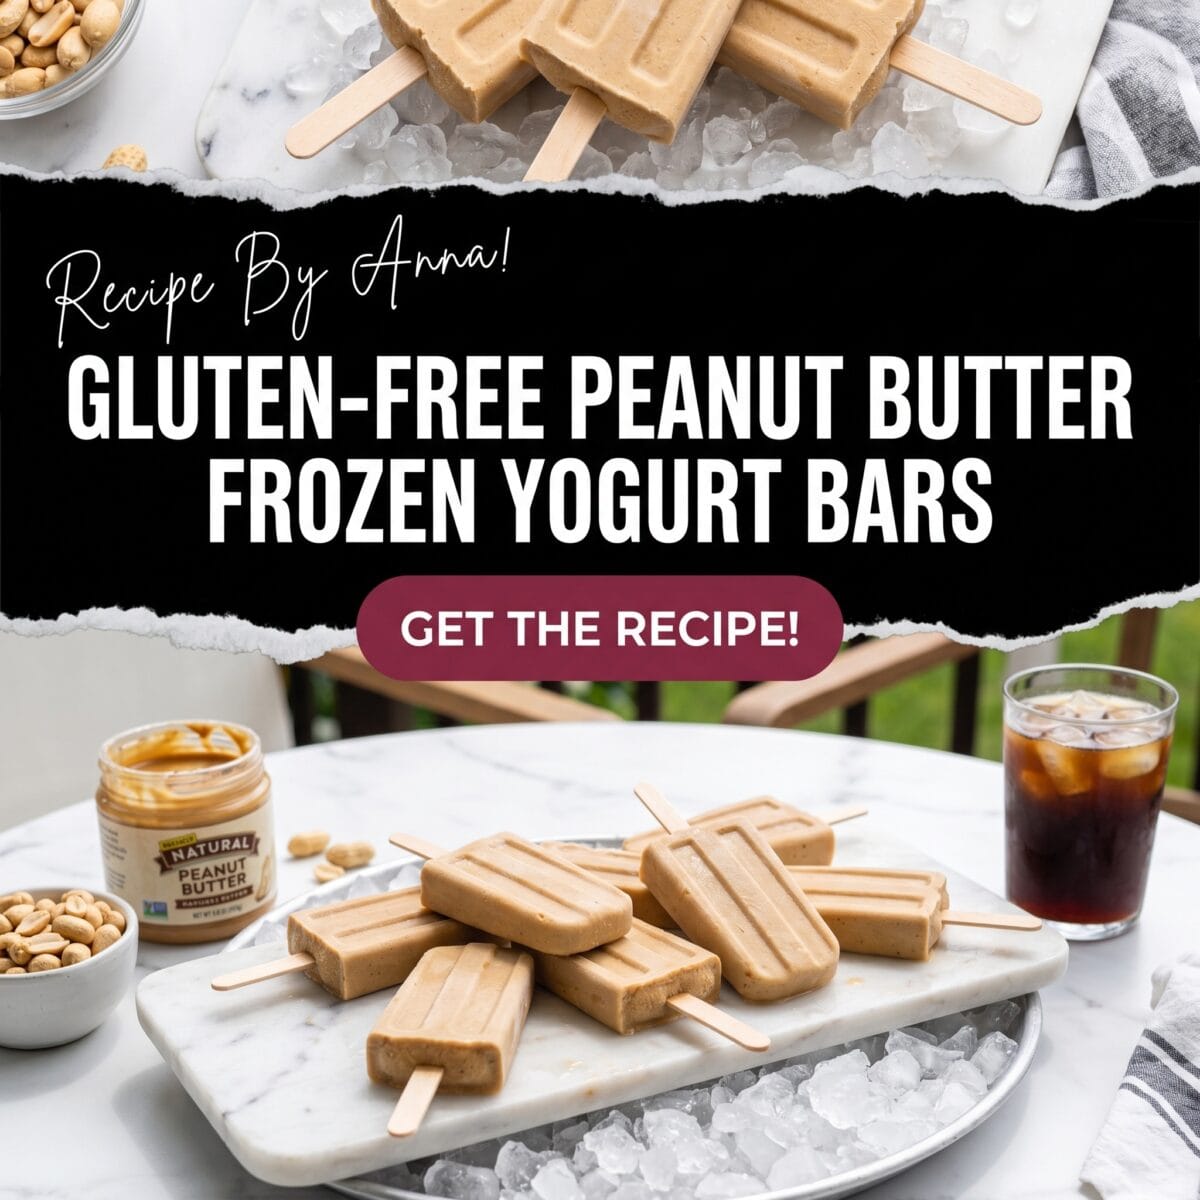
Gluten-Free Peanut Butter Frozen Yogurt Bars
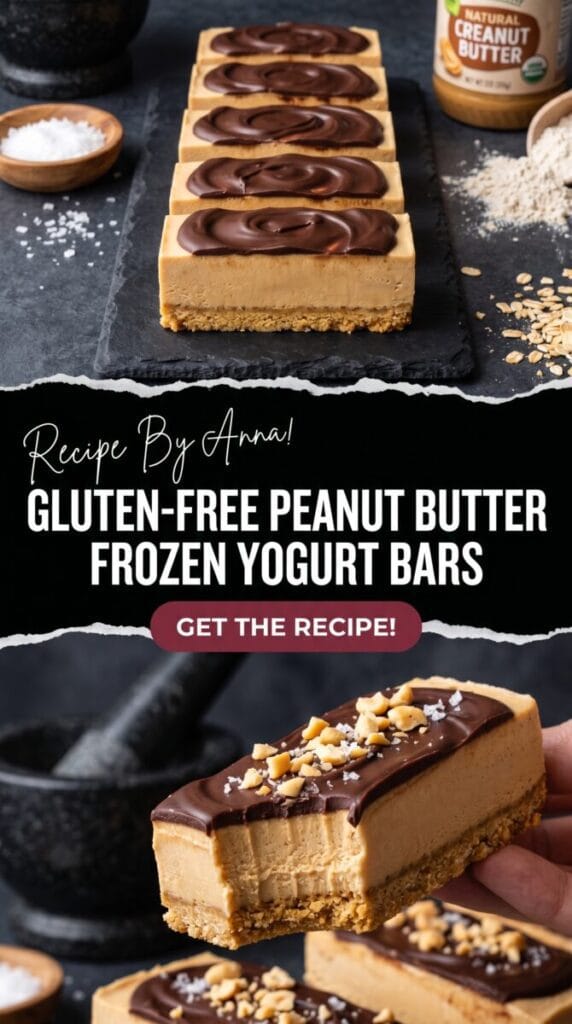
Making a batch of Gluten-Free Peanut Butter Frozen Yogurt Bars is the ultimate way to satisfy a sweet tooth while keeping things relatively wholesome and refreshing. These chilled treats consist of a chewy, pressed oat and nut butter base topped with a smooth, honey-sweetened Greek yogurt layer that is frozen until firm. Simply mix the base, spread the creamy topping, freeze for a few hours, and slice into convenient handheld squares.
I have made these countless times for summer potlucks, and the one thing that changed everything for me was discovering that using a high-fat Greek yogurt prevents that “icy” texture that low-fat versions often have. These bars are heavily inspired by the refrigerated protein snacks found in high-end health food stores, known for their perfect balance of salty nut butter and tangy yogurt. While the store-bought versions are great, they often lack the thick, rustic crust that makes this homemade version so much more satisfying and filling.
The beauty of this recipe lies in its simplicity; you do not even need to turn on the oven. By combining the natural oils of the peanut butter with the fibrous texture of gluten-free oats, you create a crust that stays firm even as it starts to soften at room temperature. It is a reliable, protein-packed snack that feels like a cheat meal but fits perfectly into a balanced lifestyle.
⭐ Why You Will Fall in Love With This Chilled Snack
You will appreciate this recipe because it bridges the gap between a heavy dessert and a light afternoon snack. The Greek yogurt provides a significant protein boost, while the healthy fats in the nut butter keep you feeling full much longer than a standard popsicle would. Plus, the texture is a delightful contrast between the crunchy, dense base and the velvety, melt-in-your-mouth topping.
Another reason to love these squares is their versatility for different dietary needs. Since we are using certified gluten-free ingredients, it is a safe bet for those with sensitivities, and the natural sweeteners mean you avoid the refined sugar crash. It is essentially a frozen granola bar elevated to a gourmet dessert status with minimal effort.
- Prep time: 15 minutes
- Freeze time: 4 hours
- Total time: 4 hours 15 minutes
- Yield: 12 bars
🛒 Elements Needed for the Perfect Batch
Choosing the right ingredients is the “why” behind the success of this recipe. Using old-fashioned oats provides more structure than quick oats, ensuring the base does not turn into mush once the yogurt is spread on top.
- Gluten-Free Rolled Oats: 2 cups
- Creamy Natural Peanut Butter: 1/2 cup (melted slightly for easy mixing)
- Honey or Maple Syrup: 1/3 cup (divided between the base and the topping)
- Plain Full-Fat Greek Yogurt: 2 cups (full-fat provides the best creamy mouthfeel)
- Pure Vanilla Extract: 1 teaspoon
- Sea Salt: 1/4 teaspoon (to enhance the nutty flavor)
- Optional: 1/4 cup Mini Chocolate Chips for a little extra indulgence
🥣 Step-By-Step Assembly Guide
- Prepare your 8×8 inch baking pan by lining it with parchment paper, leaving a slight overhang on the sides for easy removal later.
- Combine the gluten-free oats, melted peanut butter, half of the honey, and sea salt in a medium mixing bowl until the oats are thoroughly coated.
- Press the oat mixture firmly into the bottom of the prepared pan using the back of a spoon or a flat measuring cup to create an even, solid layer.
- Whisk together the Greek yogurt, the remaining honey, and the vanilla extract in a separate bowl until the mixture is completely smooth and aerated.
- Fold in the mini chocolate chips if you are using them, or save them to sprinkle across the very top for a prettier presentation.
- Spread the yogurt mixture over the oat base, using a spatula to smooth it out to the edges of the pan.
- Freeze the pan for at least 4 hours, or until the yogurt layer is completely solid and does not give when pressed lightly.
- Lift the parchment paper handles to remove the block from the pan and place it on a cutting board.
- Slice into 12 even bars using a sharp knife that has been dipped in warm water to ensure clean, sharp edges.
Looking for another quick treat to satisfy those sweet cravings? Try our The Moistest Chocolate Mug Cake — it is ready in minutes and satisfies any chocolate lover!

🔄 Smart Ingredient Swaps
If you have a peanut allergy, you can easily substitute the peanut butter with almond butter or cashew butter. For a completely nut-free version, sunflower seed butter works beautifully and provides a similar earthy flavor profile that pairs perfectly with the tangy yogurt topping.
For my vegan friends, you can swap the Greek yogurt for a thick coconut-based yogurt and use maple syrup instead of honey. Just ensure the plant-based yogurt is as thick as possible; if it is too runny, the bars may become too icy in the freezer. You might even want to strain the dairy-free yogurt through a cheesecloth for an hour before using it to remove excess moisture.
🍽️ What to Enjoy Alongside These Bars
These frozen squares are excellent on their own, but they also make a fantastic side to a light brunch. I often serve them after a meal of Fluffy Easy Banana Pancakes to provide a cooling, protein-rich finish to the morning. The creaminess of the yogurt cuts through the sweetness of the pancakes perfectly.
If you are serving these as a post-workout snack, they pair well with a few slices of fresh apple or a handful of berries. The acidity of fresh fruit brightens the richness of the peanut butter. Because they are frozen, they also act as a great “palate cleanser” after a spicy meal, providing a soothing chill to the taste buds.
📊 Nutritional Breakdown
| Nutrient | Amount Per Serving |
|---|---|
| Calories | 185 kcal |
| Protein | 8g |
| Carbohydrates | 21g |
| Fats | 9g |
💡 Pro Tips for a Flawless Result
The trick I swear by for the perfect texture is to let the pan sit on the counter for exactly three minutes before you attempt to slice it. This slight tempering prevents the crust from shattering and allows the knife to glide through the yogurt layer without resistance. If you cut them straight from the deep freeze, the base can sometimes crumble under the pressure of the blade.
Another tip for success is to ensure your peanut butter is the “drippy” kind. If you use the bottom of the jar where the butter is dry and stiff, the crust will not bind correctly. If your peanut butter is thick, whisk in a teaspoon of melted coconut oil to help it coat the oats more effectively, ensuring every bite of the base is held together firmly.
🎨 Creative Ways to Change It Up
If you want to add a fruity twist, try swirling two tablespoons of raspberry jam into the yogurt layer before freezing. This creates a “PB&J” effect that is nostalgic and delicious. You can also experiment with different textures by adding crushed pretzels to the base for a salty kick that contrasts the sweet honey.
For those looking for an even higher protein count, you can whisk a scoop of vanilla protein powder into the yogurt mixture. If you enjoy this high-protein approach to desserts, you might also love our High Protein Blueberry Cottage Cheese Breakfast Bake, which uses similar wholesome ingredients in a warm, baked format. Adding chopped walnuts or pecans to the crust also adds a wonderful earthy depth and extra crunch.
🧊 How to Keep Them Fresh
Because these bars contain yogurt, they must be stored in the freezer at all times or they will melt into a messy (though still delicious) puddle. Once sliced, I recommend wrapping each individual square in parchment paper and then placing them all in a heavy-duty freezer bag or an airtight container. This prevents freezer burn and makes it easy to grab a single portion whenever the craving strikes.
These treats will stay fresh and flavorful for up to three months if stored properly. However, for the best taste and texture, try to enjoy them within the first four weeks. Over time, the oats can begin to absorb moisture from the yogurt, which might soften the base slightly more than intended, though the flavor remains excellent.
⚠️ Common Pitfalls to Watch Out For
The most common mistake is using a yogurt that is too thin. Regular “runny” yogurt has a much higher water content than Greek yogurt, which results in large ice crystals forming. This makes the bars feel crunchy and “watery” rather than creamy and rich. Always reach for the thickest Greek yogurt you can find to ensure that luxurious, ice-cream-like consistency.
Another error is not pressing the base down hard enough. If the oat layer is loose, it will fall apart the moment you take a bite. Use your full body weight to press that mixture into the pan; you want it to be as compact as a traditional granola bar. If the mixture feels too dry to stick, add an extra tablespoon of peanut butter to act as the “glue.”
❓ Frequently Asked Questions
Can I use quick oats instead of rolled oats? While you can, the texture will be much softer and less “chewy.” Rolled oats provide a better structural foundation for the heavy yogurt topping, so they are the preferred choice for this specific recipe.
Is it possible to make these sugar-free? Yes, you can substitute the honey or maple syrup with a liquid monk fruit sweetener or stevia blend. Just be aware that honey helps with the binding of the crust, so you may need to add a bit more peanut butter to compensate for the loss of the sticky liquid.
How long should I let them thaw before eating? For the best experience, let a bar sit at room temperature for about 2 to 5 minutes. This softens the yogurt just enough to make it creamy without it becoming a liquid mess, giving it the perfect “frozen treat” consistency.
Why did my yogurt layer turn out icy? This usually happens if you use fat-free yogurt or if the yogurt was stirred too much, breaking down its structure. Stick to 2% or 5% milk fat Greek yogurt for the creamiest results that mimic the fat content of traditional dairy desserts.
Join the Conversation!
I would love to hear how your batch turned out and if you decided to add any fun toppings like sea salt or extra chocolate. Please leave a comment below with your results or any questions you have about making these treats for your family!


