
Black Forest Cheesecake Symphony | Decadent No-Bake Recipe
Oh, hello there, fellow dessert enthusiast! Do you ever find yourself caught in a culinary daydream, picturing a dessert so magnificent it could bring tears to your eyes? A dessert that harmoniously blends the deep, mysterious allure of rich chocolate, the bright, playful tang of cherries, and the velvety embrace of creamy cheesecake? Well, stop dreaming, because today we’re turning that fantasy into a delicious reality with our show-stopping Black Forest Cheesecake Symphony.
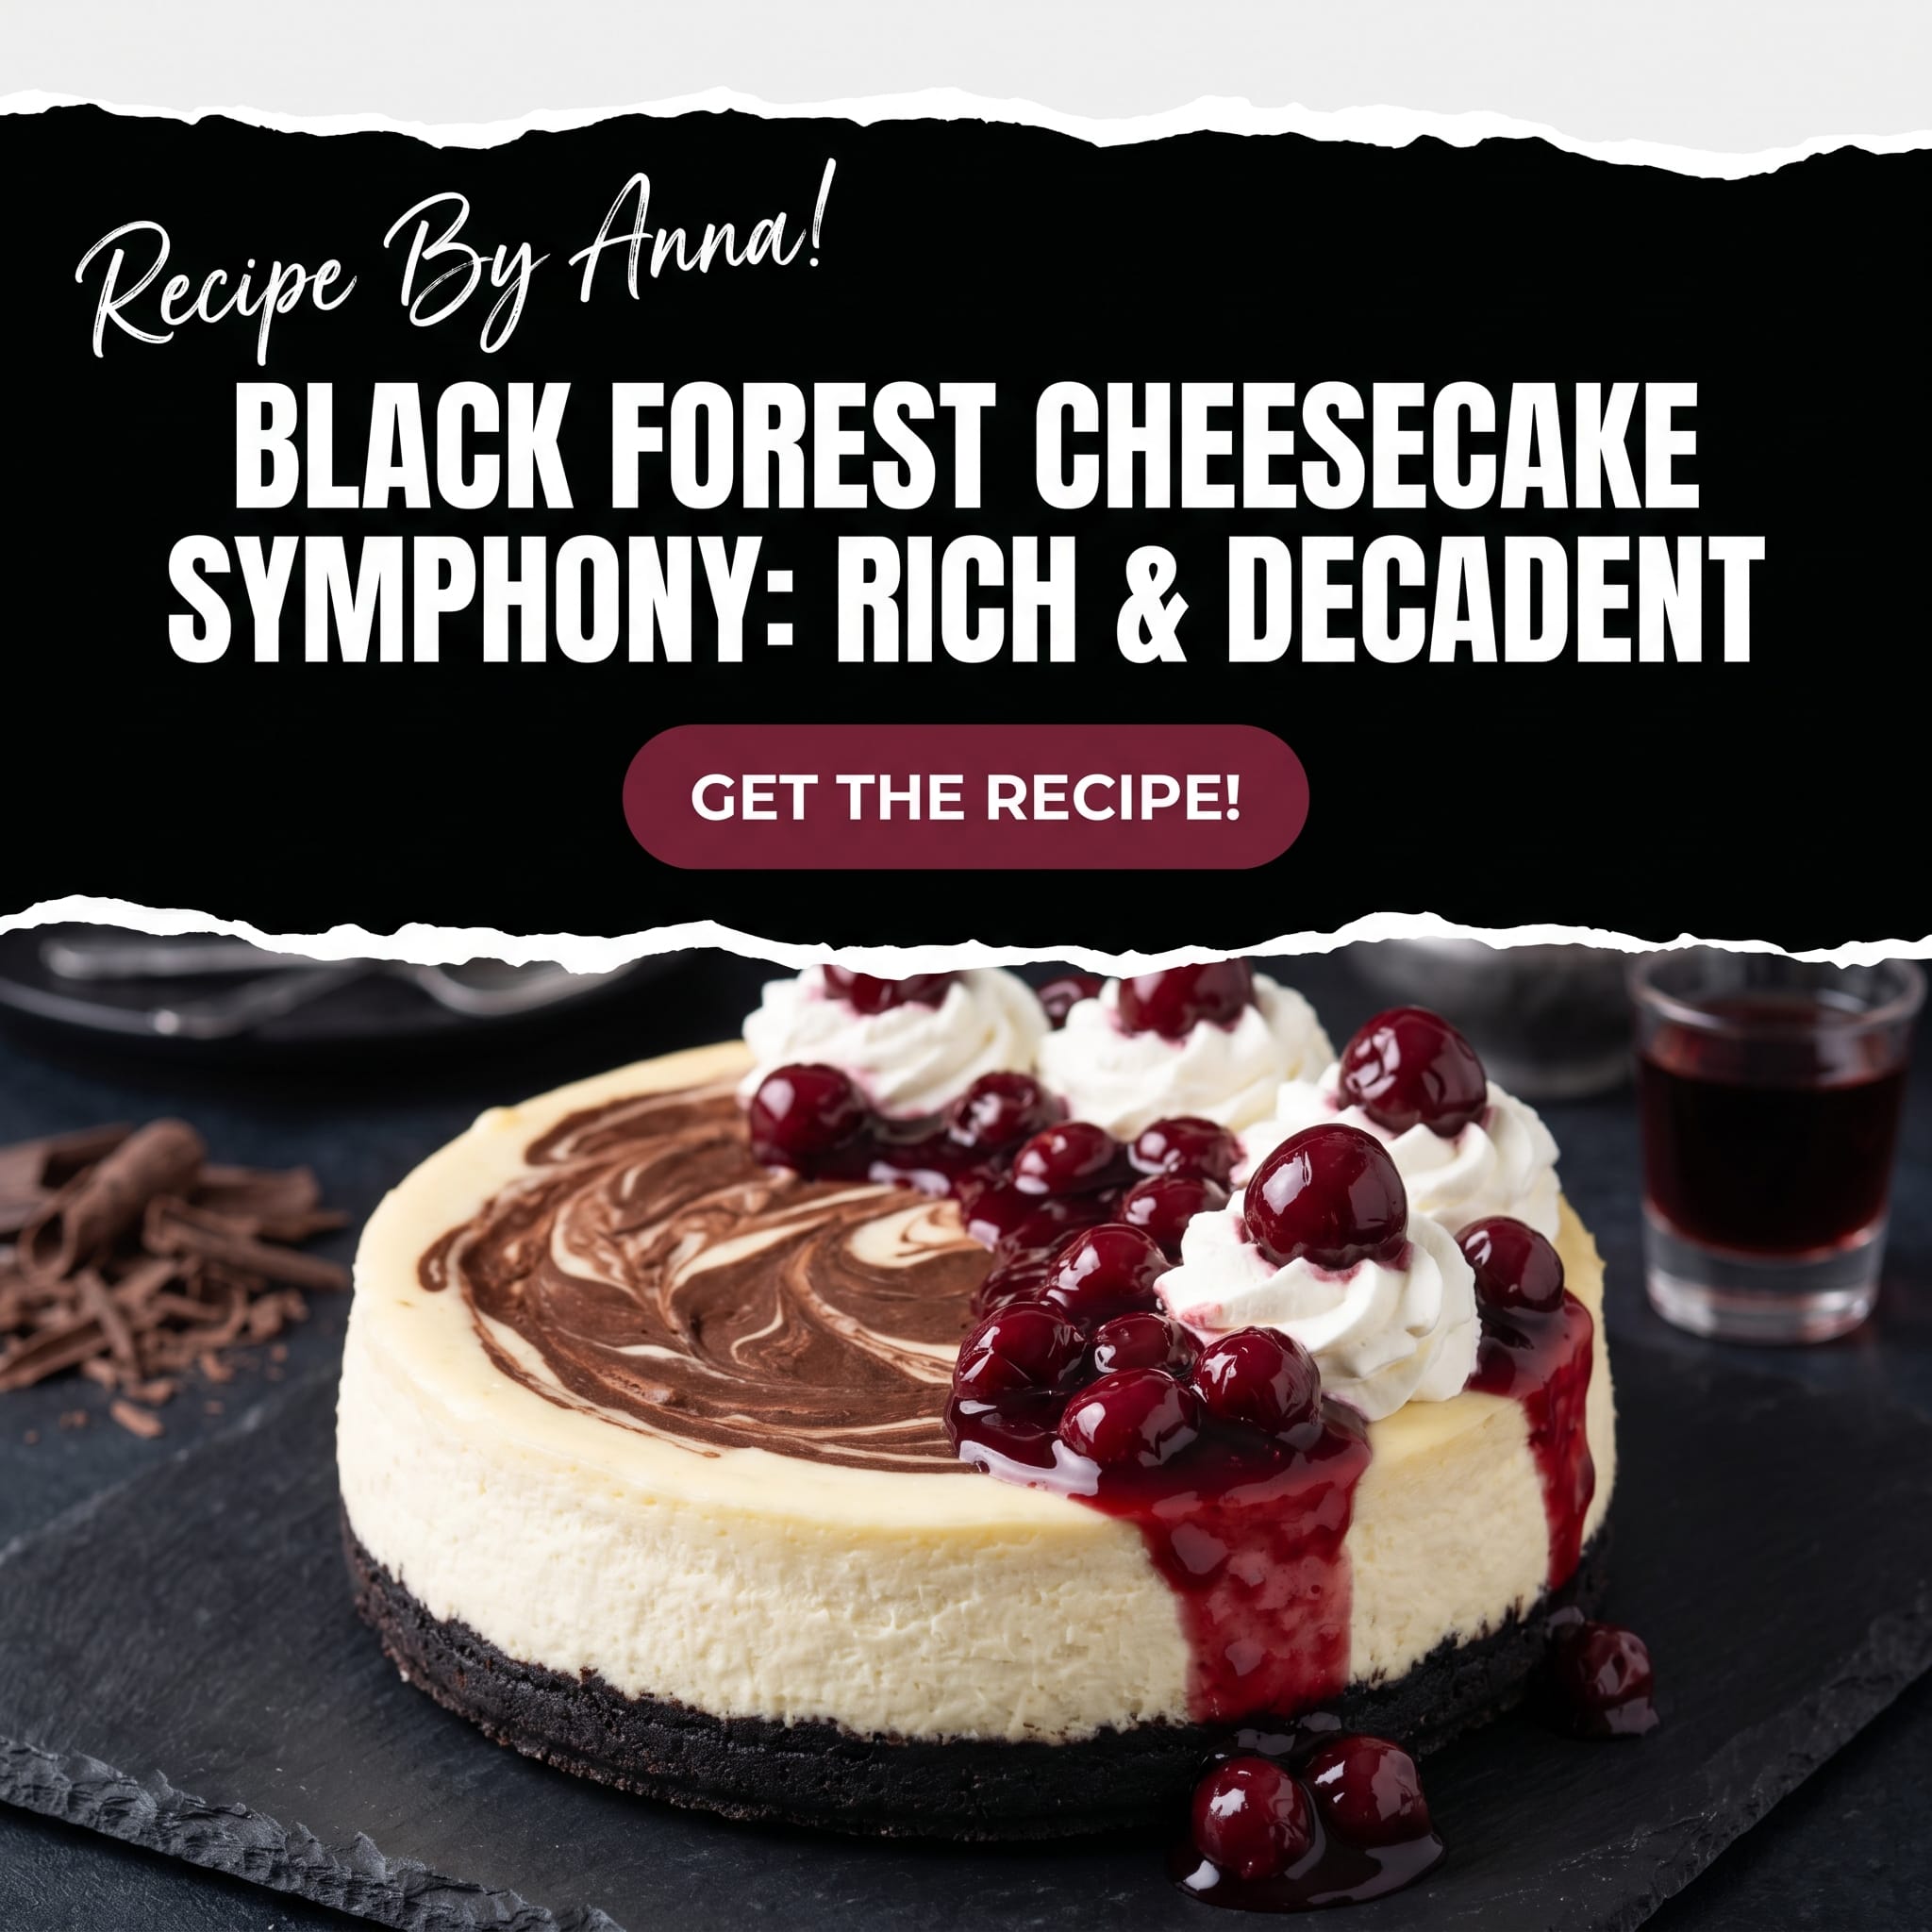
Forget everything you thought you knew about dessert. This isn’t just a cheesecake; it’s an experience. It’s a standing ovation for your taste buds, a culinary concert where every note hits perfectly. We’re talking about a crunchy chocolate cookie crust, a luxuriously smooth cherry-infused cream cheese filling, and a decadent topping that screams “celebration.” It’s the kind of dessert that makes your guests whisper, “Did they really make this?” (The answer is yes, and soon, so will you!). If you’ve been searching for the ultimate Black Forest cheesecake recipe, you just hit the jackpot. Prepare your aprons and your appetites, because we’re about to create something truly spectacular!
🍒 Why You’ll Obsess Over This Recipe
Let’s be real: there are cheesecakes, and then there are cheesecakes. Our Black Forest Cheesecake Symphony falls squarely into the latter category, performing a flawless triple axel of flavor that will leave you absolutely smitten. Here’s why this recipe isn’t just good, it’s “cancel your plans and bake this now” good:
- A Symphony of Flavors: It’s the perfect marriage of tart cherries, rich dark chocolate, and creamy, dreamy cheesecake. Each bite is a complex dance of sweet, tangy, and utterly decadent notes. It’s like a romantic novel, but edible!
- Texture Heaven: From the crisp, buttery chocolate crust to the silken, melt-in-your-mouth filling and the luscious, slightly boozy cherry topping, every layer offers a distinct and delightful texture. It’s a textural masterpiece!
- Showstopper Status: Seriously, this dessert looks like it belongs on a magazine cover. It’s elegant, impressive, and guarantees gasps of delight when you bring it out. Be prepared for endless compliments and perhaps even a standing ovation.
- Surprisingly Approachable: While it looks fancy, I promise you, the steps are straightforward. We’ve broken it down to make it enjoyable for bakers of all skill levels. You don’t need a culinary degree, just a love for delicious things and a little patience.
- The Ultimate Indulgence: If you’re looking for a dessert that screams “special occasion” or just “I deserve this,” look no further. This cherry cheesecake is pure indulgence, a luxurious treat that satisfies every craving for a rich, satisfying chocolate dessert.
🛒 Ingredients You’ll Need
Gather your troops, because we’re about to embark on a delicious mission. Using high-quality ingredients really makes a difference here, especially with the chocolate and cream cheese. Think of them as the star performers in our culinary symphony!
For the Chocolate Cookie Crust:
- 1 ½ cups (about 180g) chocolate cookie crumbs (like Oreos, filling removed)
- ¼ cup (50g) granulated sugar
- ½ cup (113g) unsalted butter, melted
For the Cherry Cheesecake Filling:
- 3 (8-ounce) packages (678g) full-fat cream cheese, softened to room temperature
- 1 ½ cups (300g) granulated sugar
- ¼ cup (30g) unsweetened cocoa powder
- 2 tablespoons all-purpose flour
- 1 teaspoon vanilla extract
- ½ teaspoon almond extract (optional, but highly recommended for depth)
- 4 large eggs, room temperature
- ¾ cup (180ml) sour cream, room temperature
- 1 cup (about 150g) pitted fresh or frozen cherries, roughly chopped (if using frozen, do not thaw)
For the Cherry Topping:
- 2 cups (about 300g) pitted fresh or frozen cherries
- ½ cup (100g) granulated sugar
- 2 tablespoons cornstarch
- ¼ cup (60ml) water
- 1 tablespoon lemon juice
- 1 tablespoon Kirsch (cherry liqueur) or cherry brandy (optional, but adds authentic flavor)
For Garnish (Optional):
- Whipped cream
- Chocolate shavings or curls
- Fresh whole cherries
👩🍳 Step-by-Step Instructions
Alright, maestro, let’s conduct this symphony! Follow these steps carefully, and you’ll be on your way to cheesecake nirvana. Remember, baking is a science, but it’s also an art – feel free to hum a happy tune while you work!
Step 1: Prepare the Crust
- Preheat your oven to 350°F (175°C).
- In a medium bowl, combine the chocolate cookie crumbs and granulated sugar.
- Pour in the melted butter and mix until the crumbs are evenly moistened.
- Press the mixture firmly and evenly into the bottom of a 9-inch springform pan. You can use the bottom of a glass or a measuring cup to get a nice, compact crust.
- Bake for 8-10 minutes, then remove from the oven and let cool slightly while you prepare the filling. Reduce oven temperature to 325°F (160°C).
- Wrap the bottom of the springform pan with a double layer of heavy-duty aluminum foil. This is crucial for your water bath!
Step 2: Make the Cheesecake Filling
- In a large bowl using an electric mixer (stand mixer or hand mixer), beat the softened cream cheese on medium speed until smooth and creamy, about 2-3 minutes. Scrape down the sides of the bowl frequently.
- Add the granulated sugar, cocoa powder, and flour to the cream cheese. Beat on low speed until just combined, then increase to medium and beat until smooth, scraping down the bowl. Do not overmix!
- Beat in the vanilla extract and almond extract (if using).
- Add the eggs one at a time, beating on low speed after each addition just until incorporated. Overmixing eggs can lead to cracks!
- Gently fold in the sour cream until just combined.
- Finally, gently fold in the chopped cherries.
Step 3: Bake the Cheesecake
- Pour the cheesecake filling over the cooled crust in the prepared springform pan.
- Place the foil-wrapped springform pan into a larger roasting pan.
- Carefully pour hot water into the roasting pan until it reaches about halfway up the sides of the springform pan. This water bath (bain-marie) is your secret weapon against cracks!
- Carefully transfer the roasting pan to the preheated oven.
- Bake for 60-75 minutes, or until the edges are set and the center jiggles only slightly when gently shaken.
- Turn off the oven, crack the door open slightly (you can use a wooden spoon), and let the cheesecake cool in the oven for 1 hour. This slow cooling also helps prevent cracks.
- Remove the cheesecake from the oven and water bath. Carefully remove the foil. Let cool completely on a wire rack at room temperature.
- Once cooled, cover loosely with plastic wrap and refrigerate for at least 6 hours, or preferably overnight. Chilling is non-negotiable for a firm, delicious cheesecake!
Step 4: Prepare the Cherry Topping
- In a medium saucepan, combine the cherries, granulated sugar, cornstarch, water, and lemon juice.
- Cook over medium heat, stirring constantly, until the mixture thickens and comes to a gentle boil, about 5-7 minutes.
- Remove from heat and stir in the Kirsch or cherry brandy (if using).
- Let the topping cool completely before pouring it over the chilled cheesecake.
Step 5: Assemble and Serve
- Once the cheesecake is thoroughly chilled, carefully remove the sides of the springform pan.
- Pour the cooled cherry topping over the cheesecake.
- Garnish with whipped cream, chocolate shavings, and fresh cherries, if desired.
- Slice with a sharp, warm knife (wipe between slices for clean cuts) and serve!

🔄 Substitution Suggestions
Life happens, and sometimes you don’t have exactly what the recipe calls for, or you have dietary needs. No worries! This Black Forest Cheesecake Symphony is adaptable. Here are a few clever swaps:
- Gluten-Free Crust: Use gluten-free chocolate cookies for the crust. The method remains the same.
- Dairy-Free Cream Cheese: While I highly recommend full-fat dairy cream cheese for the best texture, you can experiment with dairy-free cream cheese alternatives. Just be aware the texture might be slightly different.
- Cherry Alternatives: Not a cherry fan (gasp!) or can’t find them? Raspberries, blackberries, or a mixed berry compote would also be delicious, though it wouldn’t be a Black Forest cheesecake anymore!
- No Kirsch? No Problem: If you prefer to omit alcohol, simply leave out the Kirsch from the cherry topping. A few drops of almond extract in the topping can give a similar aromatic depth.
- Sweetener Swaps: You can experiment with alternative sweeteners, but ensure they are suitable for baking and adjust quantities accordingly, as their sweetness levels can vary.
🥂 What to Pair
A dessert this magnificent deserves equally grand companions. Here are some pairing suggestions to elevate your Black Forest Cheesecake Symphony experience:
- Coffee: A rich, dark roast coffee or espresso cuts through the sweetness beautifully.
- Red Wine: A fruity Merlot or a bold Cabernet Sauvignon can complement the cherry and chocolate notes.
- Dessert Wine: A late-harvest Riesling or a port wine would be a divine match.
- Hot Chocolate: For an extra dose of comfort, a luxurious hot chocolate can be a cozy pairing.
- Sparkling Water: Sometimes, simplicity is key! A glass of sparkling water with a twist of lemon can refresh the palate between decadent bites.
📊 Nutritional Information
Let’s be honest, we’re not eating this for the kale, are we? This Black Forest Cheesecake Symphony is a treat, and a glorious one at that! As a homemade item, exact nutritional values can vary significantly based on specific ingredients and portion sizes. However, here’s a rough estimate per serving (assuming 12 servings from a 9-inch cake):
- Calories: Approximately 550-650 calories
- Total Fat: Approximately 35-45g
- Saturated Fat: Approximately 20-25g
- Cholesterol: Approximately 150-200mg
- Sodium: Approximately 250-300mg
- Total Carbohydrates: Approximately 50-60g
- Dietary Fiber: Approximately 2-3g
- Total Sugars: Approximately 40-50g
- Protein: Approximately 8-10g
Disclaimer: These are approximate values and should not be considered precise. If you have specific dietary needs, please calculate based on your exact ingredients. But for most of us, it’s simply delicious!
🔥 Don’t miss this recipe: Strawberry Whipped Cream Cake
🌟 Pro Tips for the Perfect Batch
Want to turn your Black Forest Cheesecake from “great” to “chef’s kiss, Michelin-star worthy”? Pay attention to these golden nuggets of wisdom, fresh from my baking playbook:
- Room Temperature is King: Ensure your cream cheese, eggs, and sour cream are at room temperature. This is NON-NEGOTIABLE for a smooth, lump-free batter that emulsifies beautifully. Cold ingredients will give you a lumpy mess and potentially overmixed batter.
- Don’t Overmix: After adding the eggs, mix on low speed just until they are incorporated. Overmixing introduces too much air, which expands during baking and then collapses, leading to cracks. We want smooth, not airy!
- The Water Bath is Your Best Friend: Seriously, don’t skip it. The water bath provides a moist, even heat that prevents the cheesecake from drying out and cracking. It’s like a spa day for your cheesecake. Make sure your foil wrap is secure to avoid any leaks!
- Patience, Young Grasshopper: The cooling process is just as important as the baking. Don’t rush it! Cooling slowly in the oven, then at room temperature, and finally in the fridge for a good 6+ hours (preferably overnight) is crucial for a perfectly set, firm, and crack-free cheesecake.
- Clean Slices: For picture-perfect slices, use a sharp, thin knife. Dip the knife in hot water and wipe it clean between each slice. This keeps the edges crisp and the cuts tidy.
- A Little Liqueur Goes a Long Way: If you’re using Kirsch, don’t be shy! It truly elevates the traditional Black Forest flavor profile.
🎨 Easy Variations to Try
Once you’ve mastered the Black Forest Cheesecake Symphony, feel free to play around with the score! Here are some fun variations:
- Mini Cheesecakes: Bake in a muffin tin lined with paper liners for individual portions. Adjust baking time to about 20-25 minutes. Perfect for parties!
- White Chocolate Swirl: Melt some white chocolate and drizzle it into the cheesecake batter before baking for an elegant swirl effect.
- Nutty Crust: Add finely chopped toasted almonds or hazelnuts to the chocolate cookie crust for an extra layer of crunch and flavor.
- Different Fruit Topping: While cherries are classic, you could use raspberries, blueberries, or a mixed berry compote for a different fruity twist. Just remember, it won’t be a Black Forest cheesecake then!
- Boozy Cherries: For an extra adult kick, macerate your fresh cherries in Kirsch or brandy for an hour or two before adding them to the filling and topping.
❄️ How to Store & Reheat
This magnificent creation needs to be treated with care, even after it’s baked. Proper storage ensures you can enjoy its deliciousness for days!
- Refrigerator: Keep leftover cheesecake covered loosely with plastic wrap or in an airtight container in the refrigerator for up to 5 days. The flavors actually meld and deepen over time, so it might even taste better the next day!
- Freezer: For longer storage, you can freeze the cheesecake (without the cherry topping, if possible, as it can get watery when thawed). Wrap individual slices or the whole cheesecake (after it’s completely chilled and set) tightly in plastic wrap, then again in aluminum foil. Freeze for up to 1-2 months.
- Thawing: To thaw, simply transfer the frozen cheesecake (or slices) to the refrigerator and let it thaw overnight. Do not attempt to thaw at room temperature, as this can affect texture.
- Reheating: Cheesecake is best enjoyed chilled or at room temperature. Reheating cheesecake is generally not recommended as it can alter the texture, making it rubbery or greasy. Just enjoy it cold!
🚫 Common Mistakes to Avoid
Even the most seasoned bakers can make a slip-up! Here are some common cheesecake pitfalls and how to steer clear of them:
- Cracked Top: The arch-nemesis of cheesecakes! Usually caused by overmixing the batter (too much air), baking at too high a temperature, or cooling too quickly. Follow our pro tips for room temperature ingredients, gentle mixing, water bath, and slow cooling.
- Soggy Crust: This often happens if the crust isn’t baked first or if the springform pan isn’t properly sealed for the water bath, allowing water to seep in. Double-wrap that foil!
- Lumpy Filling: Cold cream cheese is the culprit here. Ensure all dairy and eggs are at room temperature and beat the cream cheese until silky smooth before adding other ingredients.
- Cheesecake Sticks to Pan: Always grease your springform pan sides lightly before pressing in the crust, or run a thin knife around the edge of the pan before releasing the sides after cooling.
- Too Sweet/Not Sweet Enough: Always taste your cherry topping before it cools! You can adjust the sugar or lemon juice to your preference.
❓ FAQ
Q: Can I make this Black Forest cheesecake ahead of time?
A: Absolutely! In fact, it’s highly recommended. Cheesecakes benefit from a good long chill, allowing the flavors to meld and the texture to firm up. You can make it 1-2 days in advance, keeping it covered in the fridge.
Q: Do I really need a water bath?
A: For a perfect, crack-free, creamy cheesecake, yes, a water bath is crucial. It provides gentle, even heat and moisture, preventing the cake from drying out and cracking. Think of it as an insurance policy for your beautiful dessert!
Q: What if I don’t have a springform pan?
A: While a springform pan is ideal for easy removal and presentation, you can bake cheesecake in a regular cake pan (9-inch with high sides). You’ll need to line it with parchment paper, leaving an overhang on the sides to lift the cake out once cooled. It might not look as pristine, but it will taste just as good!
Q: My cheesecake still cracked! What went wrong?
A: Don’t fret! A small crack doesn’t affect the taste. Most likely, it was one of the common mistakes: overmixing, baking at too high a temperature, or cooling too quickly. Next time, focus on room temperature ingredients, gentle mixing, and the slow cooling process. Plus, a delicious cherry topping hides all sins!
Q: Can I use canned cherry pie filling?
A: While you technically can, homemade cherry topping will elevate your Black Forest cheesecake to a whole new level of freshness and flavor. Canned fillings are often overly sweet and lack the vibrant fruitiness. If you must, choose a high-quality canned filling and perhaps thin it slightly with a touch of cherry juice.
🎉 Final Thoughts
And there you have it, folks! The complete guide to creating your very own Black Forest Cheesecake Symphony. This isn’t just a recipe; it’s an invitation to unleash your inner pastry chef, to impress your loved ones, and most importantly, to treat yourself to an unforgettable dessert experience. Imagine the first bite: the satisfying crunch of the chocolate crust, the creamy, cherry-kissed filling, and the bright burst of the luscious topping. It’s pure bliss!
So, don’t just stand there reading! Go forth, gather your ingredients, and let the baking adventure begin. Trust me, the joy you’ll feel from creating and sharing this masterpiece is just as sweet as the cheesecake itself. Happy baking, and may your kitchen be filled with the most delightful aromas!
Family favorite recipe : Healthy Food and Drink Recipes


